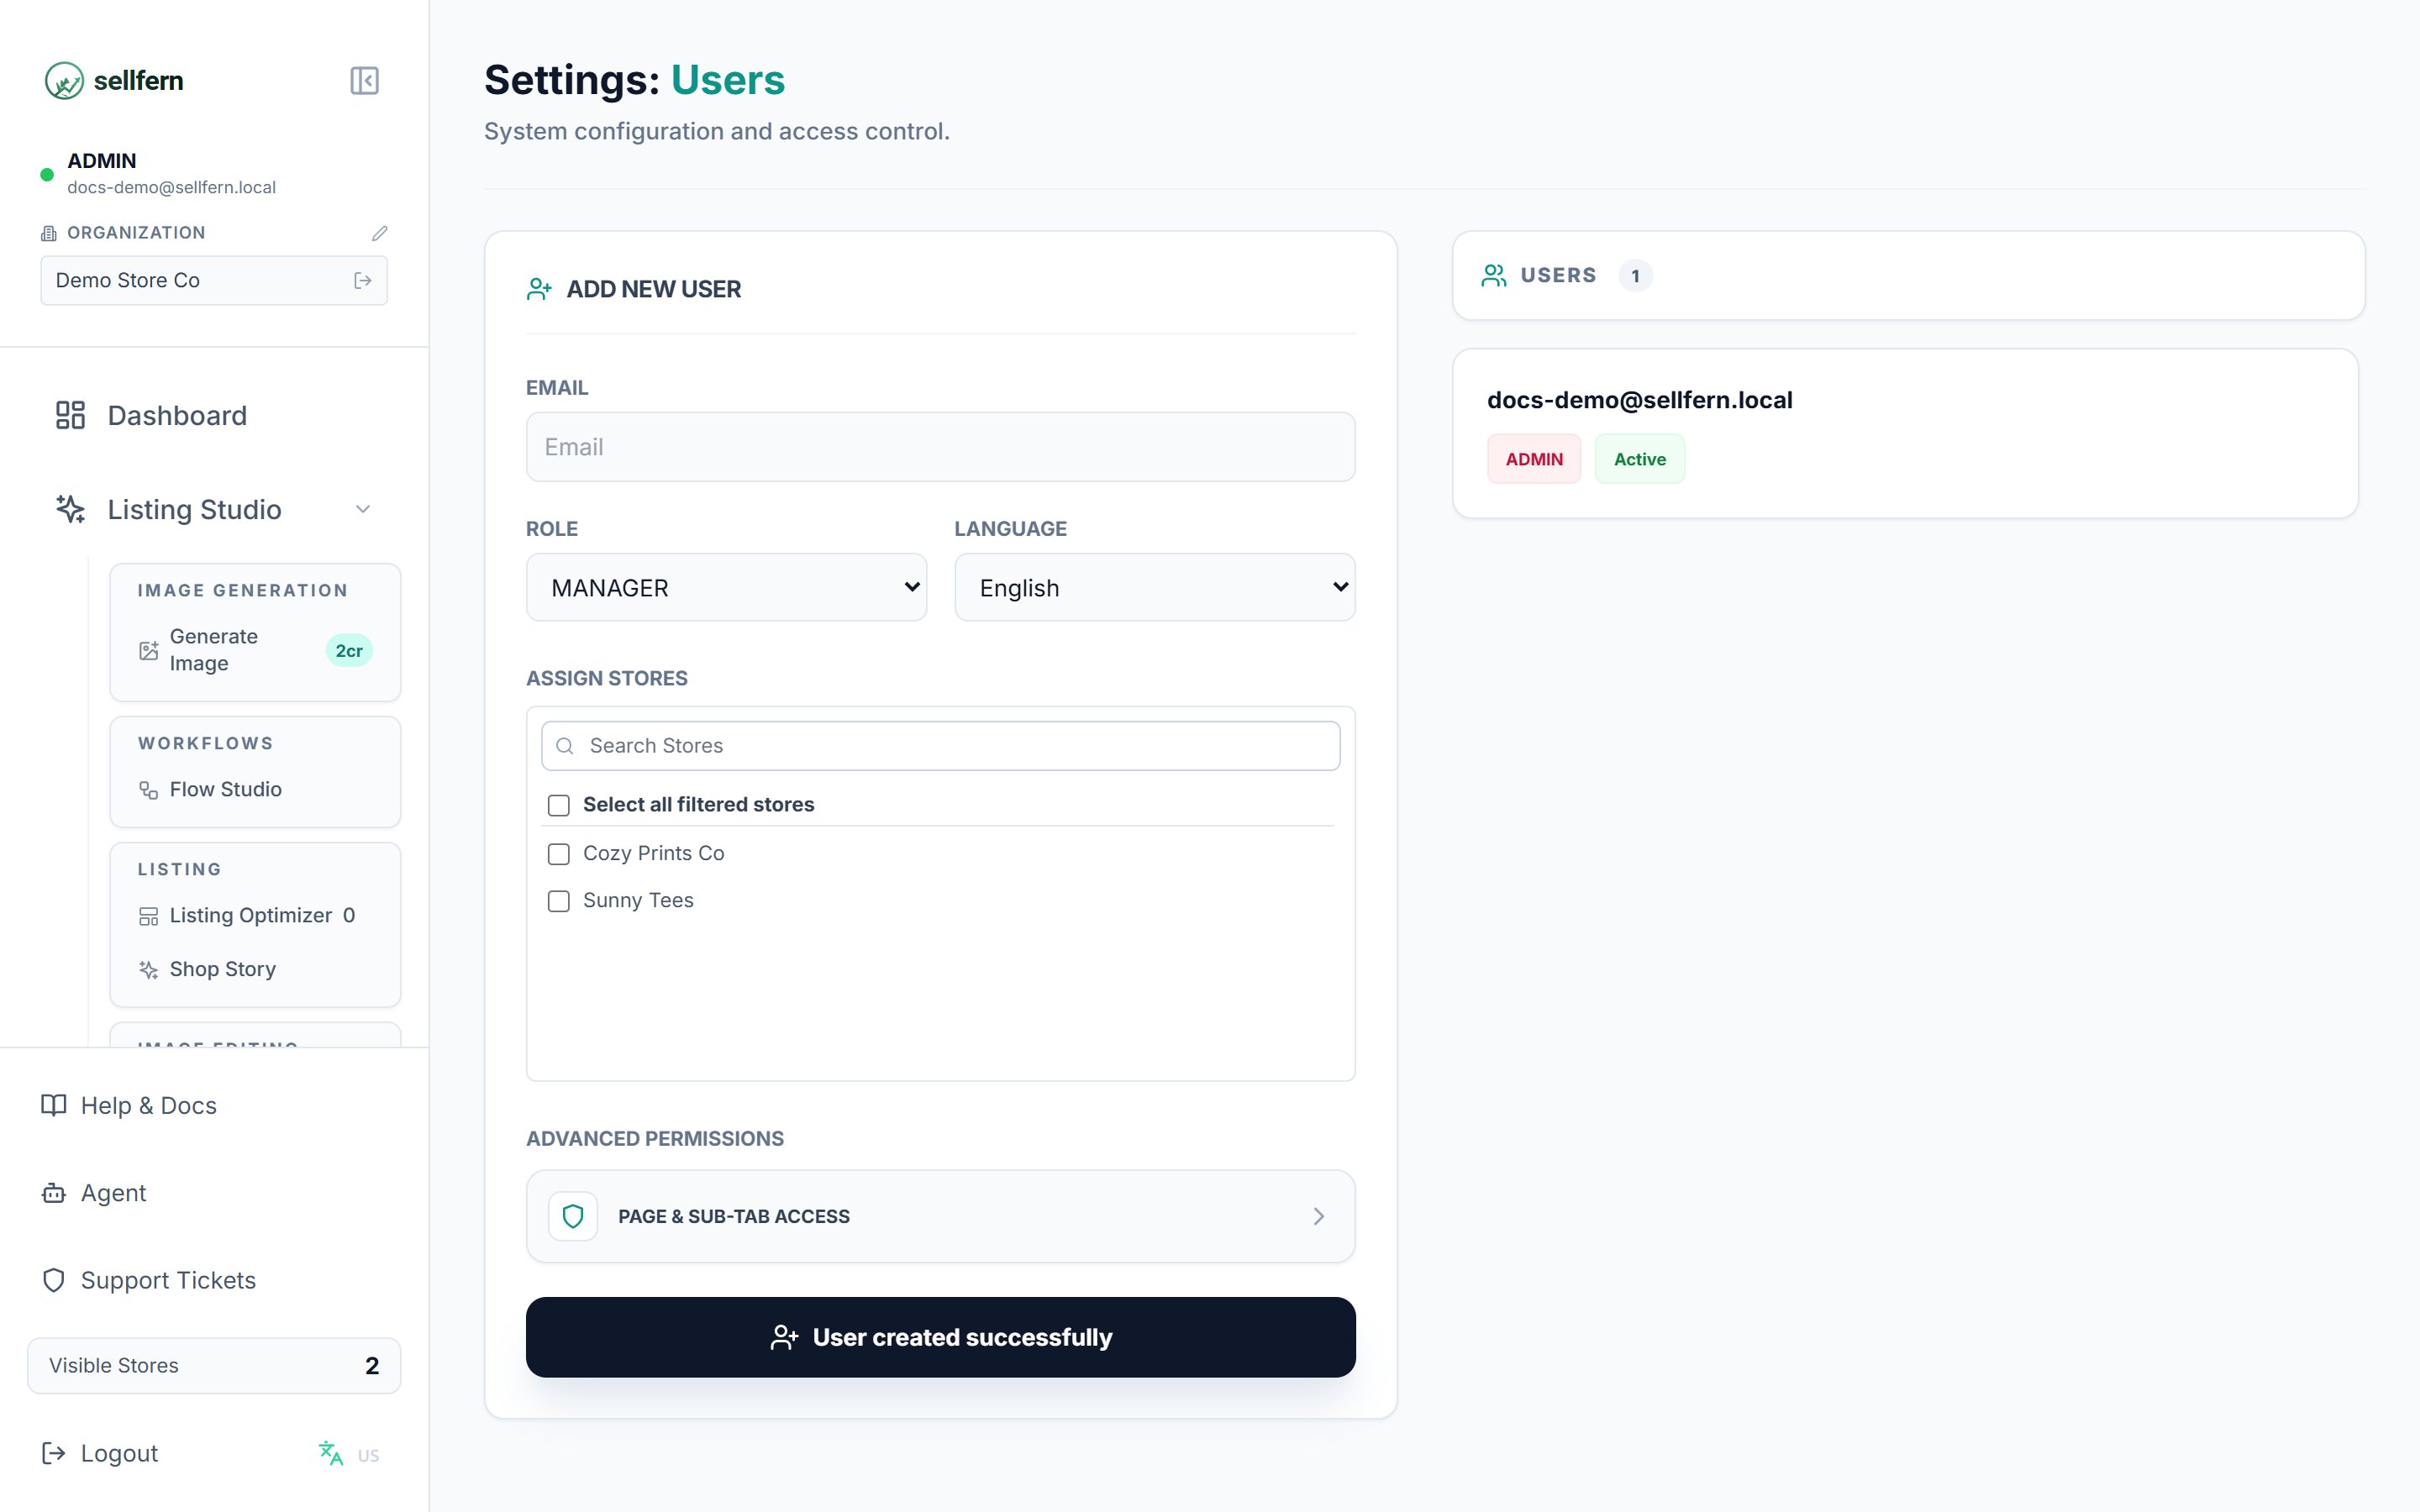
Documentation Index

Fetch the complete documentation index at: https://docs.sellfern.com/llms.txt

Use this file to discover all available pages before exploring further.

Sellfern’s role-based access system lets you control exactly which features and stores each team member can see. You assign a role when creating a user, then optionally refine access with store assignments and page-level permissions. Only users with the ADMIN role can access Settings → Users.

User roles

Sellfern supports five roles, each designed for a different level of responsibility.
RoleAccess scopeStore restrictionsPage permissions
ADMINFull system access to all features and settingsAll stores, cannot be restrictedCannot be restricted by page-level permissions
MANAGERStandard operational roleAssigned stores onlyConfigurable per user
SUPPORTLimited access for customer support and operationsAssigned stores onlyConfigurable per user
FULFILLMENT_SUPPORTFulfillment operations onlyN/A — scoped to suppliersLimited to fulfillment-related features
SUPPLIERExternal partner accessN/A — scoped to their supplier recordVery limited; no access to administrative or financial features
Use ADMIN sparingly — only for team members who need full system access. For everyone else, start with the role that most closely matches their responsibilities, then use store assignments and page permissions to dial in their access.

Creating a new user

1

Go to Settings → Users

Navigate to Settings in the sidebar, then select the Users tab.
2

Fill in the user details

Enter the user’s email address, select their role, and choose their preferred language (English or Vietnamese).
3

Configure role-specific settings

Depending on the role you selected:
  • SUPPLIER — select the supplier record this user is associated with.
  • FULFILLMENT_SUPPORT — check the suppliers this user should have access to.
  • MANAGER / SUPPORT — use the store selector to assign the stores this user can access. You can search by name or use Select All Filtered to bulk-select.
4

Configure page permissions (optional)

Click Page & Sub-Tab Access to open the granular permissions panel. See the Page & Sub-Tab Permissions section below for details.
5

Create the user

Click Create User. Sellfern sends an activation email to the address you entered and sets the user’s status to Pending.

Page & Sub-Tab permissions

The Page & Sub-Tab Access panel lets you control access at the level of individual navigation items and their nested tabs.
  • Pages correspond to main navigation items such as Dashboard, Order Ingestion, Fulfillment, and Analytics.
  • Sub-tabs are the specific features within each page.
  • Checking a page automatically grants access to all of its sub-tabs.
  • After enabling a page, you can uncheck individual sub-tabs to restrict access to specific features within that page.
This granular control is useful when a team member needs access to part of a page but not all of it — for example, a SUPPORT user who should see Order Ingestion but not the BigQuery or Maintenance sub-tabs. ADMIN users have all permissions enabled by default and cannot be restricted through this panel.

Managing existing users

To edit a user, hover over their card in the user list and click the Edit (pencil) icon. The user’s current settings populate the form on the left. Make your changes and click Update User. When editing a user, you can also change their status:
  • Active — the user can log in and access the system.
  • Inactive — the account is disabled and login is blocked.
  • Pending — the activation email has been sent but the user has not yet set their password. This status is read-only.

User activation flow

When you create a new user, Sellfern immediately sends an activation email to the address you provided. The account status is set to Pending until the user completes activation. To activate their account, the user clicks the link in the activation email and sets a password. Once they complete that step, their status changes to Active and they can log in. If a new team member reports not receiving the activation email, ask them to check their spam folder and verify the email address you entered is correct.
Deleting a user is permanent and cannot be undone. If there is any chance you will need to restore the user’s access later, set their status to Inactive instead of deleting the account.