Settings groups
Organization
People & Access
Operations
Recommended first-time setup
Complete these steps before importing a large batch of orders. Good foundational settings reduce unmatched SKUs, missing suppliers, and cleanup work later.1
Add stores
Go to Settings → Stores and create a record for each storefront you sell on.
2
Add suppliers
Go to Settings → Suppliers and add suppliers used for production or fulfillment.
3
Configure SKU-SPU mapping
Go to Settings → SPU Definitions to define internal base products, then Settings → SKU Prefix Rules to map incoming marketplace SKUs to those SPUs.
4
Add expense categories
Go to Settings → Expense Categories and create categories for operating expenses.
5
Review user access
Go to Settings → Users and confirm each team member has the correct role, store assignments, and page permissions.
Product mapping
Product mapping in Sellfern is split into two settings that work together. SPU Definitions represent internal base products. Each SPU has a product type, sub-type, and optional default supplier. SPUs are normalized targets that Sellfern uses internally, independent of marketplace labels.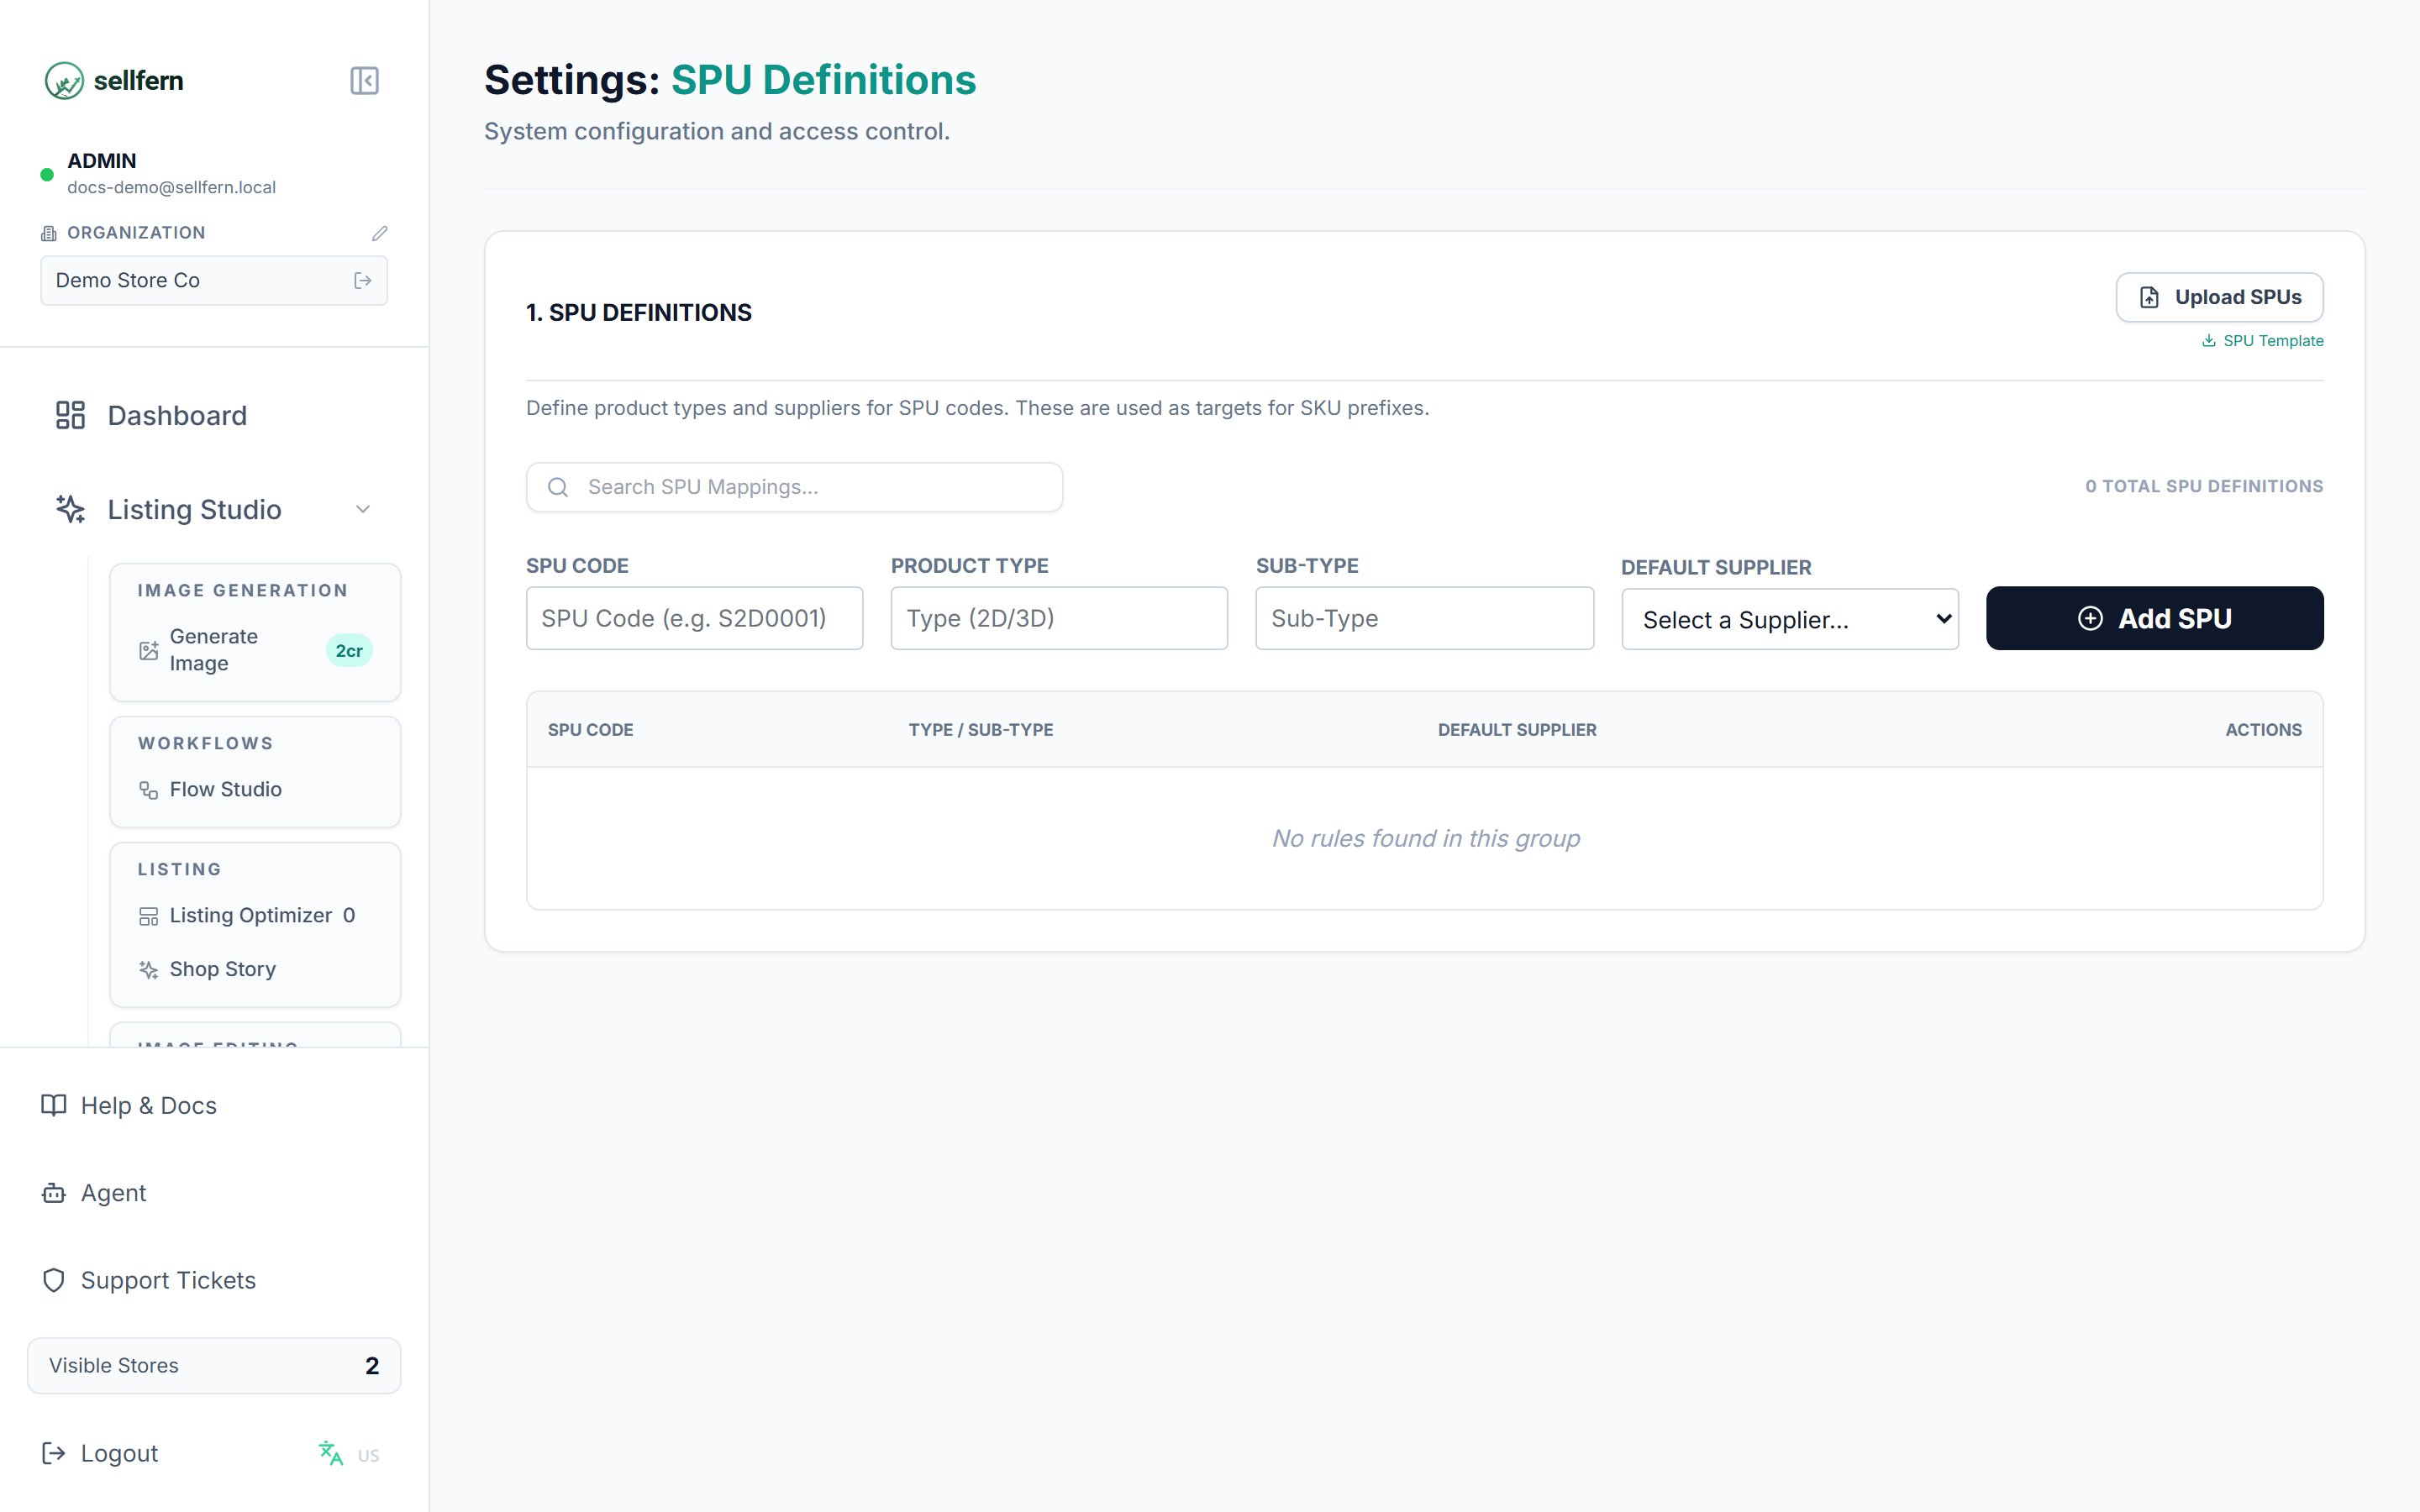
Settings → SPU Definitions — internal base products with default suppliers
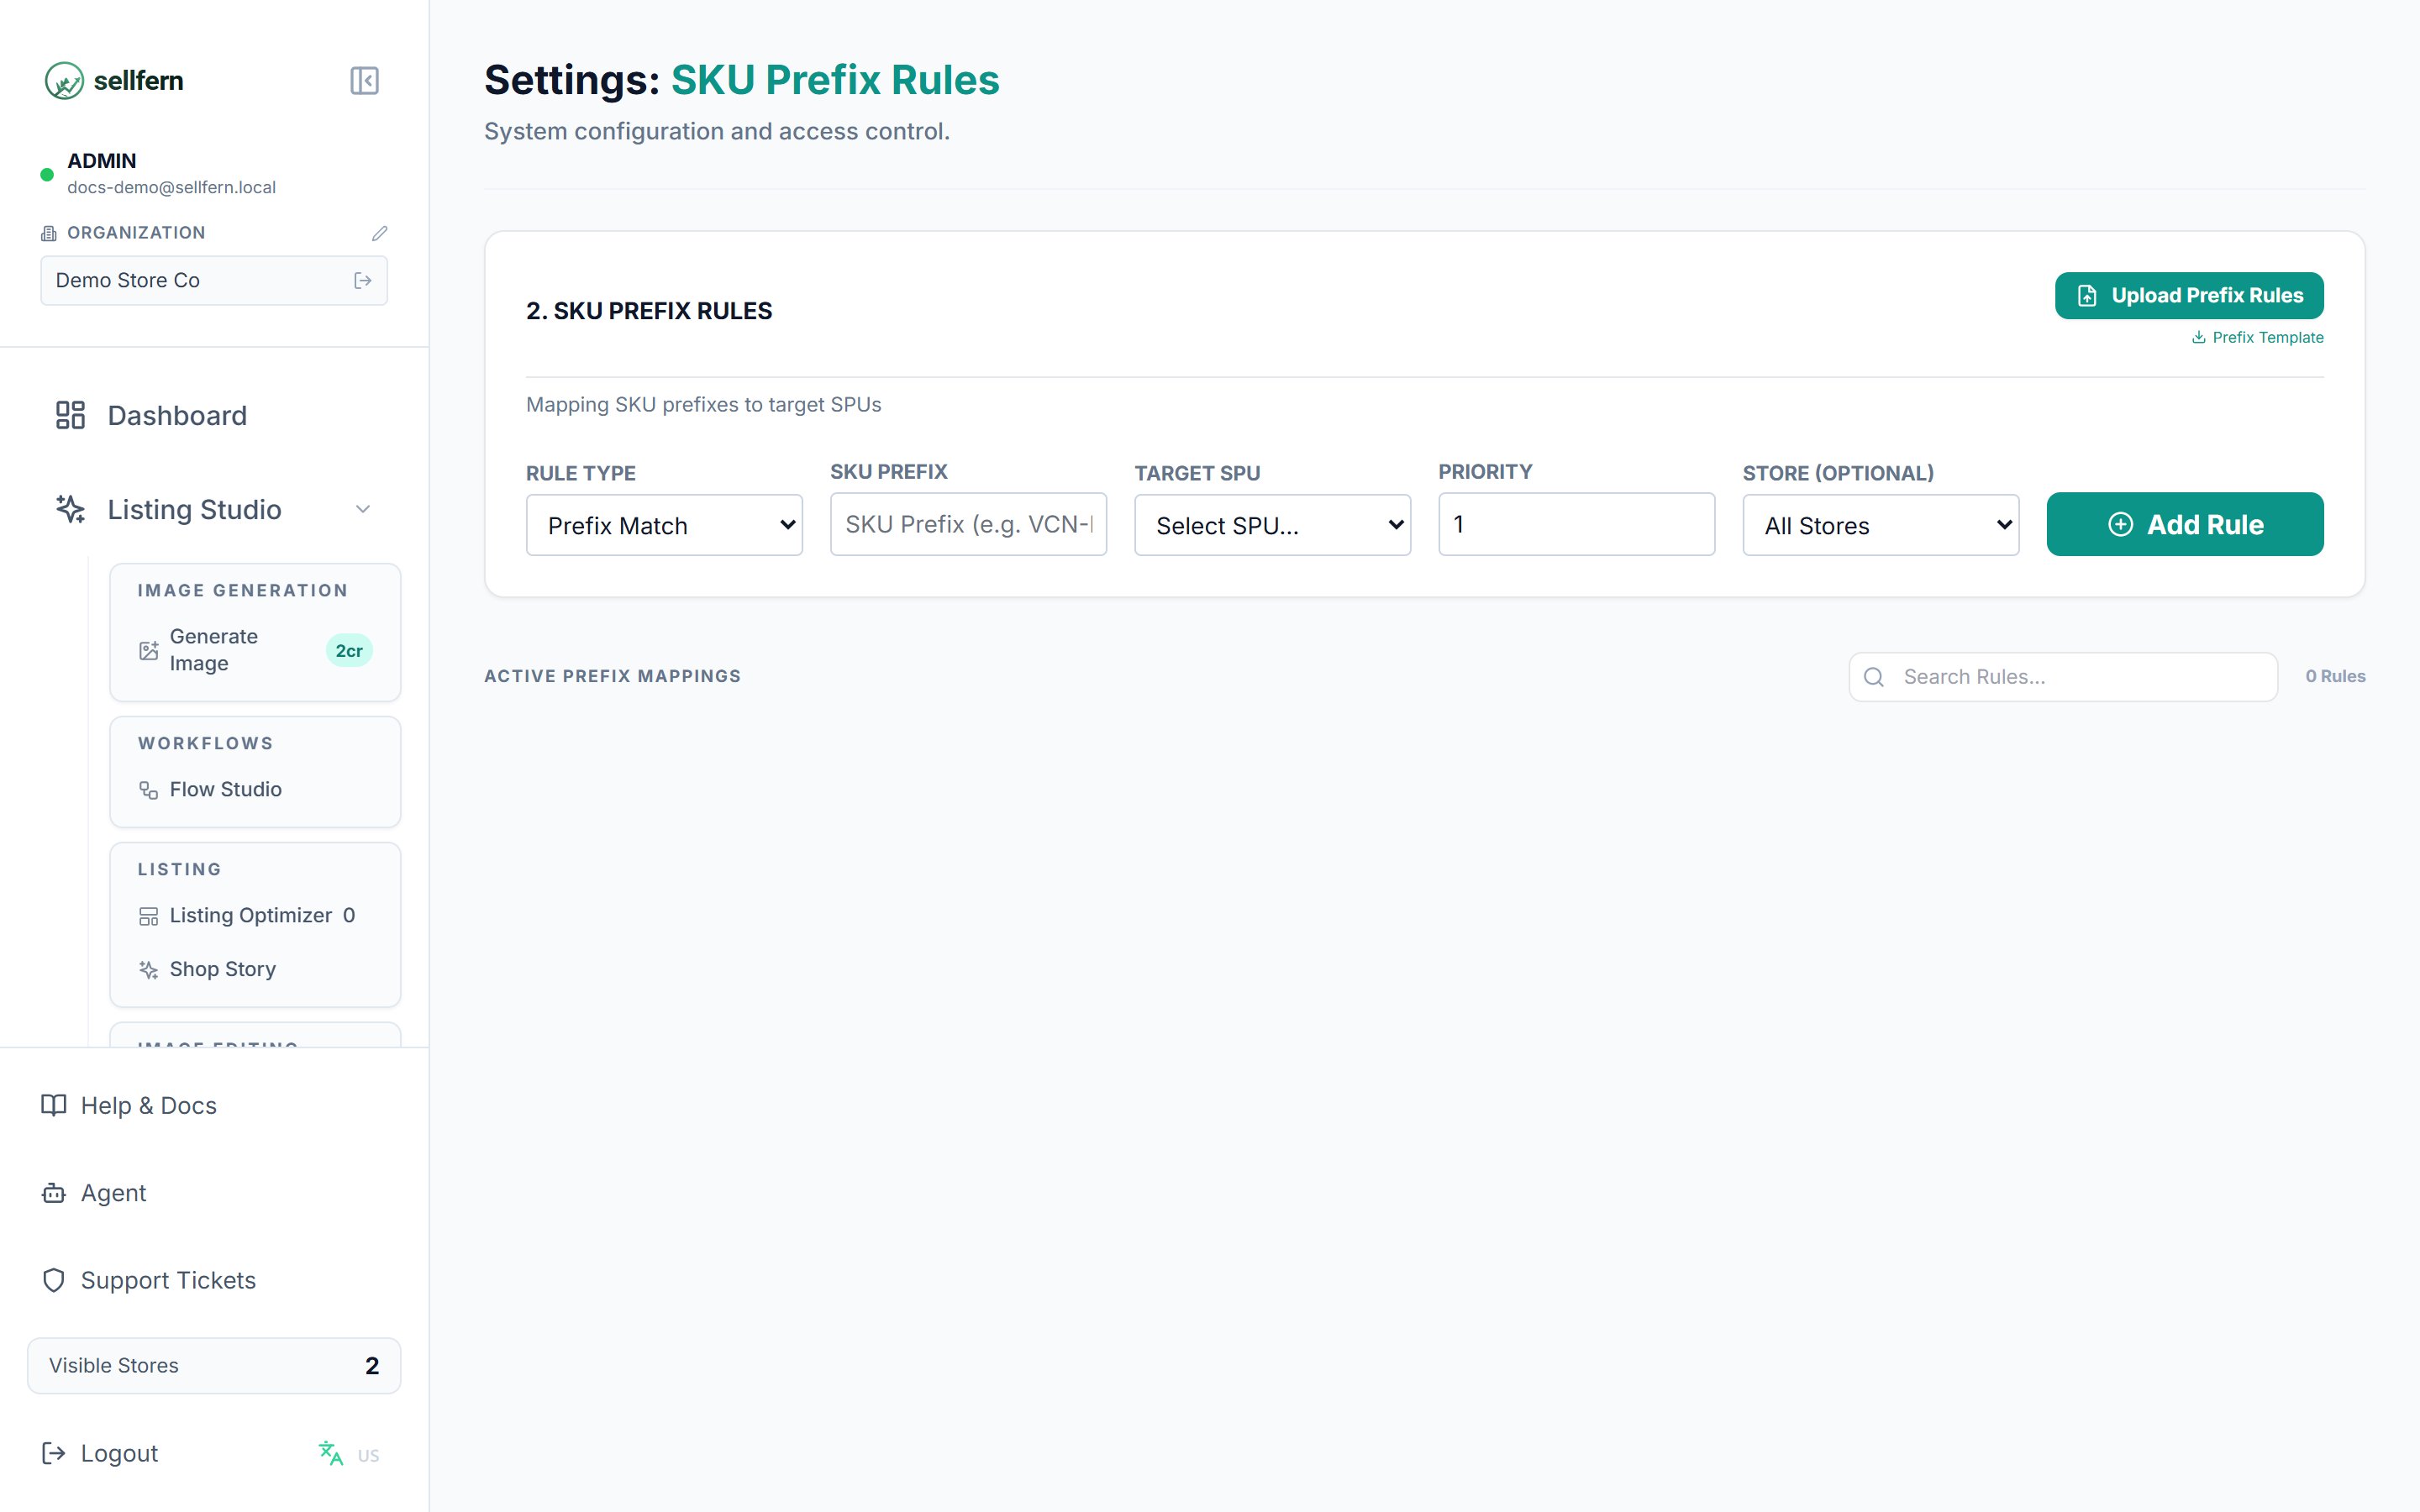
Settings → SKU Prefix Rules — where marketplace SKUs are mapped to internal SPUs
Settings visibility depends on your role and page permissions. If you cannot see a setting described here, ask an admin to check Settings → Users.