
Adding a store
Go to Settings → Stores to define the storefronts your orders belong to.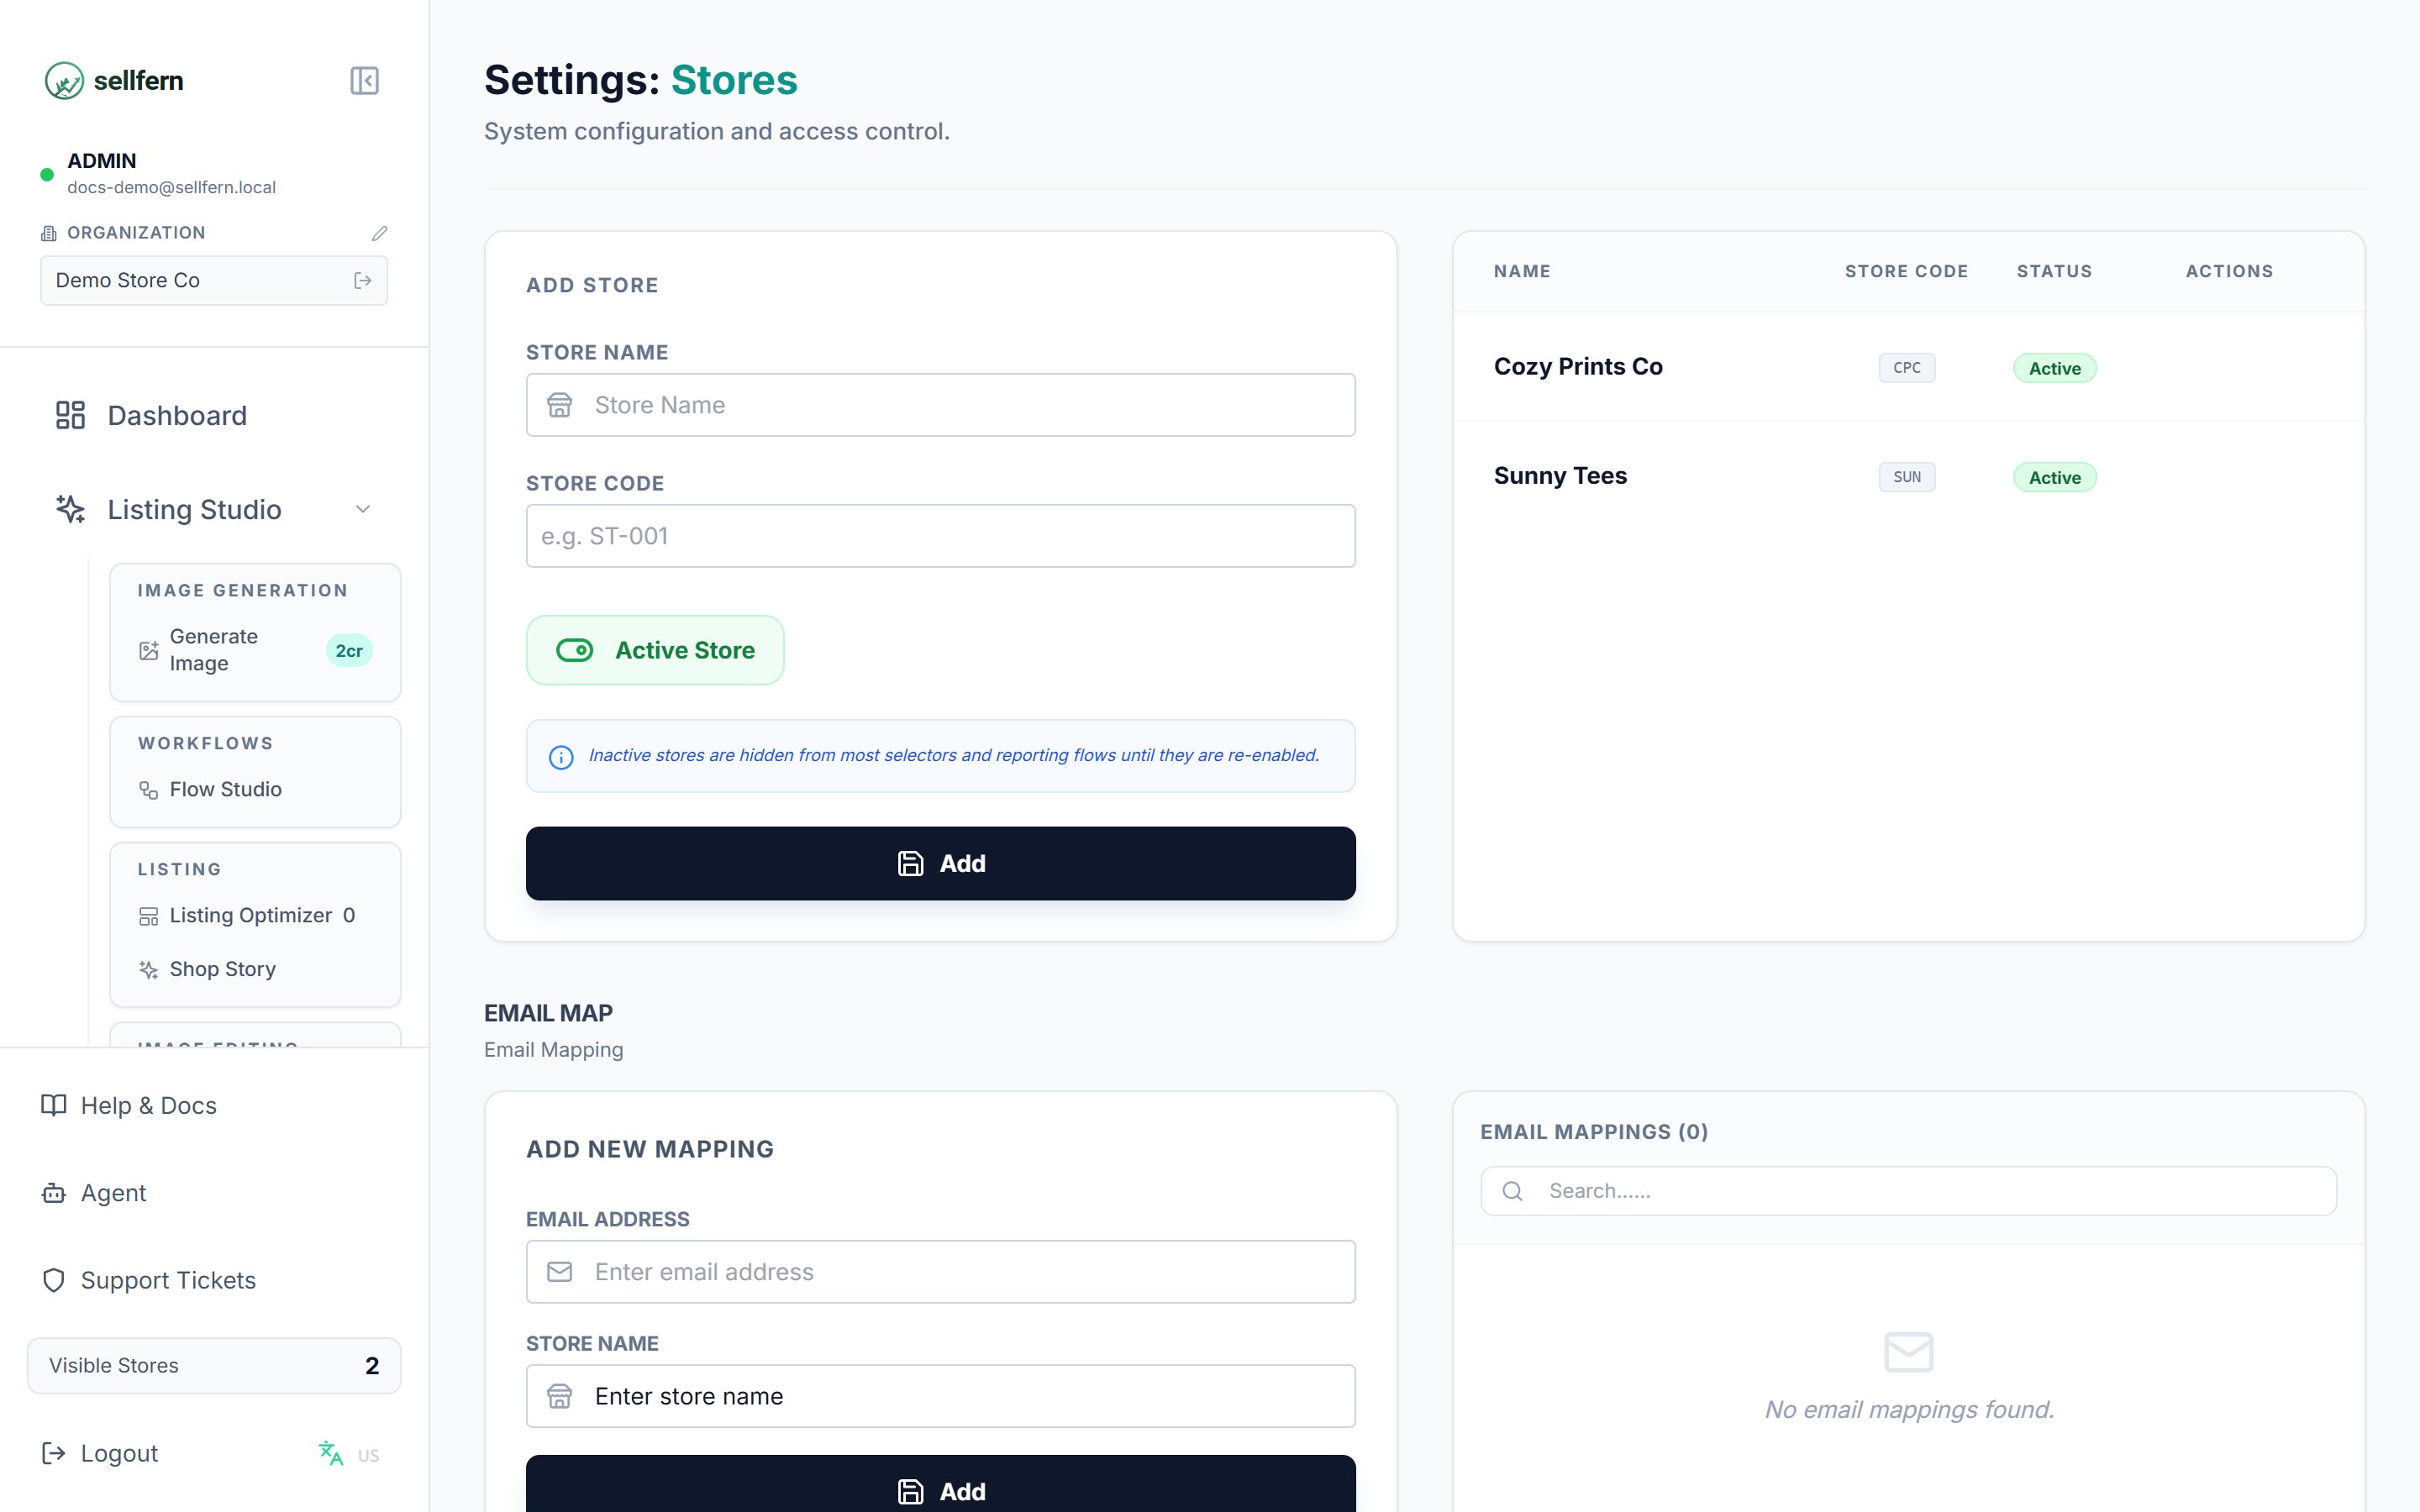
Settings → Stores with two configured storefronts
- Store name — a display name for the storefront (e.g., “My Etsy Shop”).
- Store code — a short identifier used for SKU matching and reporting (e.g.,
ST-001). - Platform — choose Etsy (OAuth 2.0 PKCE) or Shopify (Webhook/Custom App).
- Etsy Shop ID — numeric shop ID auto-detected from Etsy’s API during authorization or store creation.
- Active status — whether the store is currently in use.
Native Etsy OAuth 2.0 PKCE Integration
To enable direct, automated order ingestion (GET /receipts) and tracking push-back (POST /tracking), authorize your shop via official Etsy OAuth:
- Trigger authorization using any of the 3 entry points:
- Click Connect / Reconnect Etsy API on the top prompt banner (when a store is disconnected).
- Enter store details in the Add / Edit Store form with platform Etsy and click Connect via Etsy OAuth 2.0 (or Reconnect via Etsy OAuth 2.0).
- Click Reconnect directly under the API Status column next to any disconnected store row.
- Grant read/write permissions (
transactions_r,transactions_w,shops_r,email_r). - Upon returning, Sellfern stores encrypted access & refresh tokens, automatically refreshing access tokens before expiration.
- API Connection Status: Check the status badge next to any Etsy store:
- Connected (Green): Valid OAuth access token active.
- Disconnected (Amber): Token missing or expired — click Reconnect to re-authorize.
- Reconnection Banner: If any store loses its API connection, an alert banner appears at the top of Settings → Stores.
- Disconnect Action: Use Disconnect API Integration to revoke OAuth access safely while preserving historical store order records.
Store access for Manager and Support users is configured in Settings → Users. Assign only the stores each user actively manages or supports.
Email Map
The Email Map connects sender email addresses to specific stores. Sellfern uses these mappings during Gmail Live Sync to route incoming orders to the correct storefront automatically. To add a mapping, go to Settings → Email Map, enter the sender email address, and select the target store. Add one mapping for each sender address that should route to a store.Adding a supplier
Go to Settings → Suppliers to create supplier records for partners involved in production and fulfillment.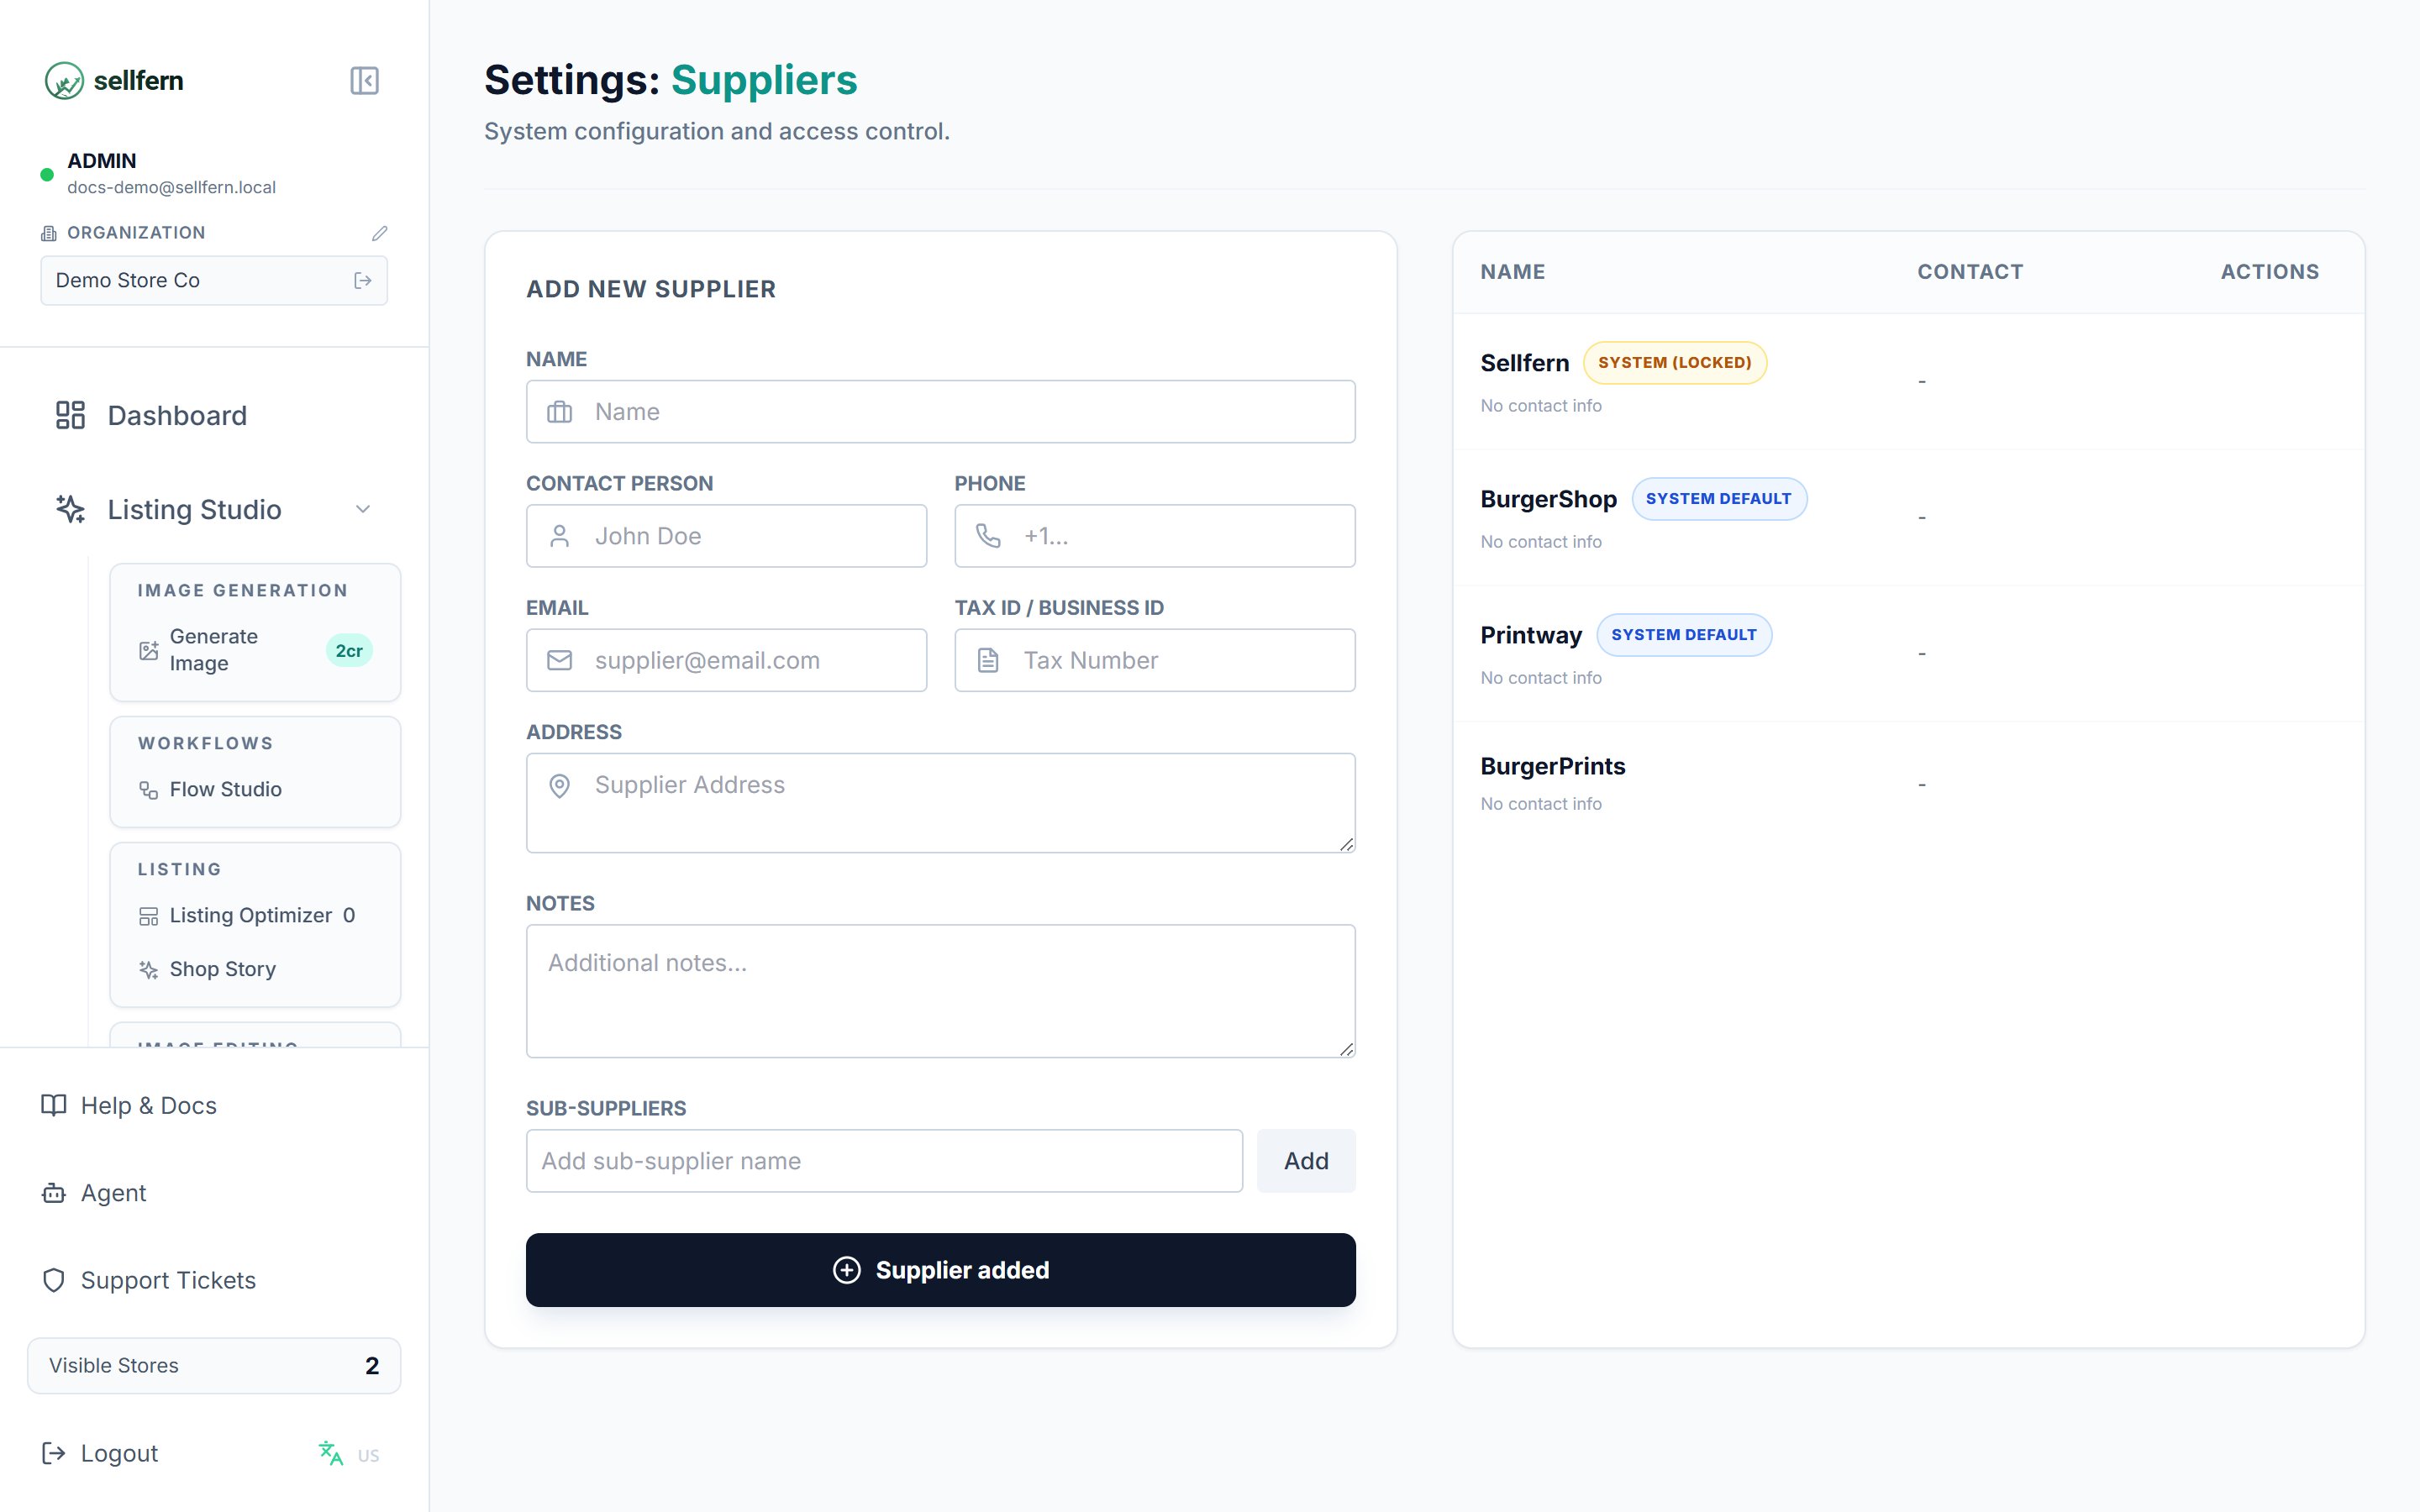
Settings → Suppliers — supplier profiles used by costing and fulfillment
- Cost workflows — when you assign a supplier to an order item in the Ledger, Sellfern uses the supplier record to track production costs against that partner.
- Supplier role users — if you create a user with the Supplier role, that account must be linked to a supplier record. The linked record controls what the external partner can access.