
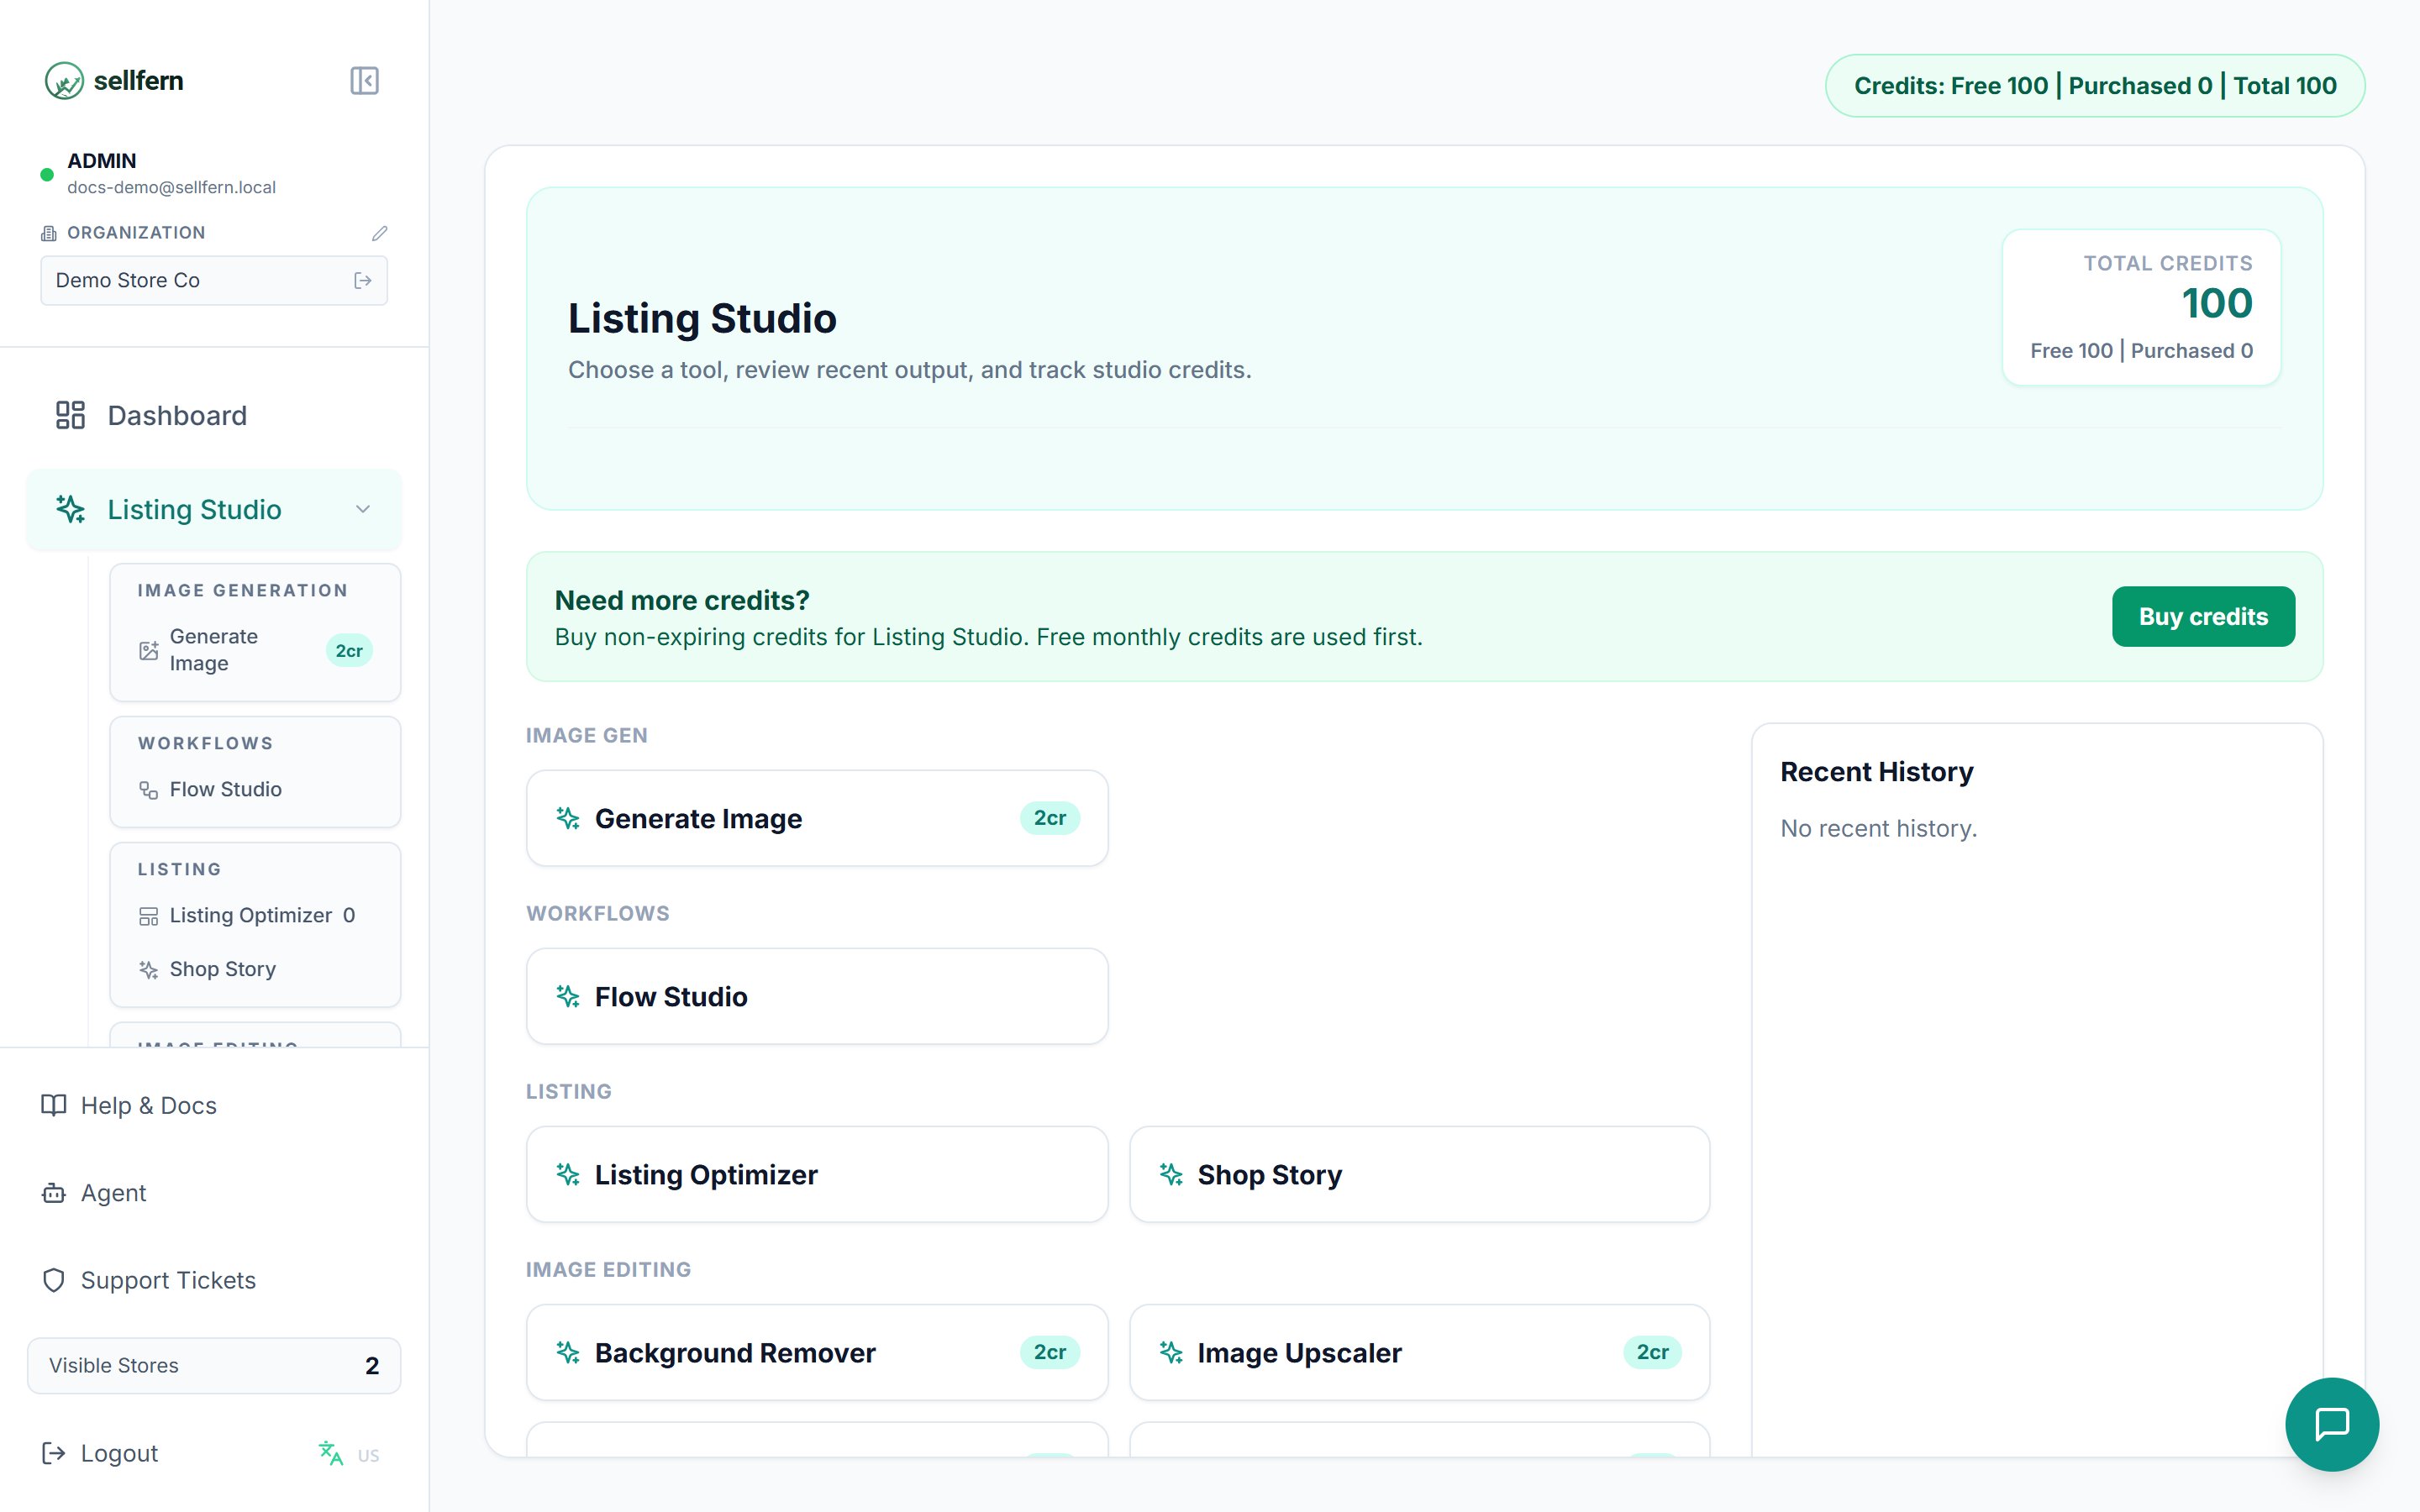
The Listing Studio dashboard with tool groups and credit costs in the sidebar
Navigation overview
The sidebar groups tools by purpose. Each tool shows its credit cost (cr) directly in the menu so you know the usage before running.Image Generation
Generate Image — 2 credits
Create a brand-new design image from a text description. Use it when you need a starting artwork and have no design file yet.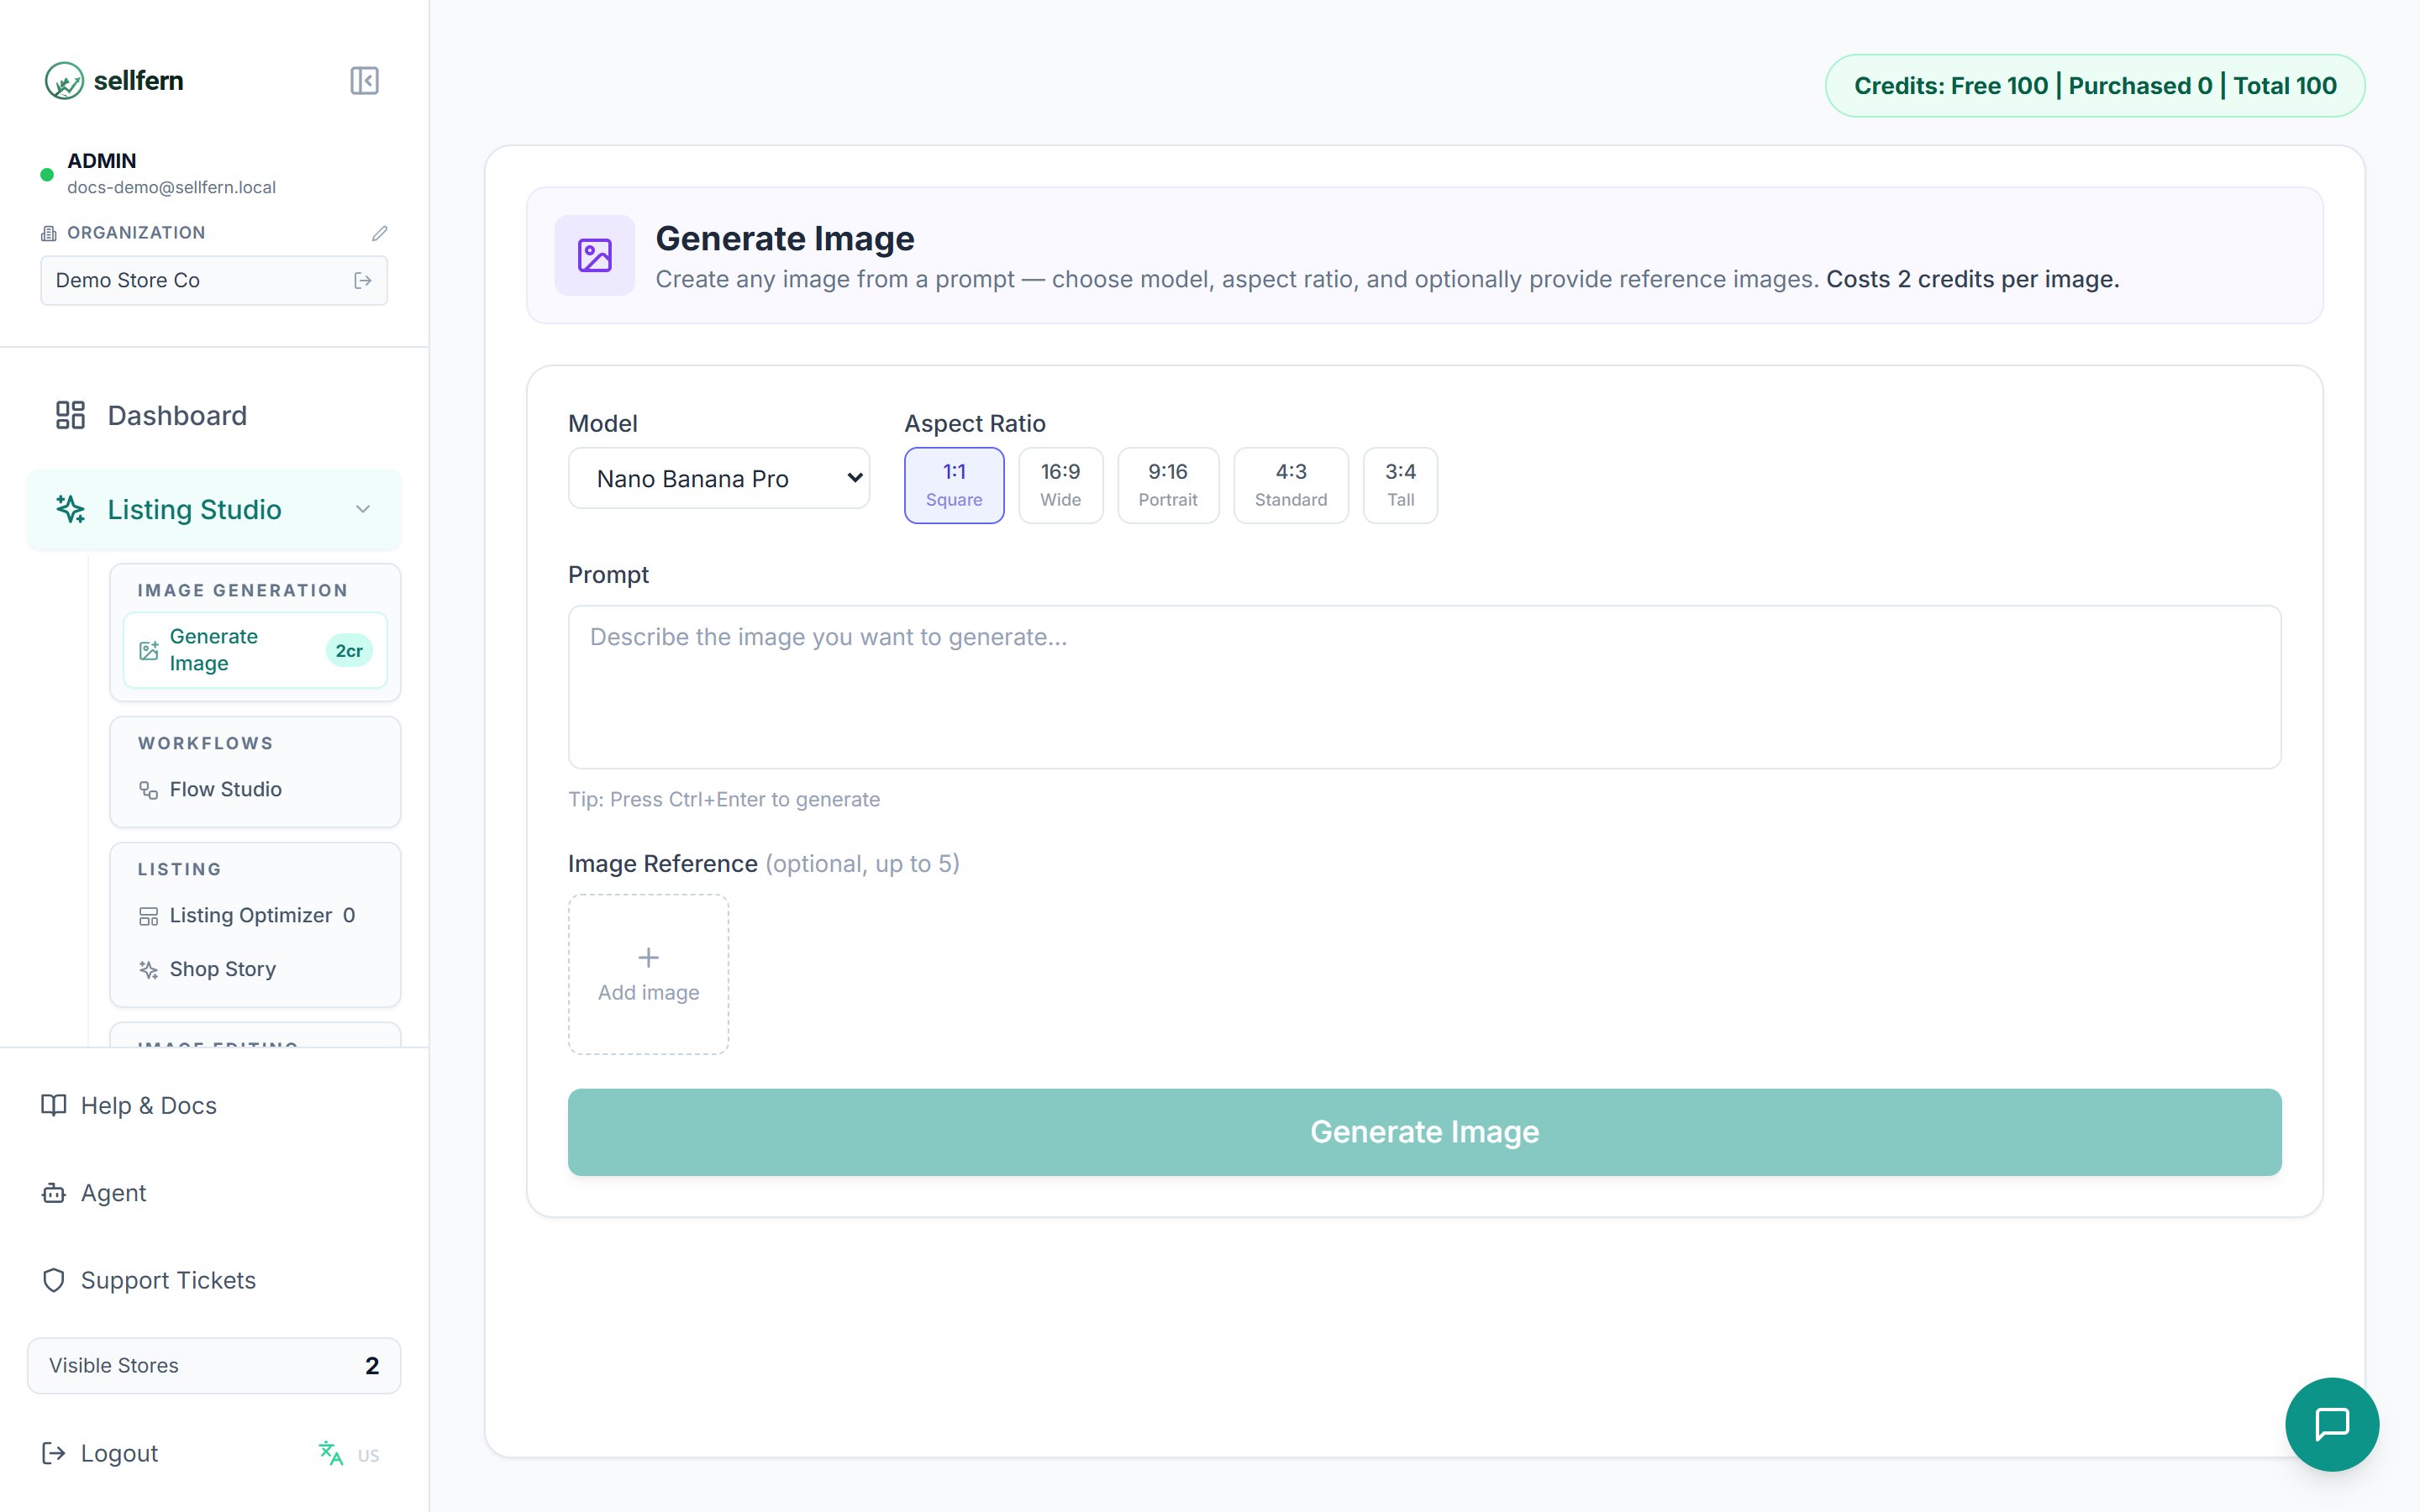
Generate Image: pick a model and aspect ratio, write the prompt, and add up to 5 reference images
Pick a model and aspect ratio
Write the prompt
Add reference images (optional)
Generate and download
Workflows
Flow Studio — credits per enabled step
Flow Studio is an assembly line that batch-processes images through multiple tools in sequence, instead of running each tool by hand.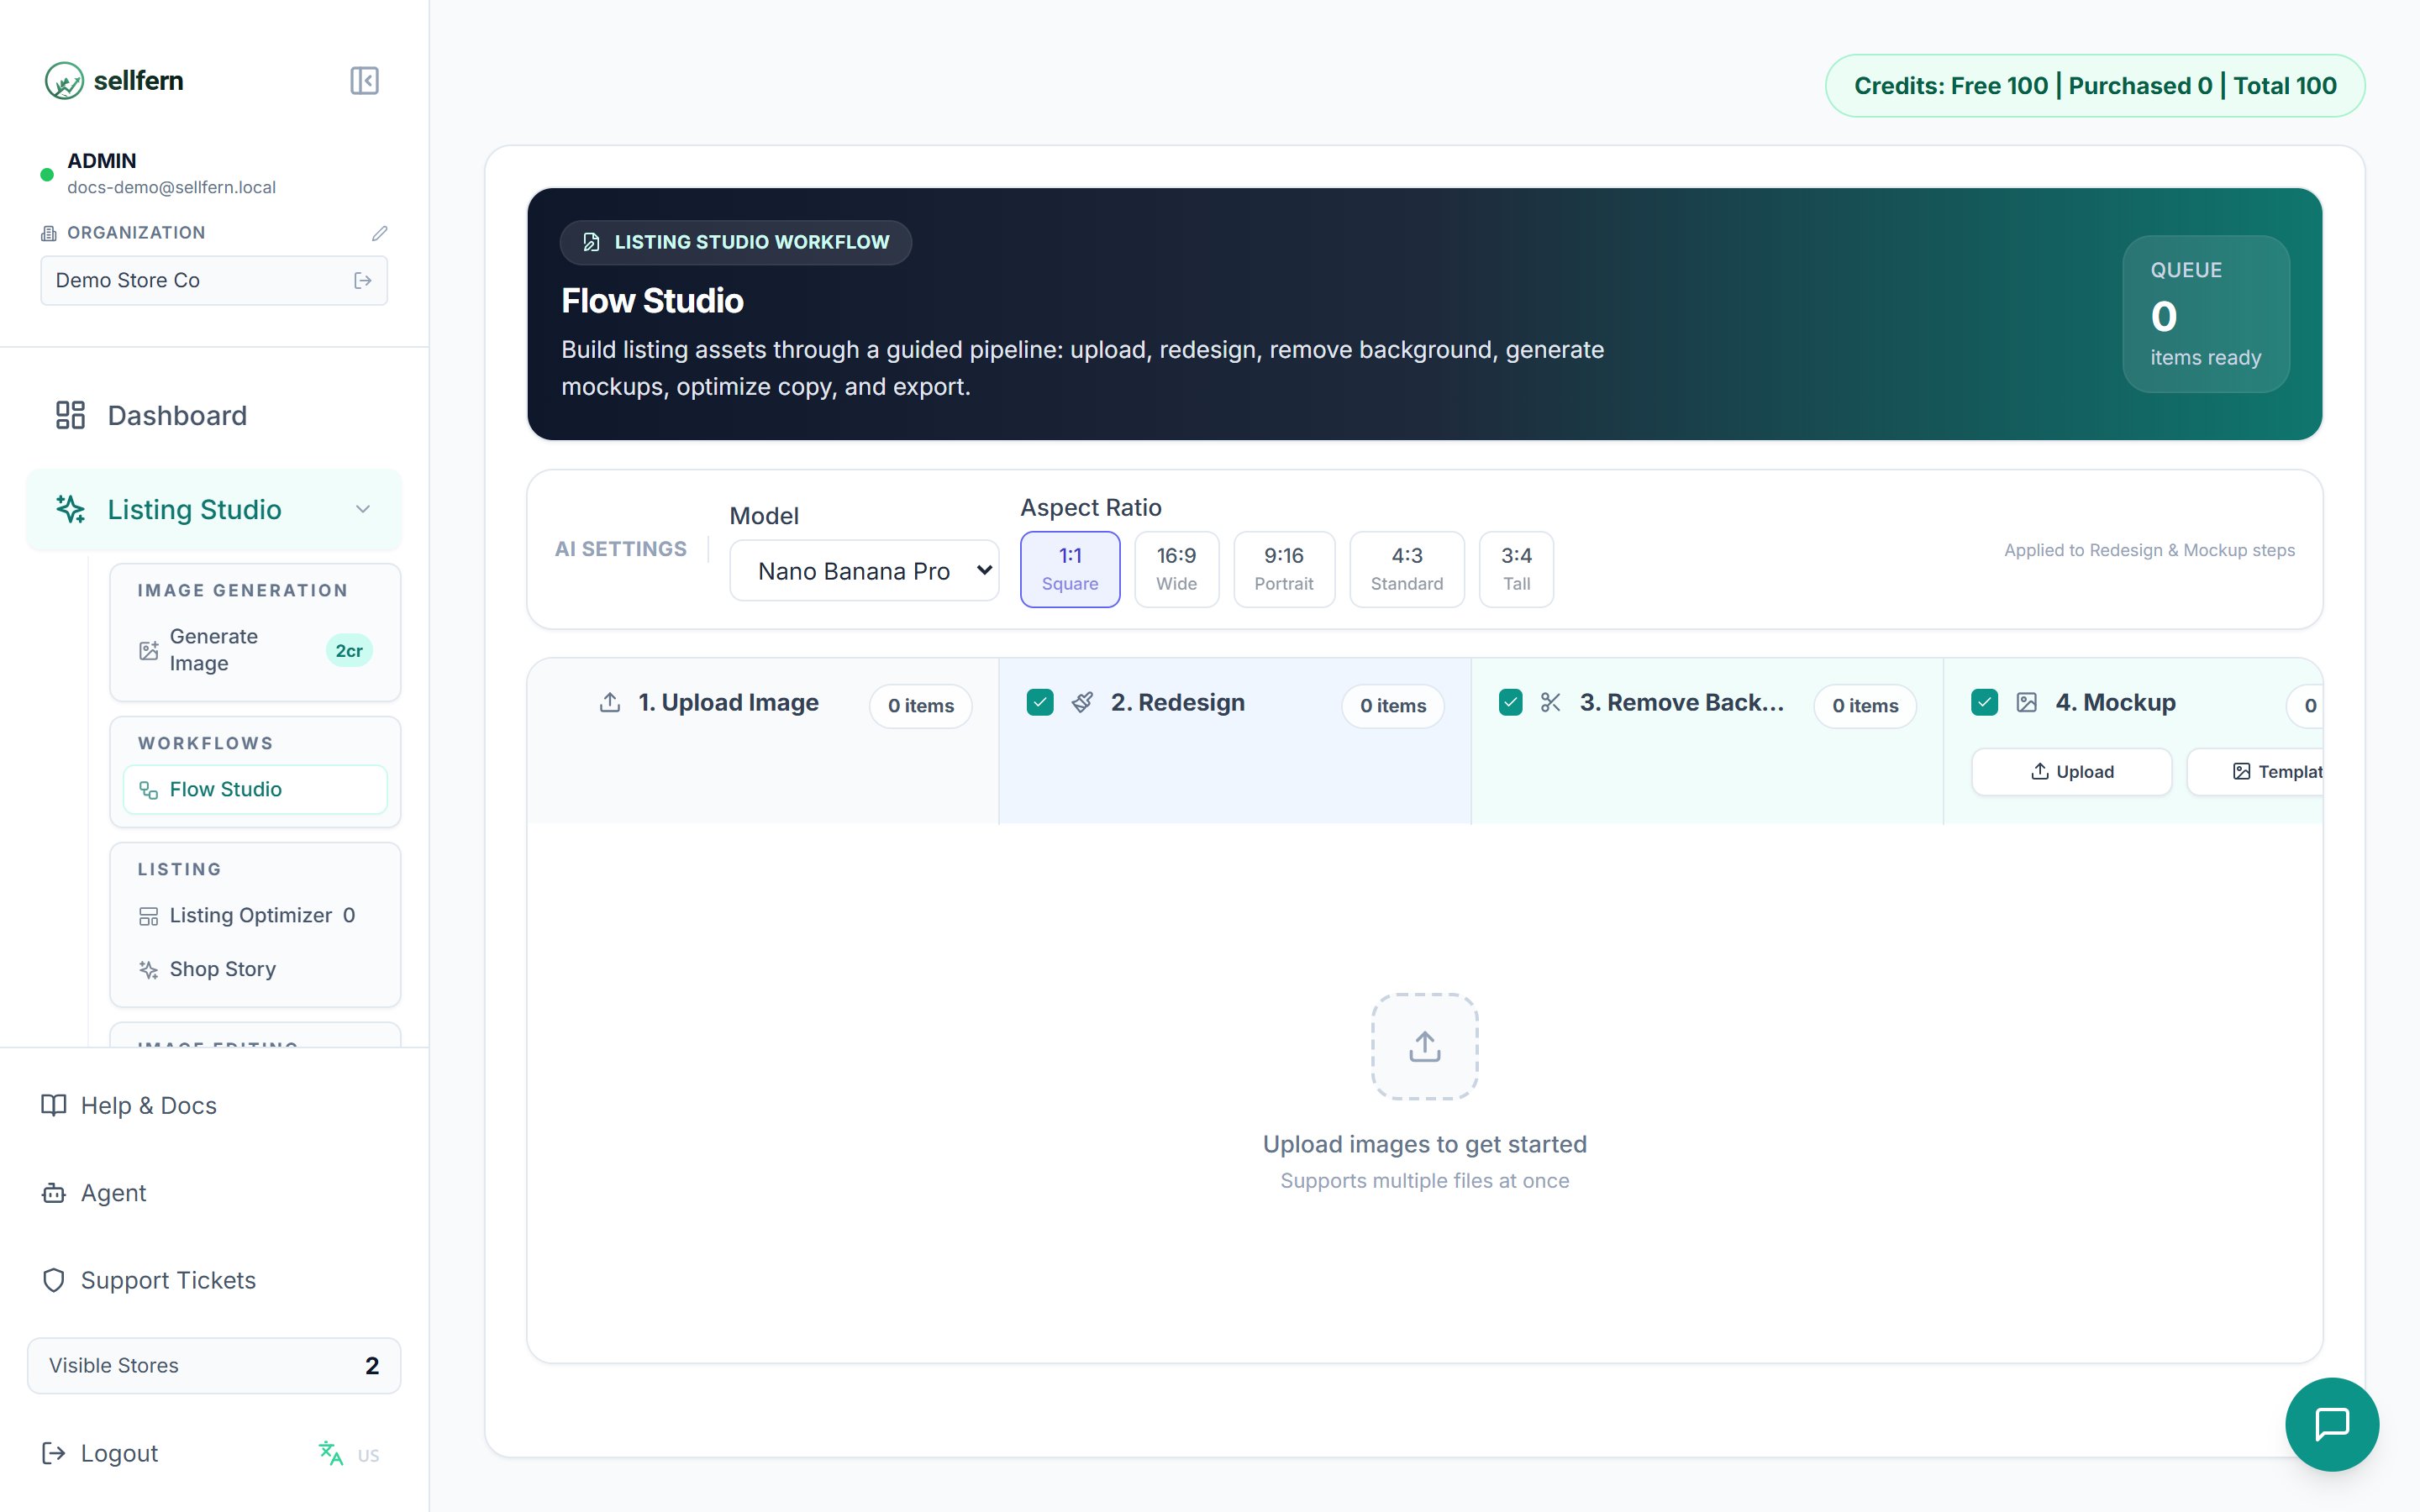
Flow Studio: each column is a pipeline step and can be toggled; every uploaded image runs through the whole chain
- Upload — add one or many source images.
- Redesign — restyle the design from a prompt (optional, toggleable).
- Remove BG — automatic background removal.
- Mockup — place the design on mockup images; pick from your Template Library.
- Listing — AI writes the listing title, tags, and description.
- Export — bundles the final image + listing copy into one result with quick copy buttons per field.
- Toggle steps on/off — you only pay credits for enabled steps; if you just need Remove BG + Mockup, disable Redesign and Listing.
- Batch processing — drop in 10 designs and get back 10 complete sets (mockup image + title + tags + description) at once.
- Each step reports its own status (Running / Done / Error), so one failed step doesn’t ruin the whole batch.
Listing
Listing Optimizer — free (video: 3 credits)
Optimize your Etsy listing copy and generate a promo video in one step.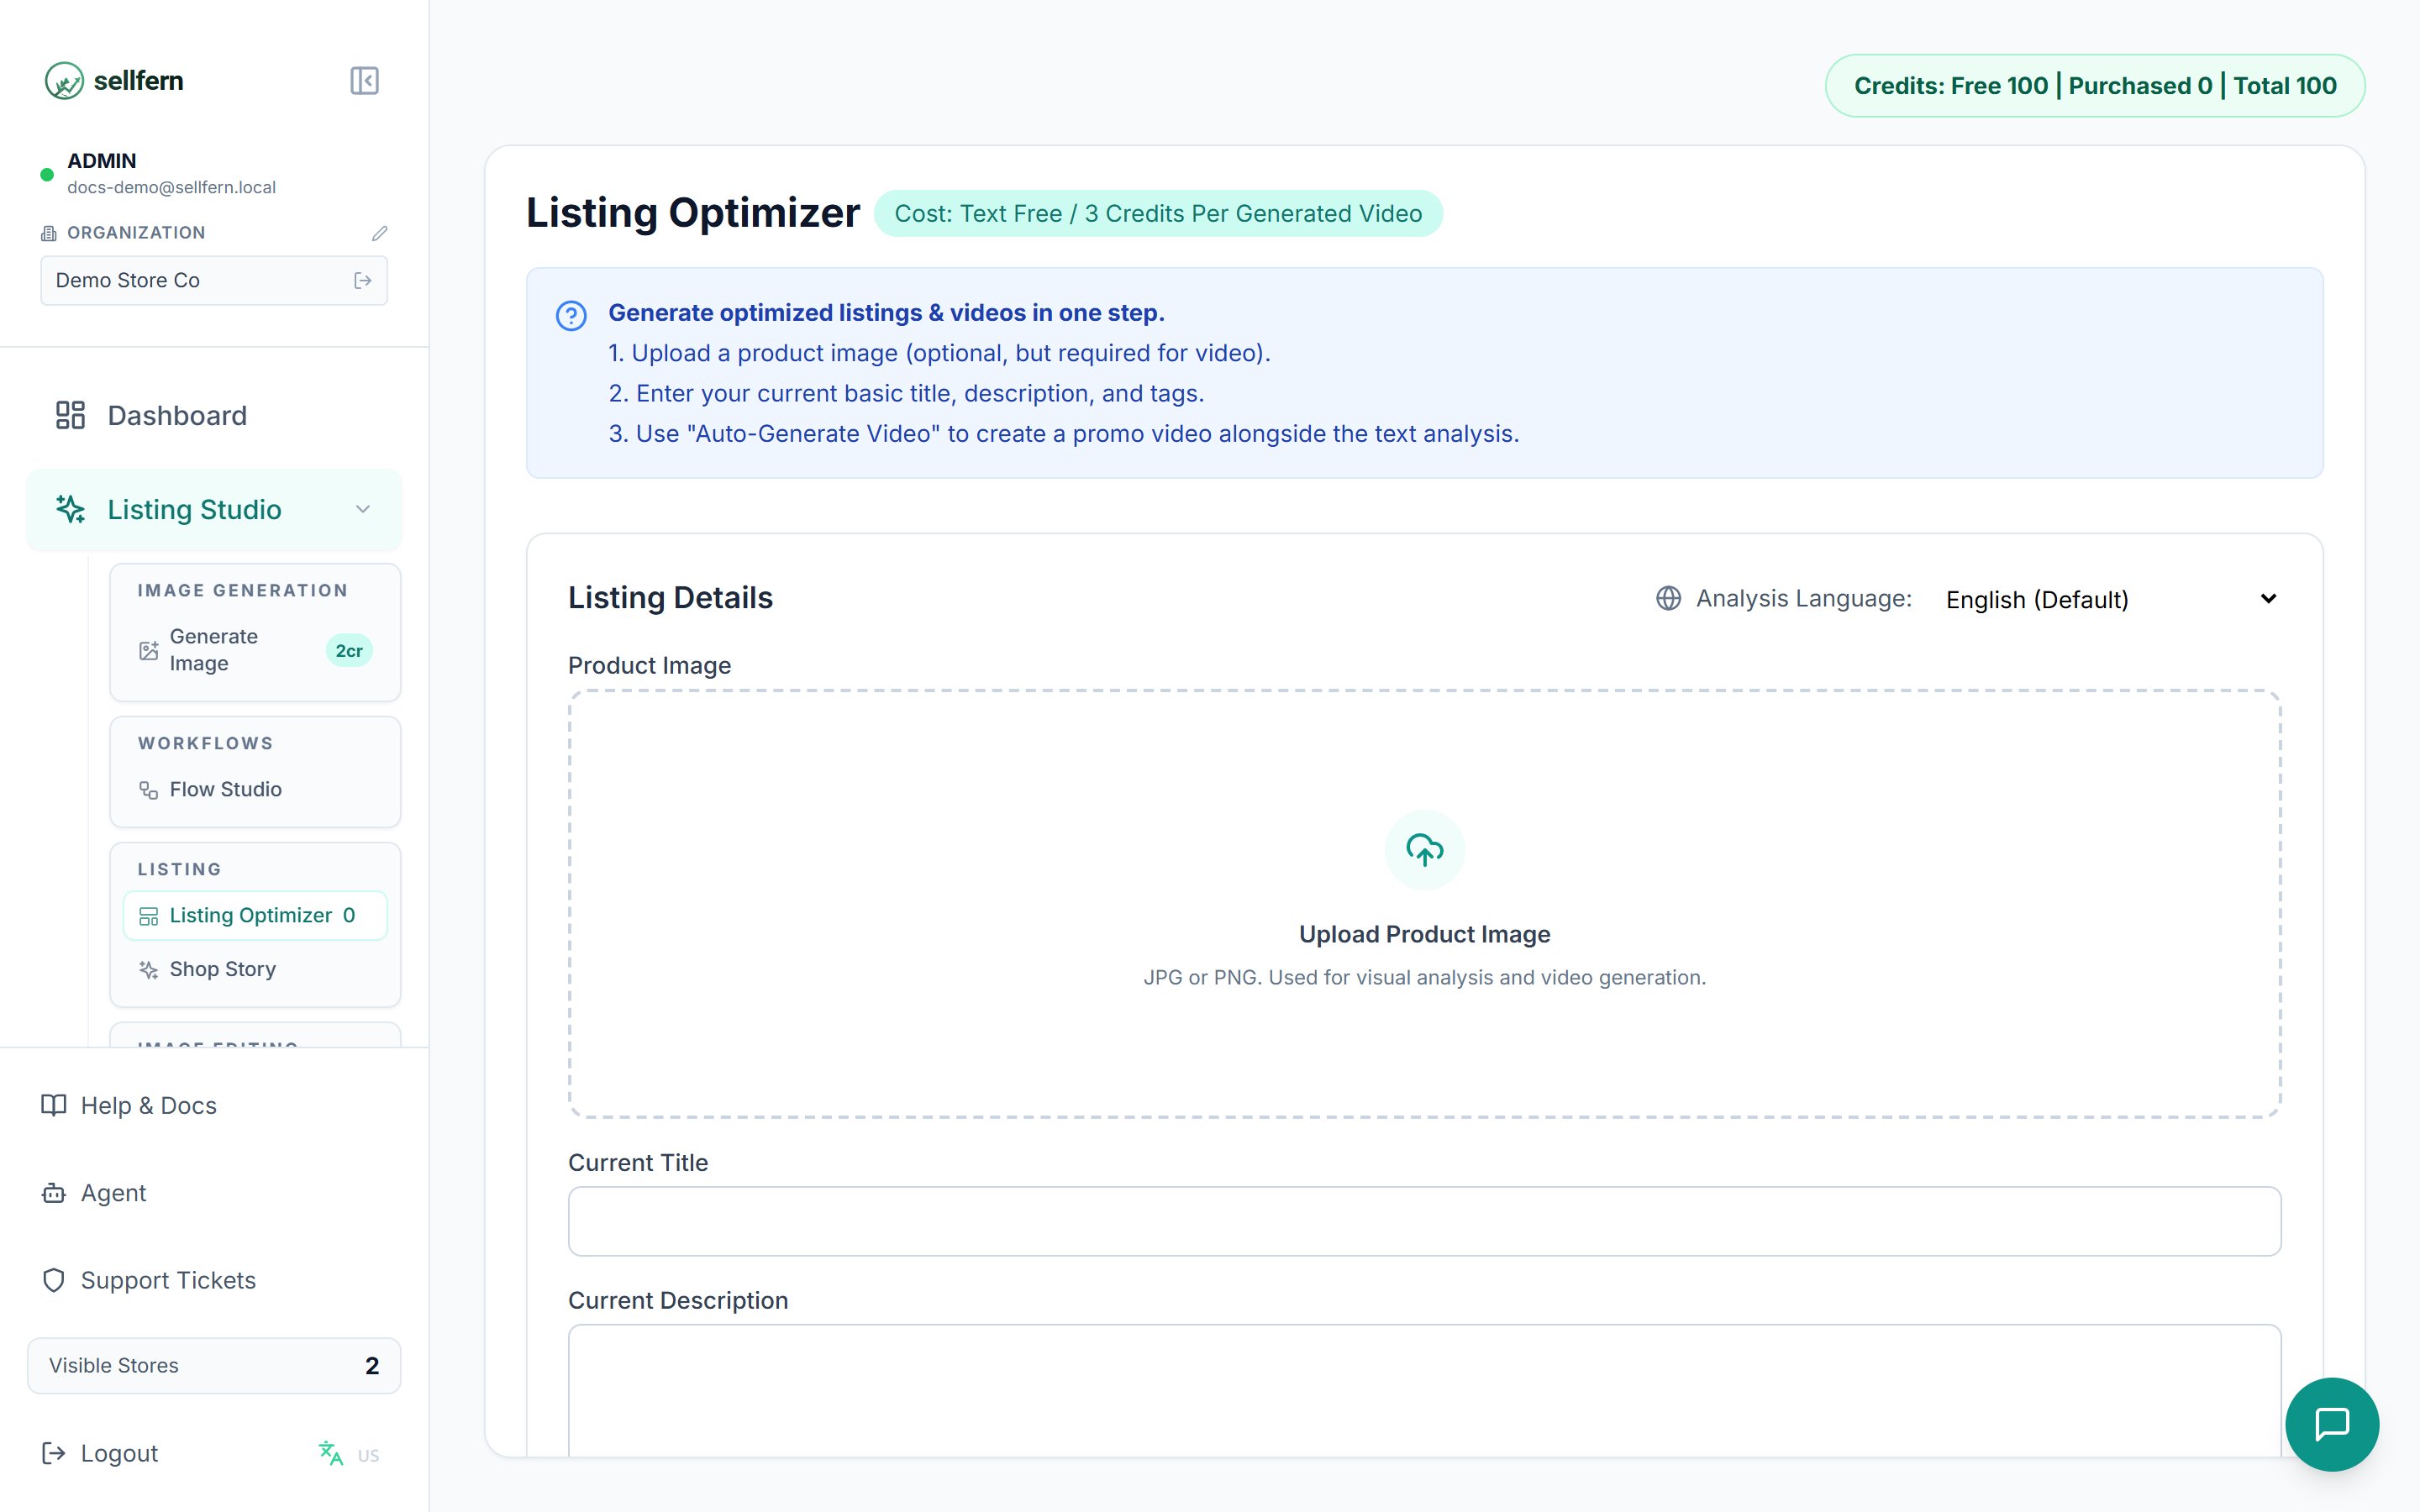
Listing Optimizer: enter your current title/description/tags, optionally upload an image and enable video
Upload a product image (optional)
Enter your current content
Enable Auto-Generate Video if needed
Collect the results
Shop Story Generator — free
Generates the full “About” package for your Etsy shop: the shop story, a headline, member bios, a shop title, and an announcement. Give it a few notes about your brand (what you sell, for whom, what makes it special) — the AI writes polished, Etsy-toned copy.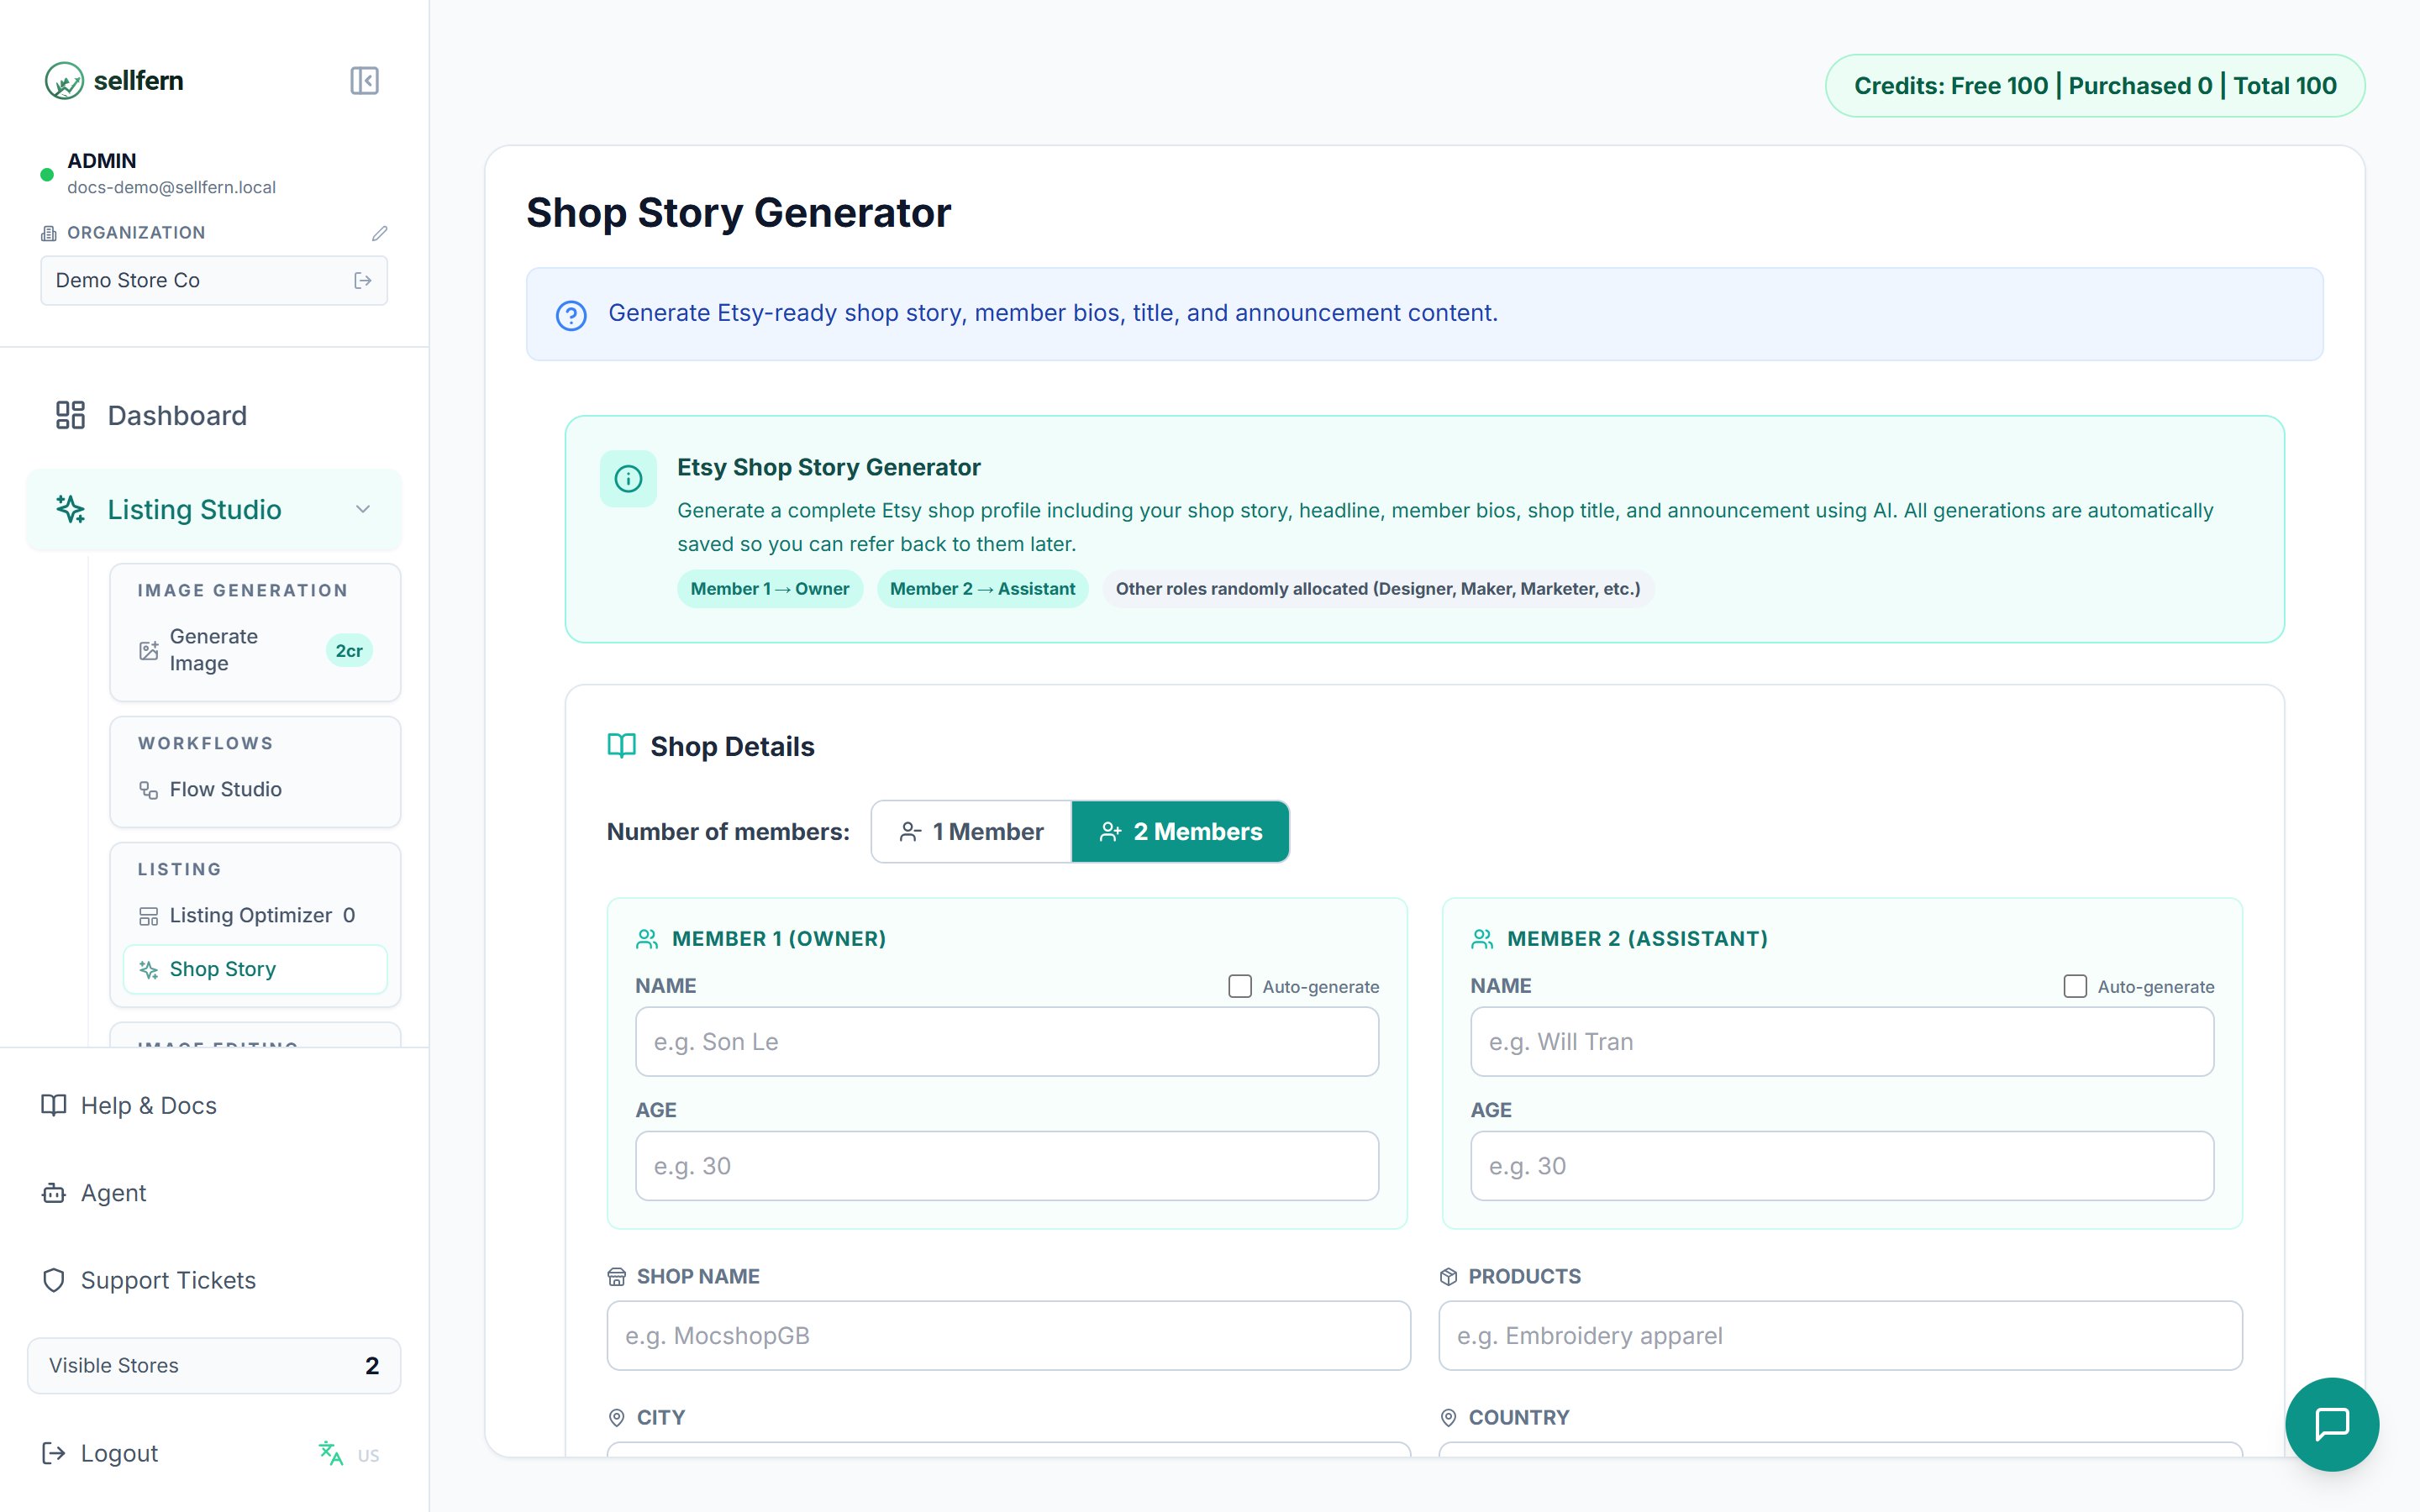
Shop Story Generator — the full About package for an Etsy shop
IP Check
Image Editing
Background Remover — 2 credits
Removes the background from an image instantly. Upload → receive a transparent PNG. Use it before mockups or whenever you need a clean-background product shot.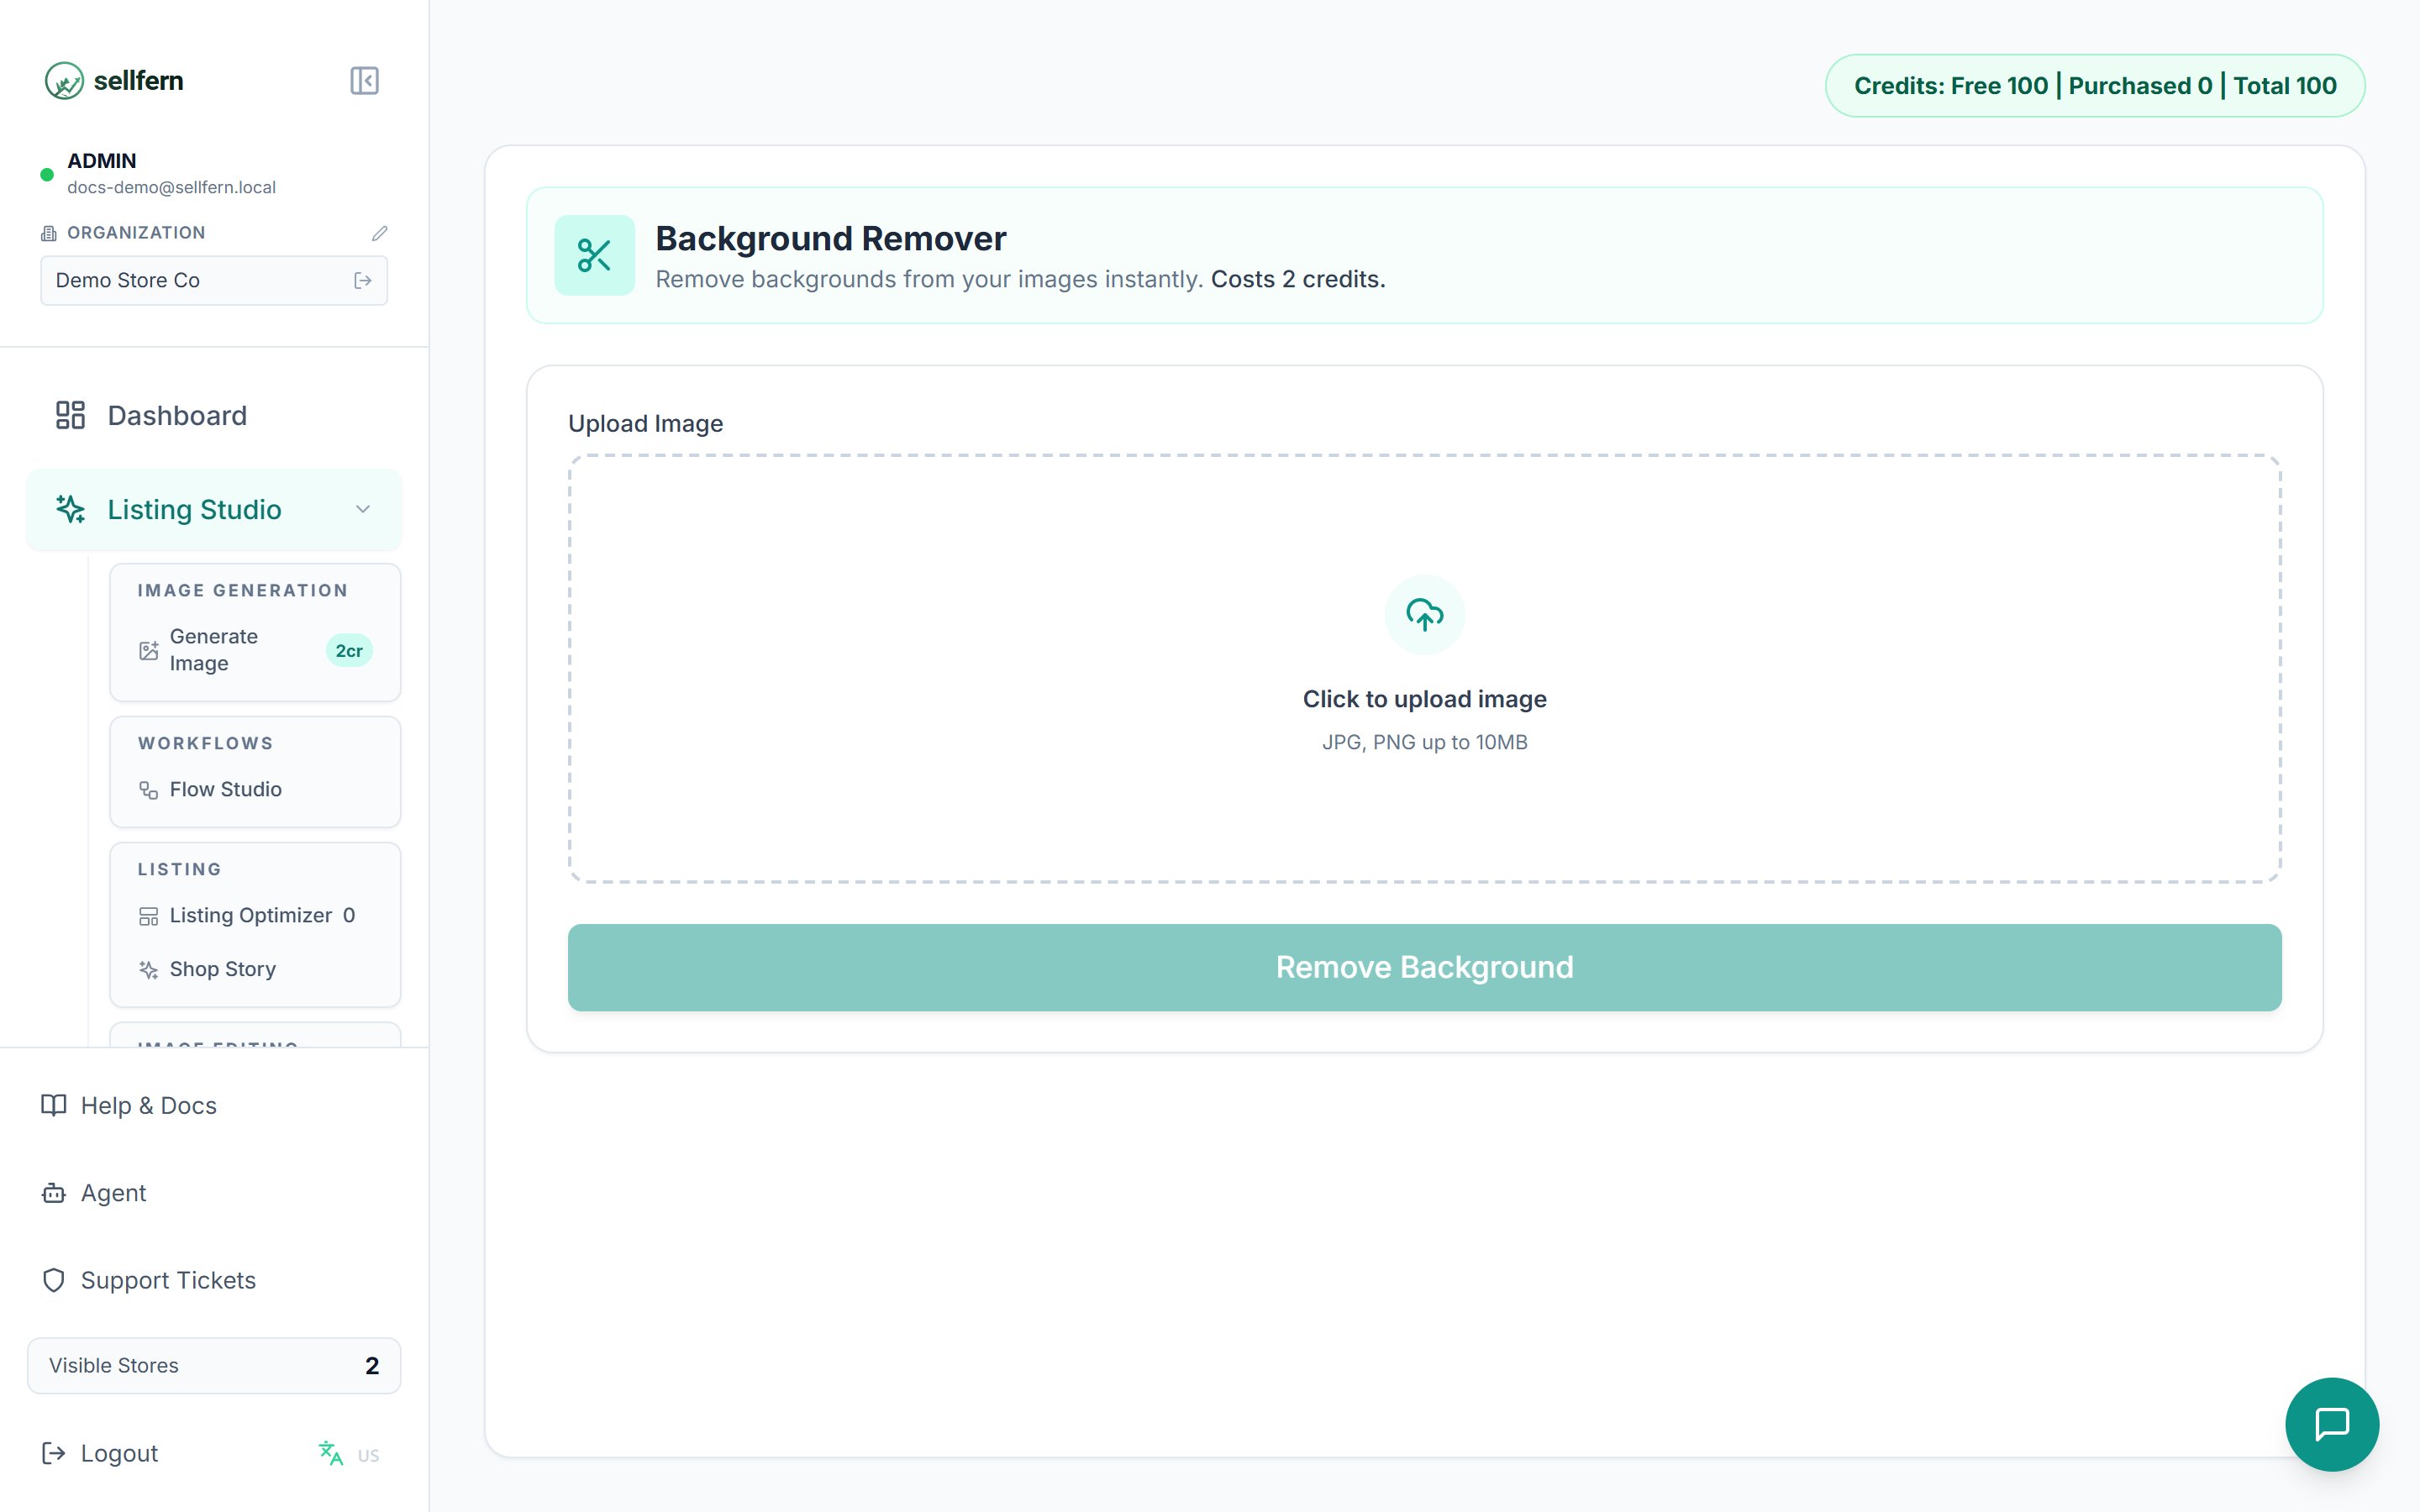
Background Remover — upload an image, get a transparent PNG
Image Upscaler — 2 credits
Increases image resolution while preserving detail — for when the original design is too small to print (e.g. a 500px image that needs to become a print file). Upload an image and get a high-quality enlargement.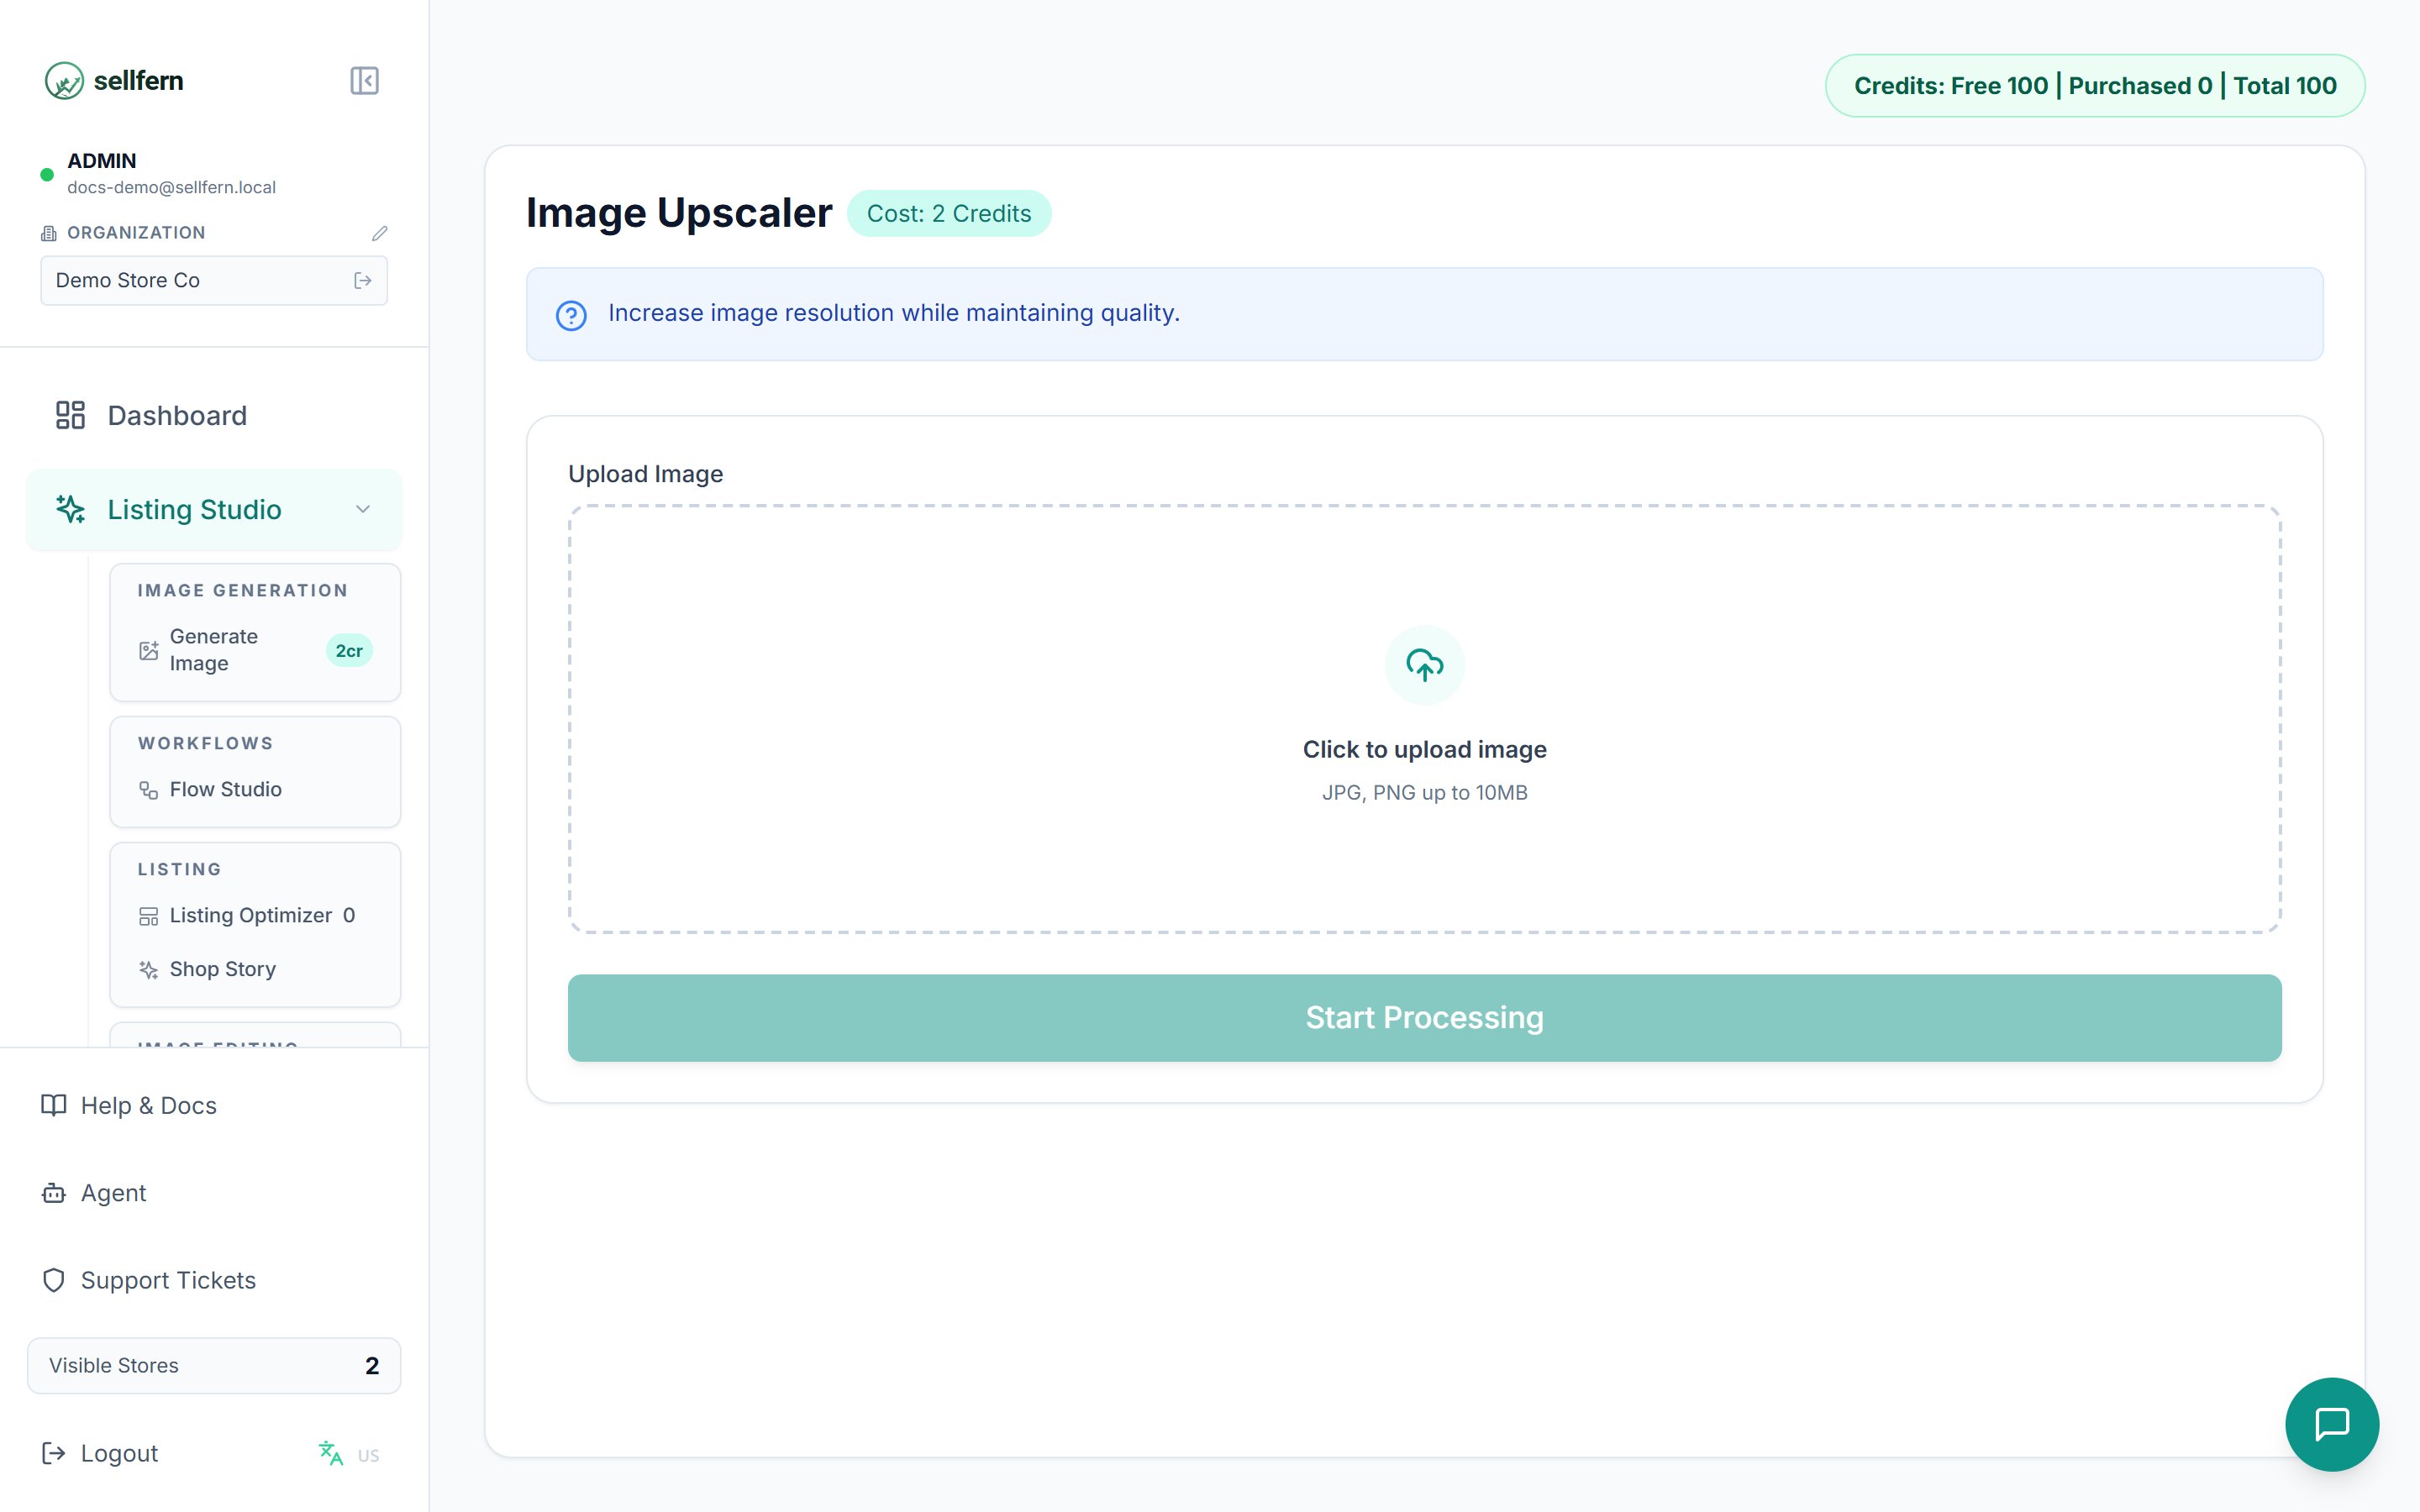
Image Upscaler — enlarge images for print-ready output
Design Extractor (Clone) — 2 credits
Extracts the design from a real product photo. Upload a photo of a printed T-shirt or mug — the AI isolates just the graphic, removes the background, and returns a clean, print-ready PNG. Use it when you have an old product photo but lost the original design file.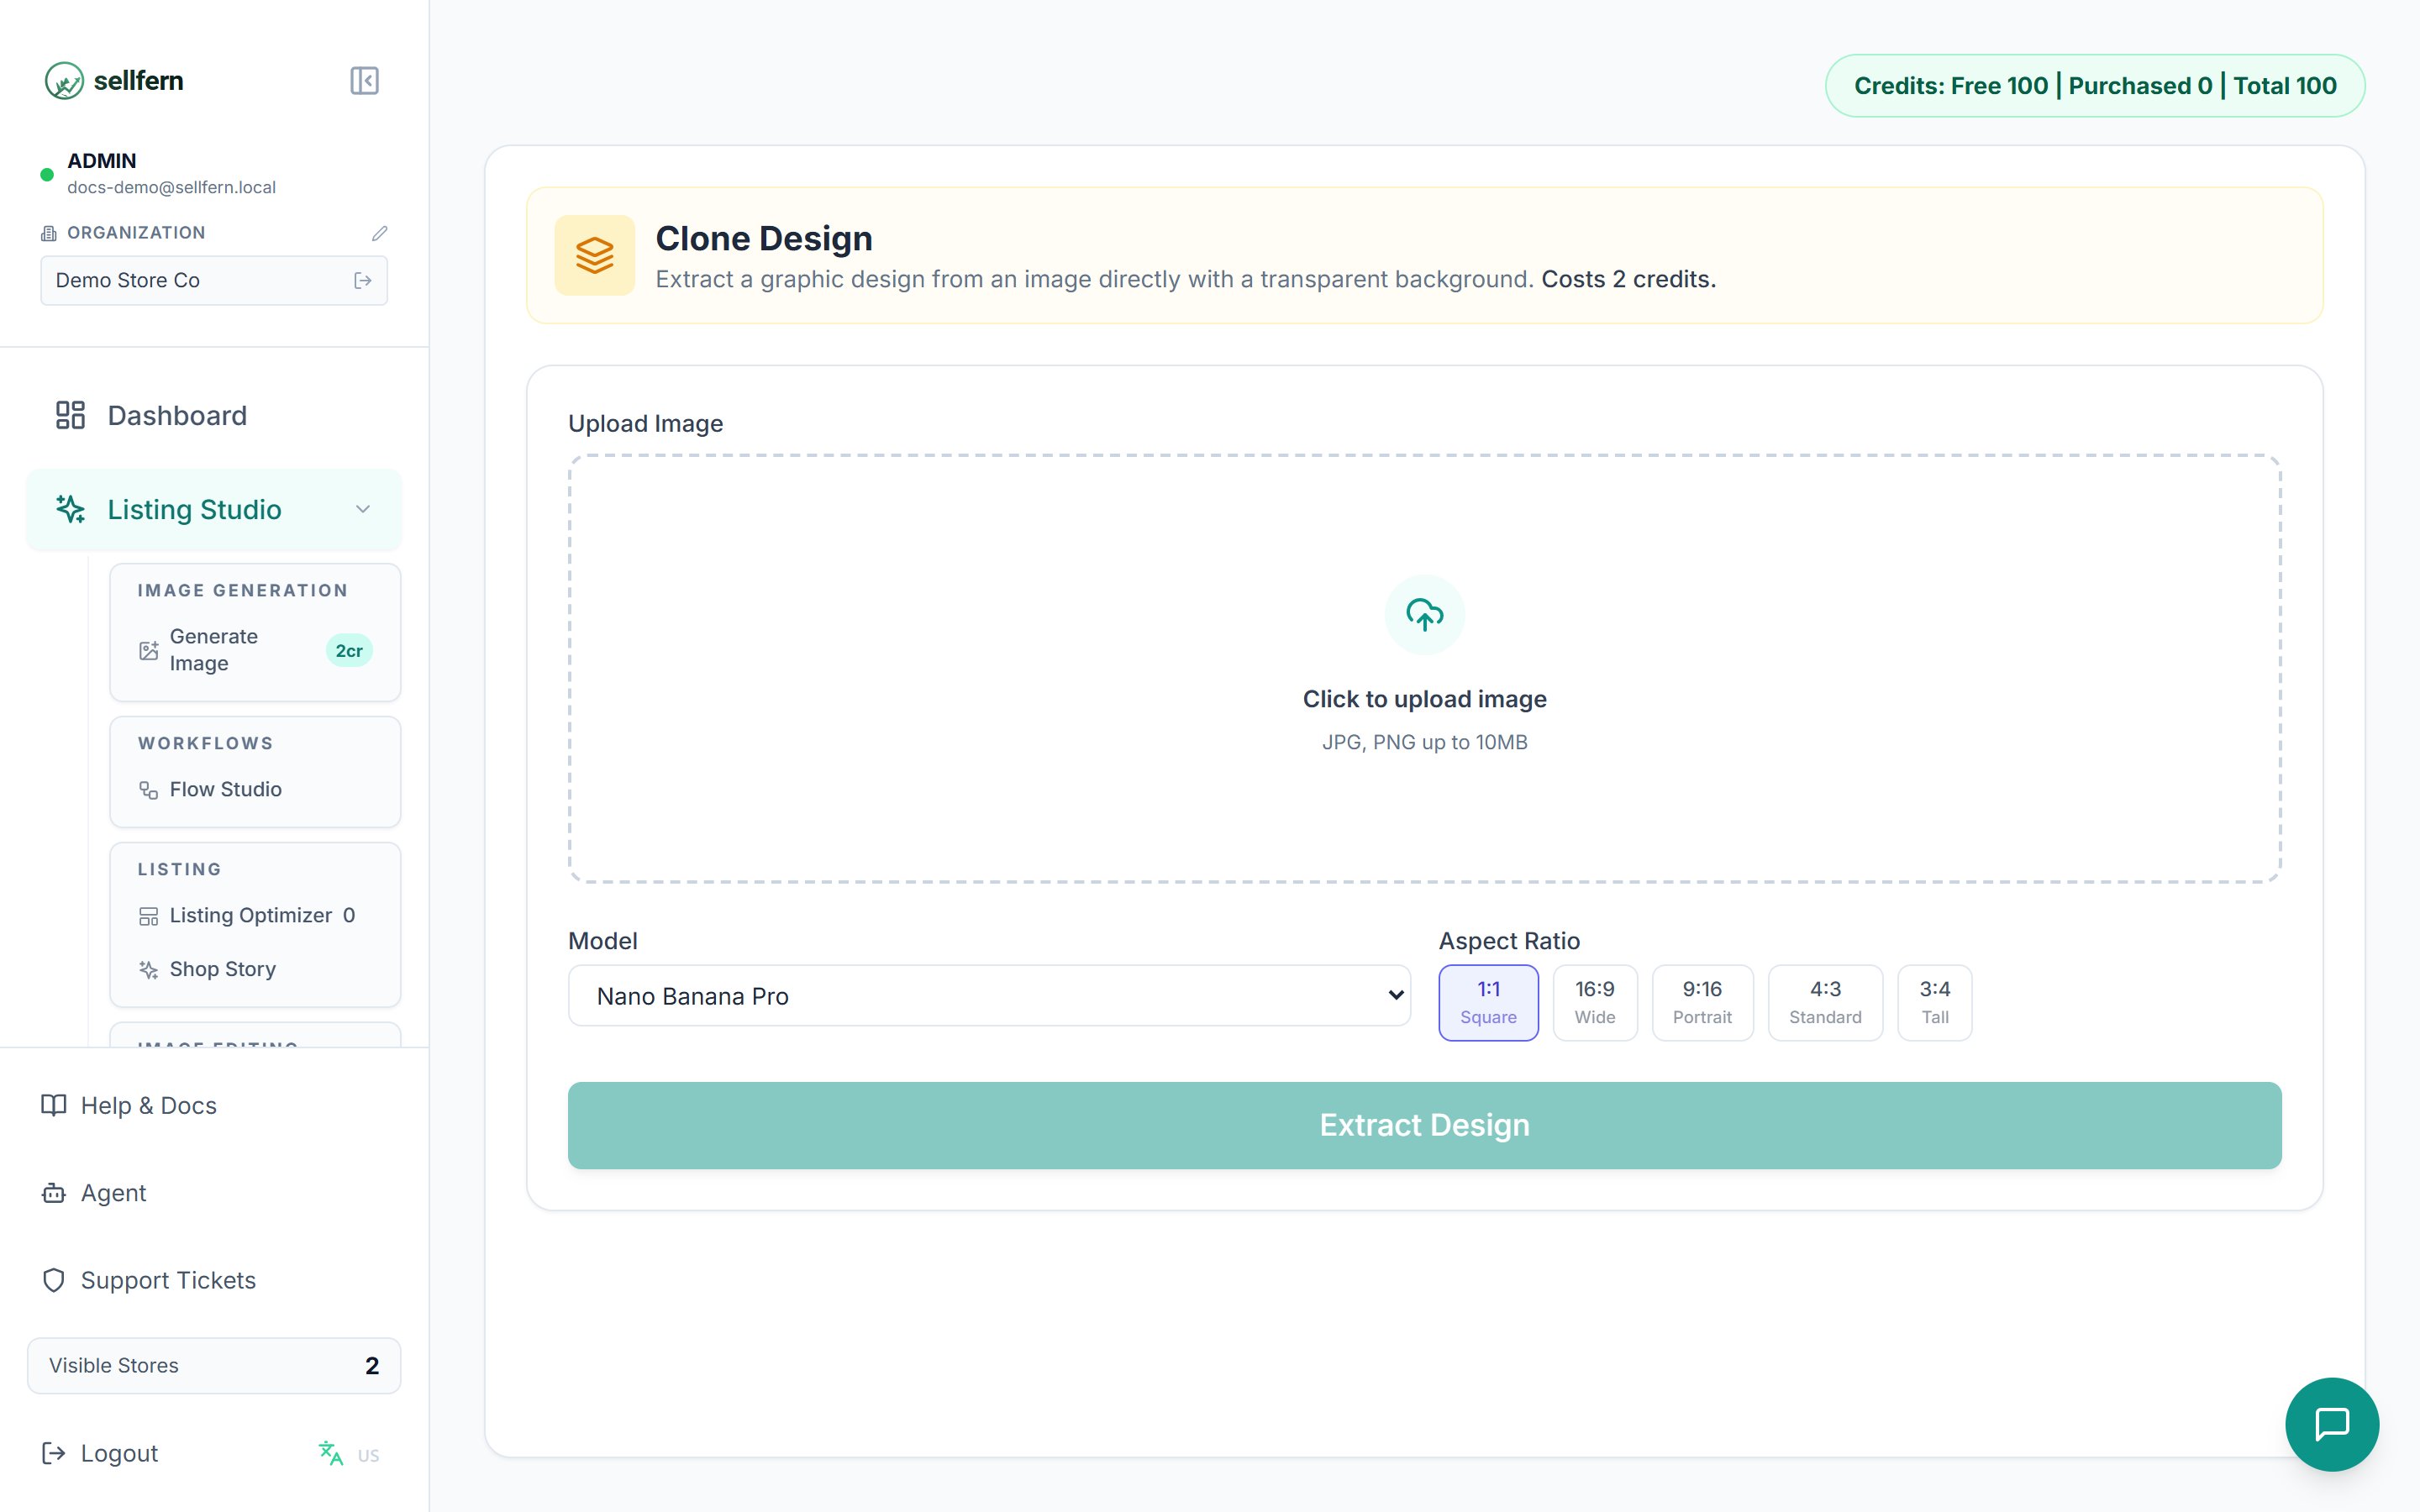
Design Extractor — pull the printed graphic out of a product photo as a clean PNG
Redesign Tool — 2 credits
Edit specific parts of an image using area masking: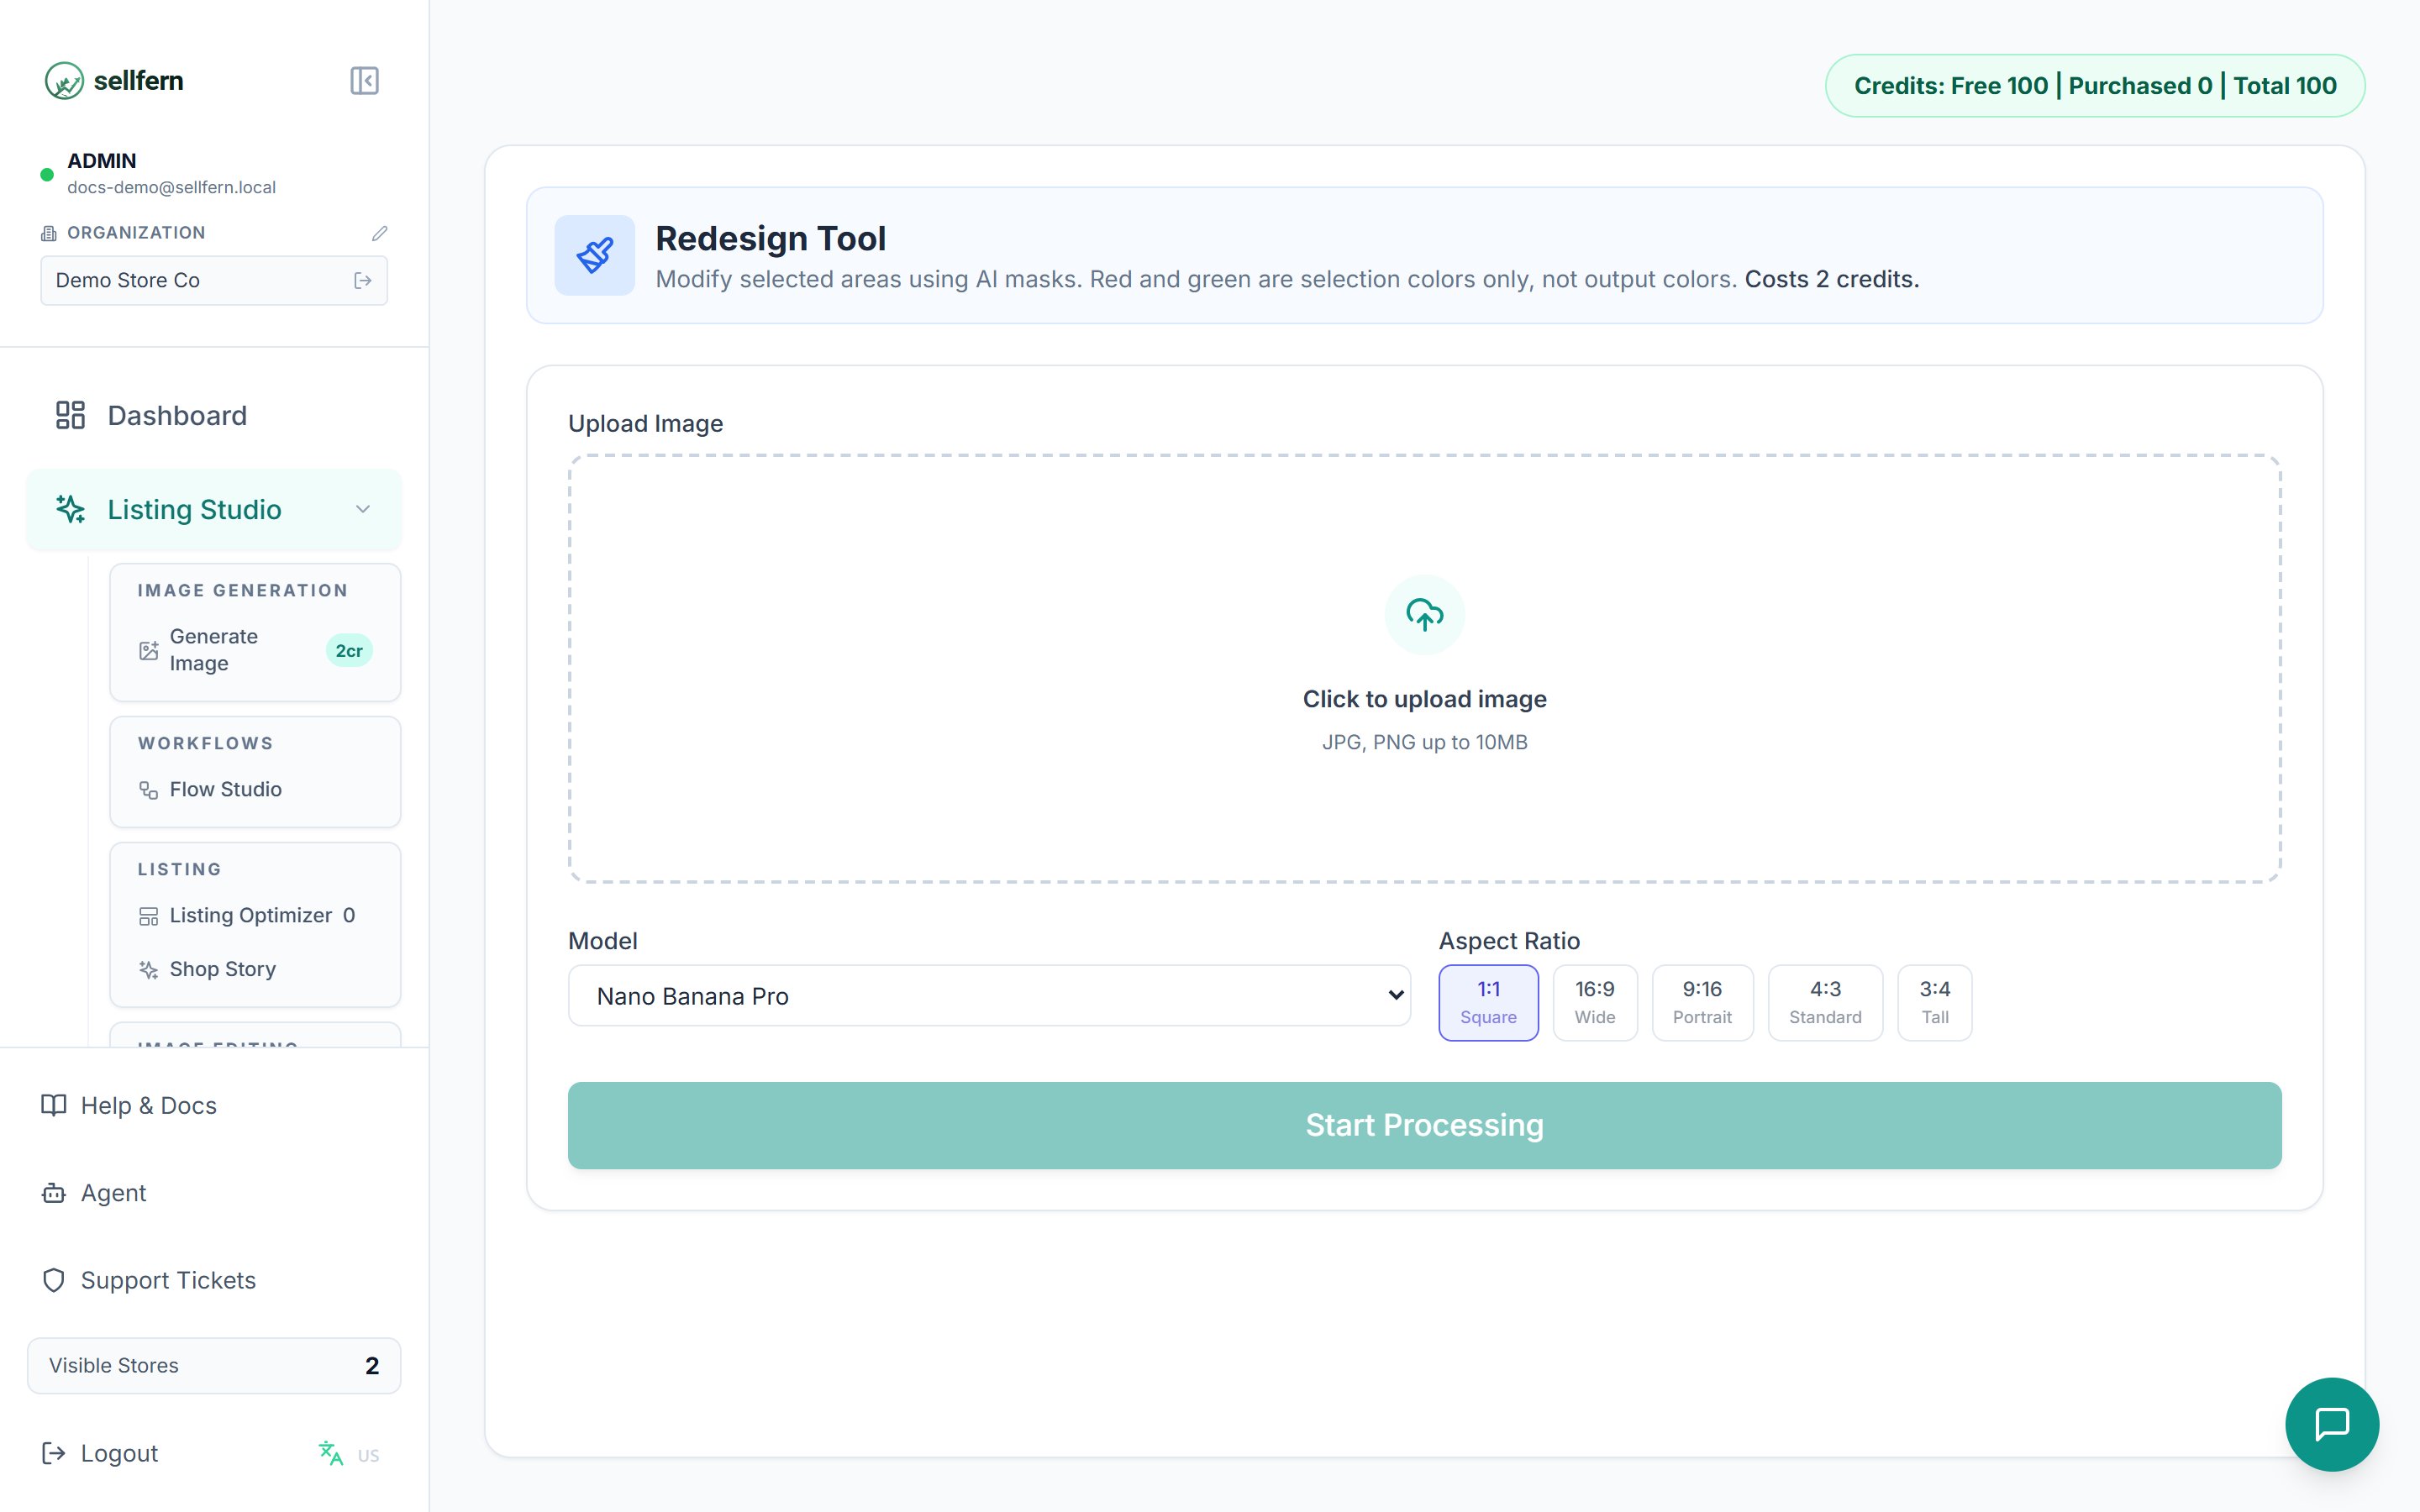
Redesign Tool: upload an image and pick a model and aspect ratio; after upload, the red/green brush canvas appears for marking areas
Upload and mark areas (optional)
Write per-area instructions
Run and compare
Embroidery Simulator — 2 credits
Turns a flat design into a realistic embroidery render with stitches and fabric texture. Use it to create listing photos for embroidered products without stitching a physical sample.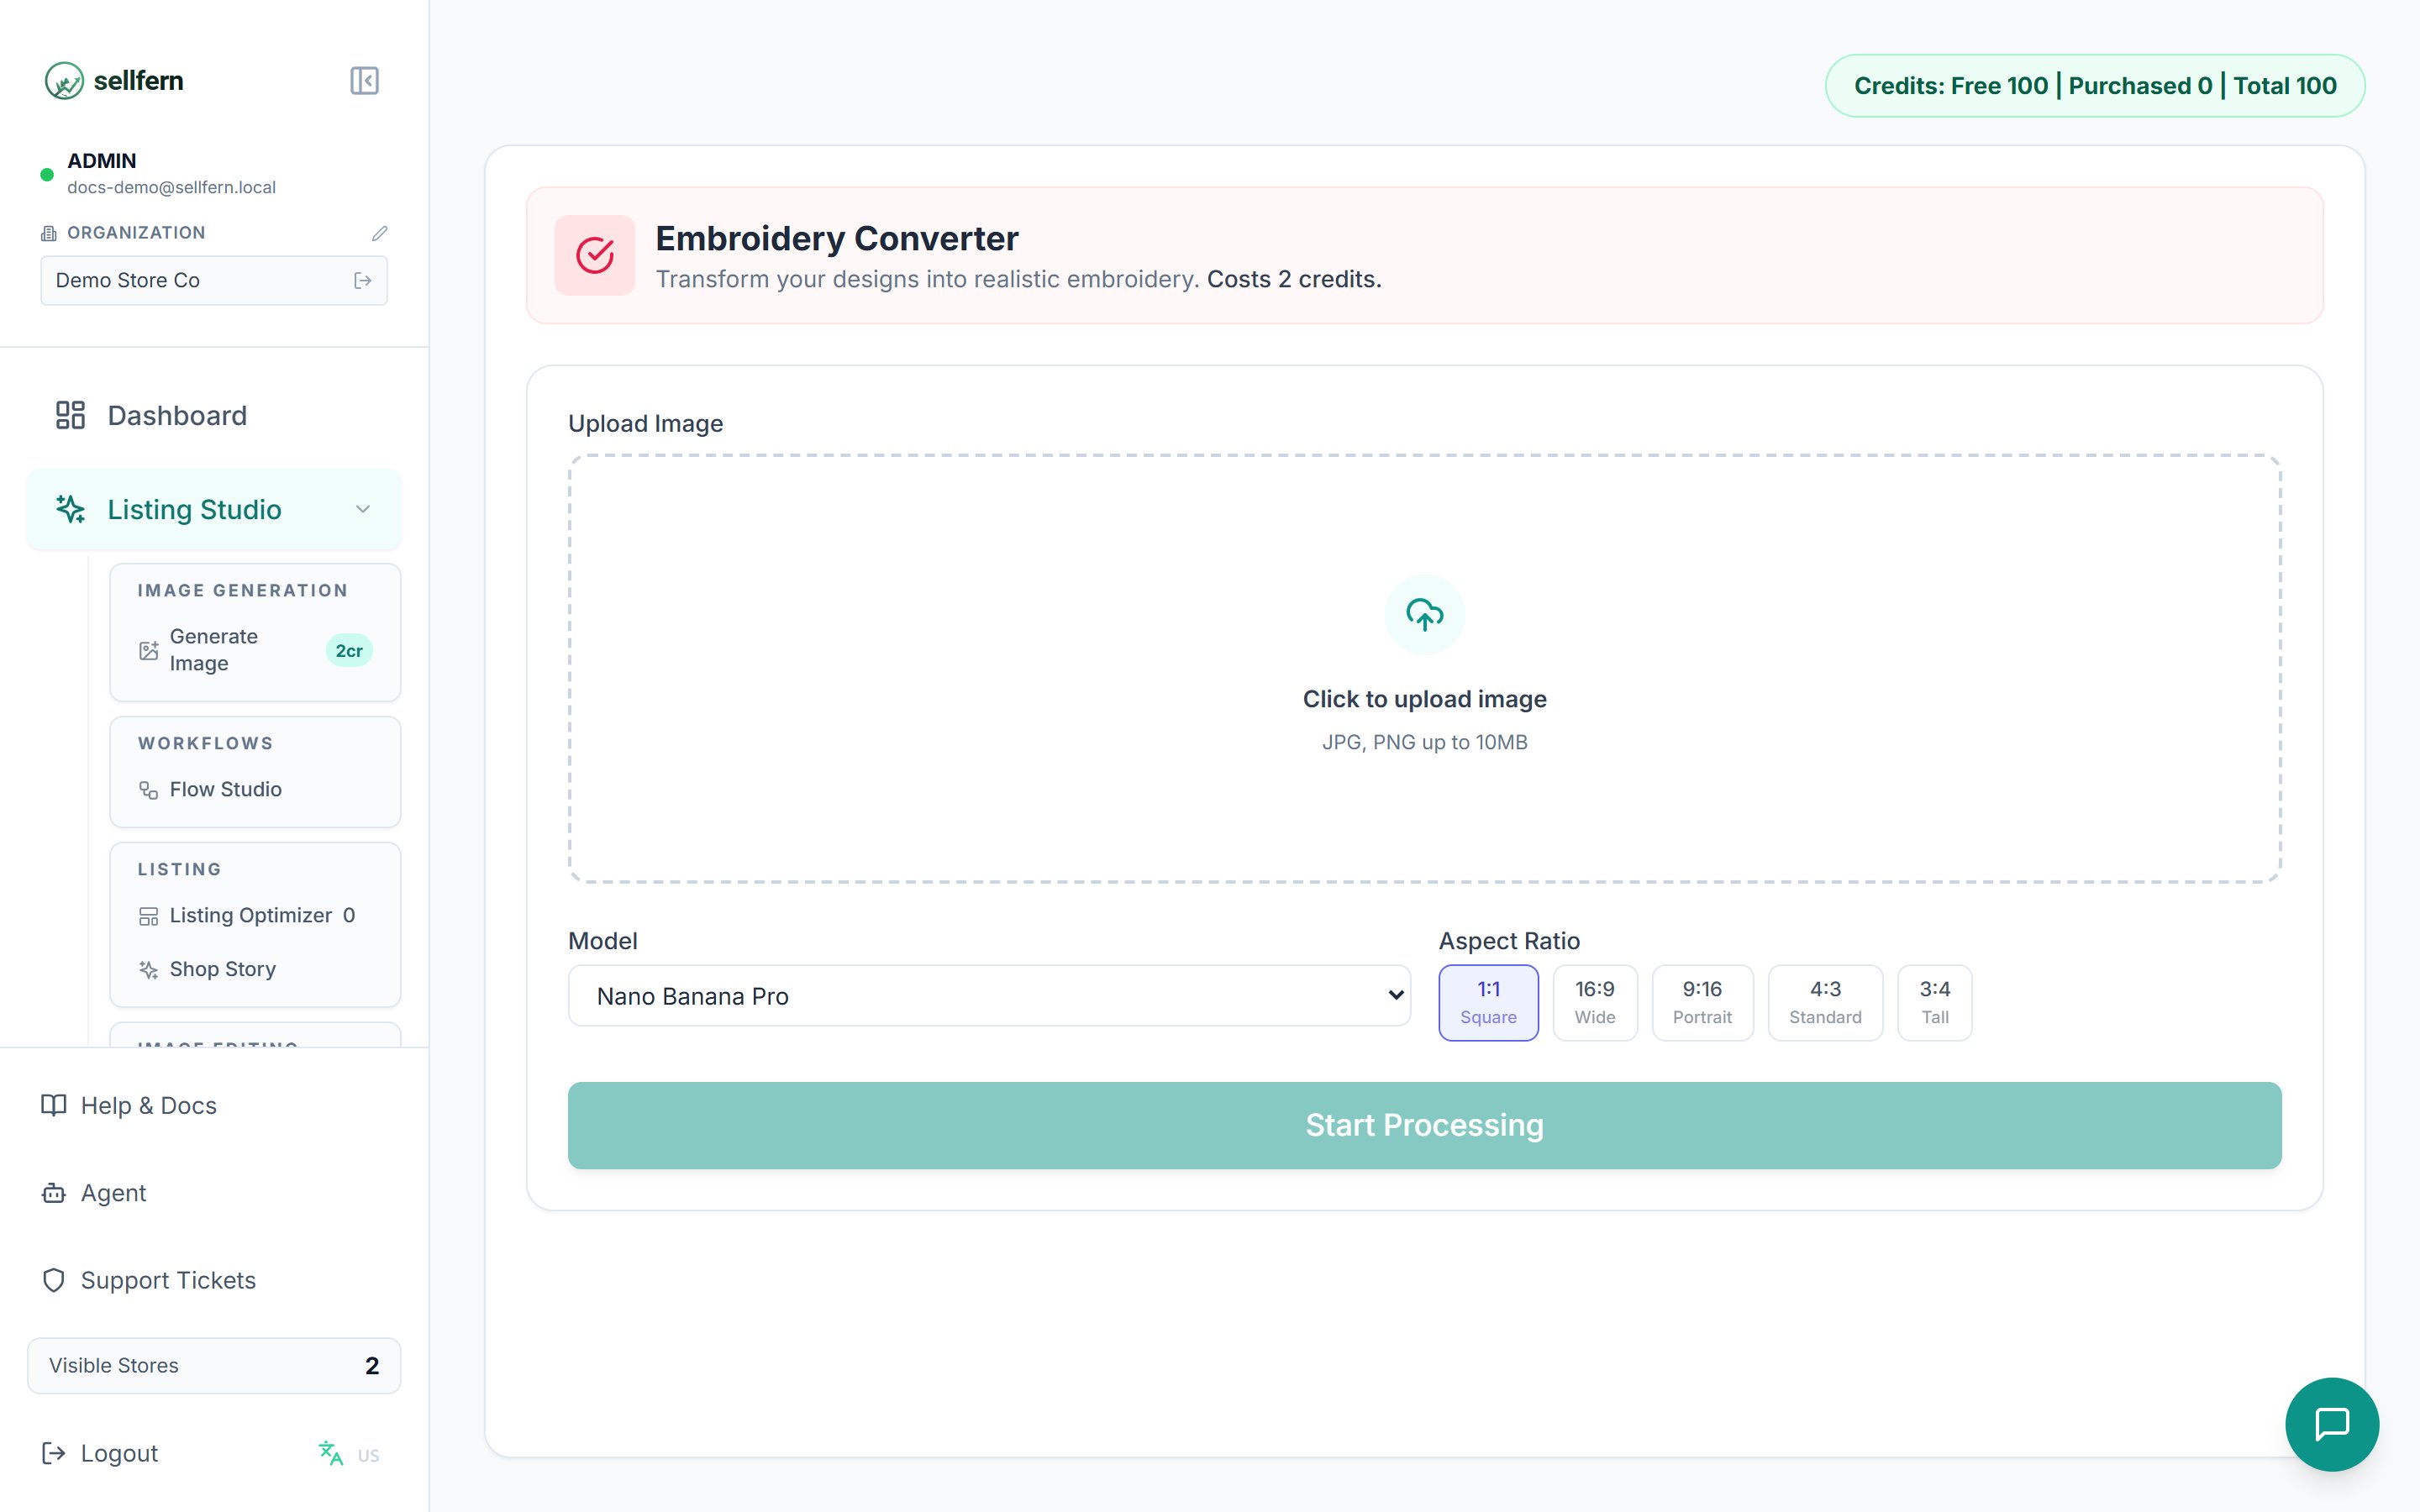
Embroidery Simulator — turn a flat design into a realistic stitched render
Visualization
Mockup Generator — 2 credits / image
Places your design onto base product photos: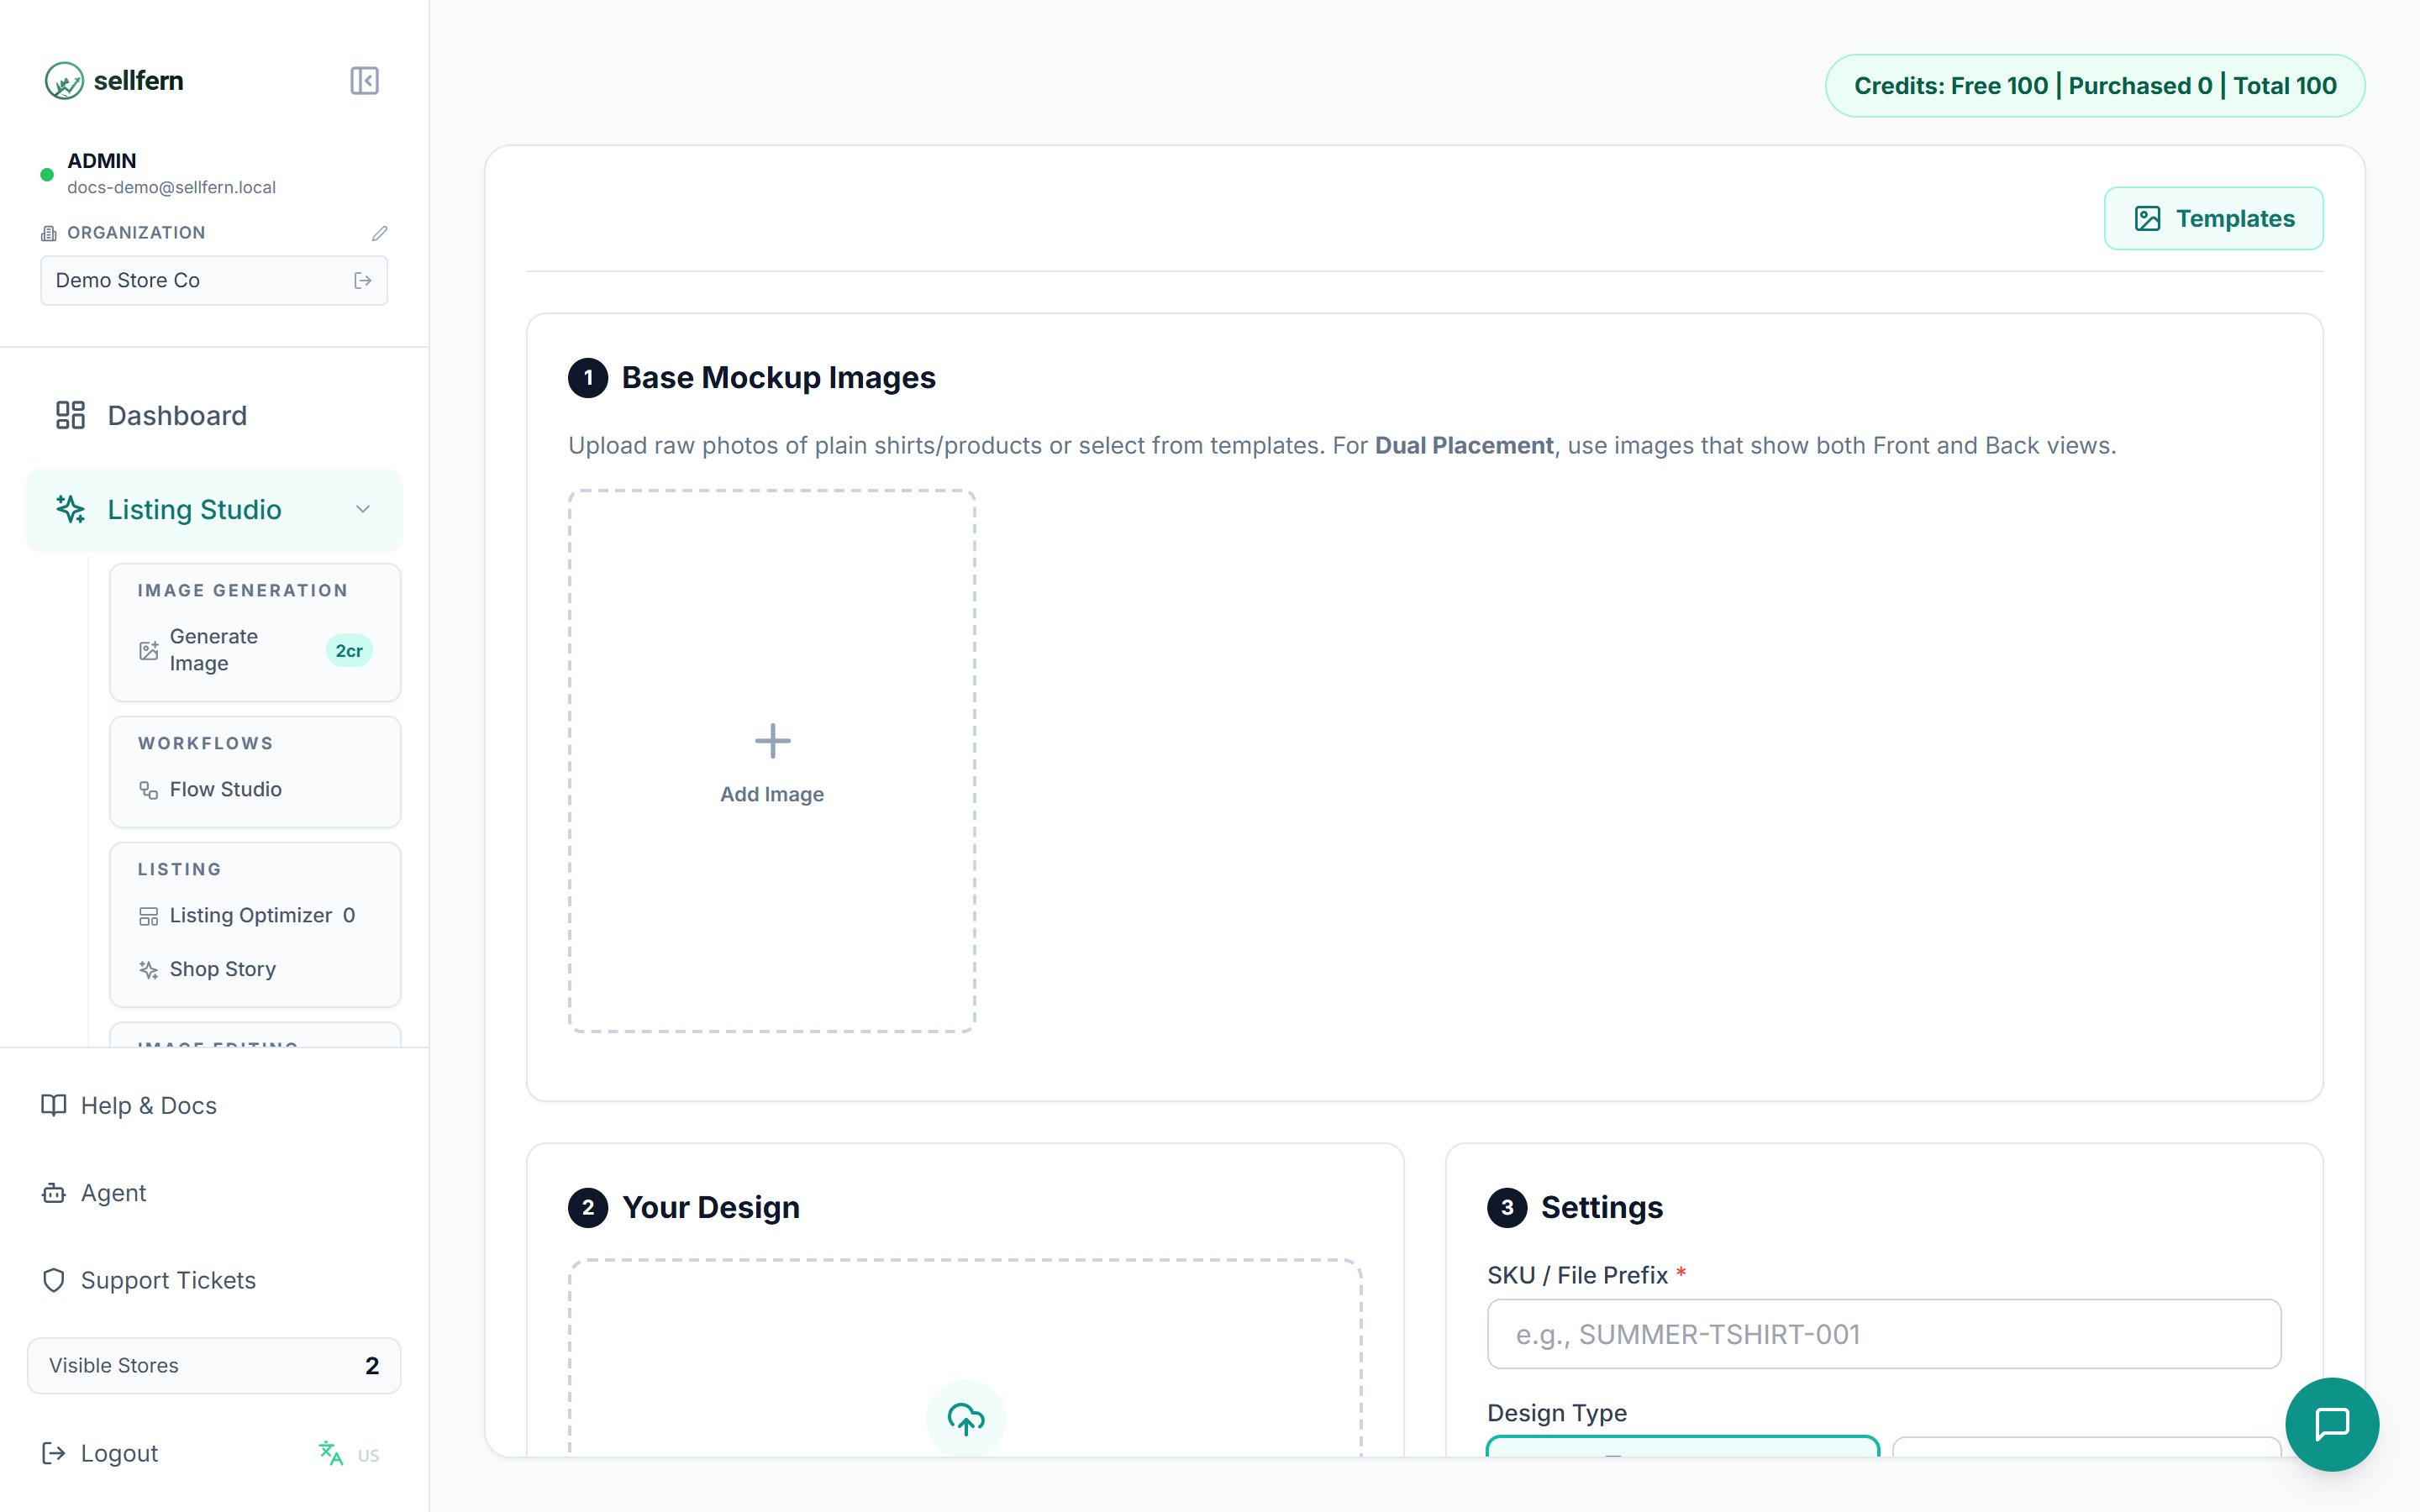
Mockup Generator: upload Base Images or pick Saved Templates, then upload the Design File PNG
Choose base images
Upload the design file
Position and generate
Pattern Mock-up Set — 8 credits
Generates a complete multi-angle mockup set (Front / Left / Right / Back) for all-over-print products in a single run: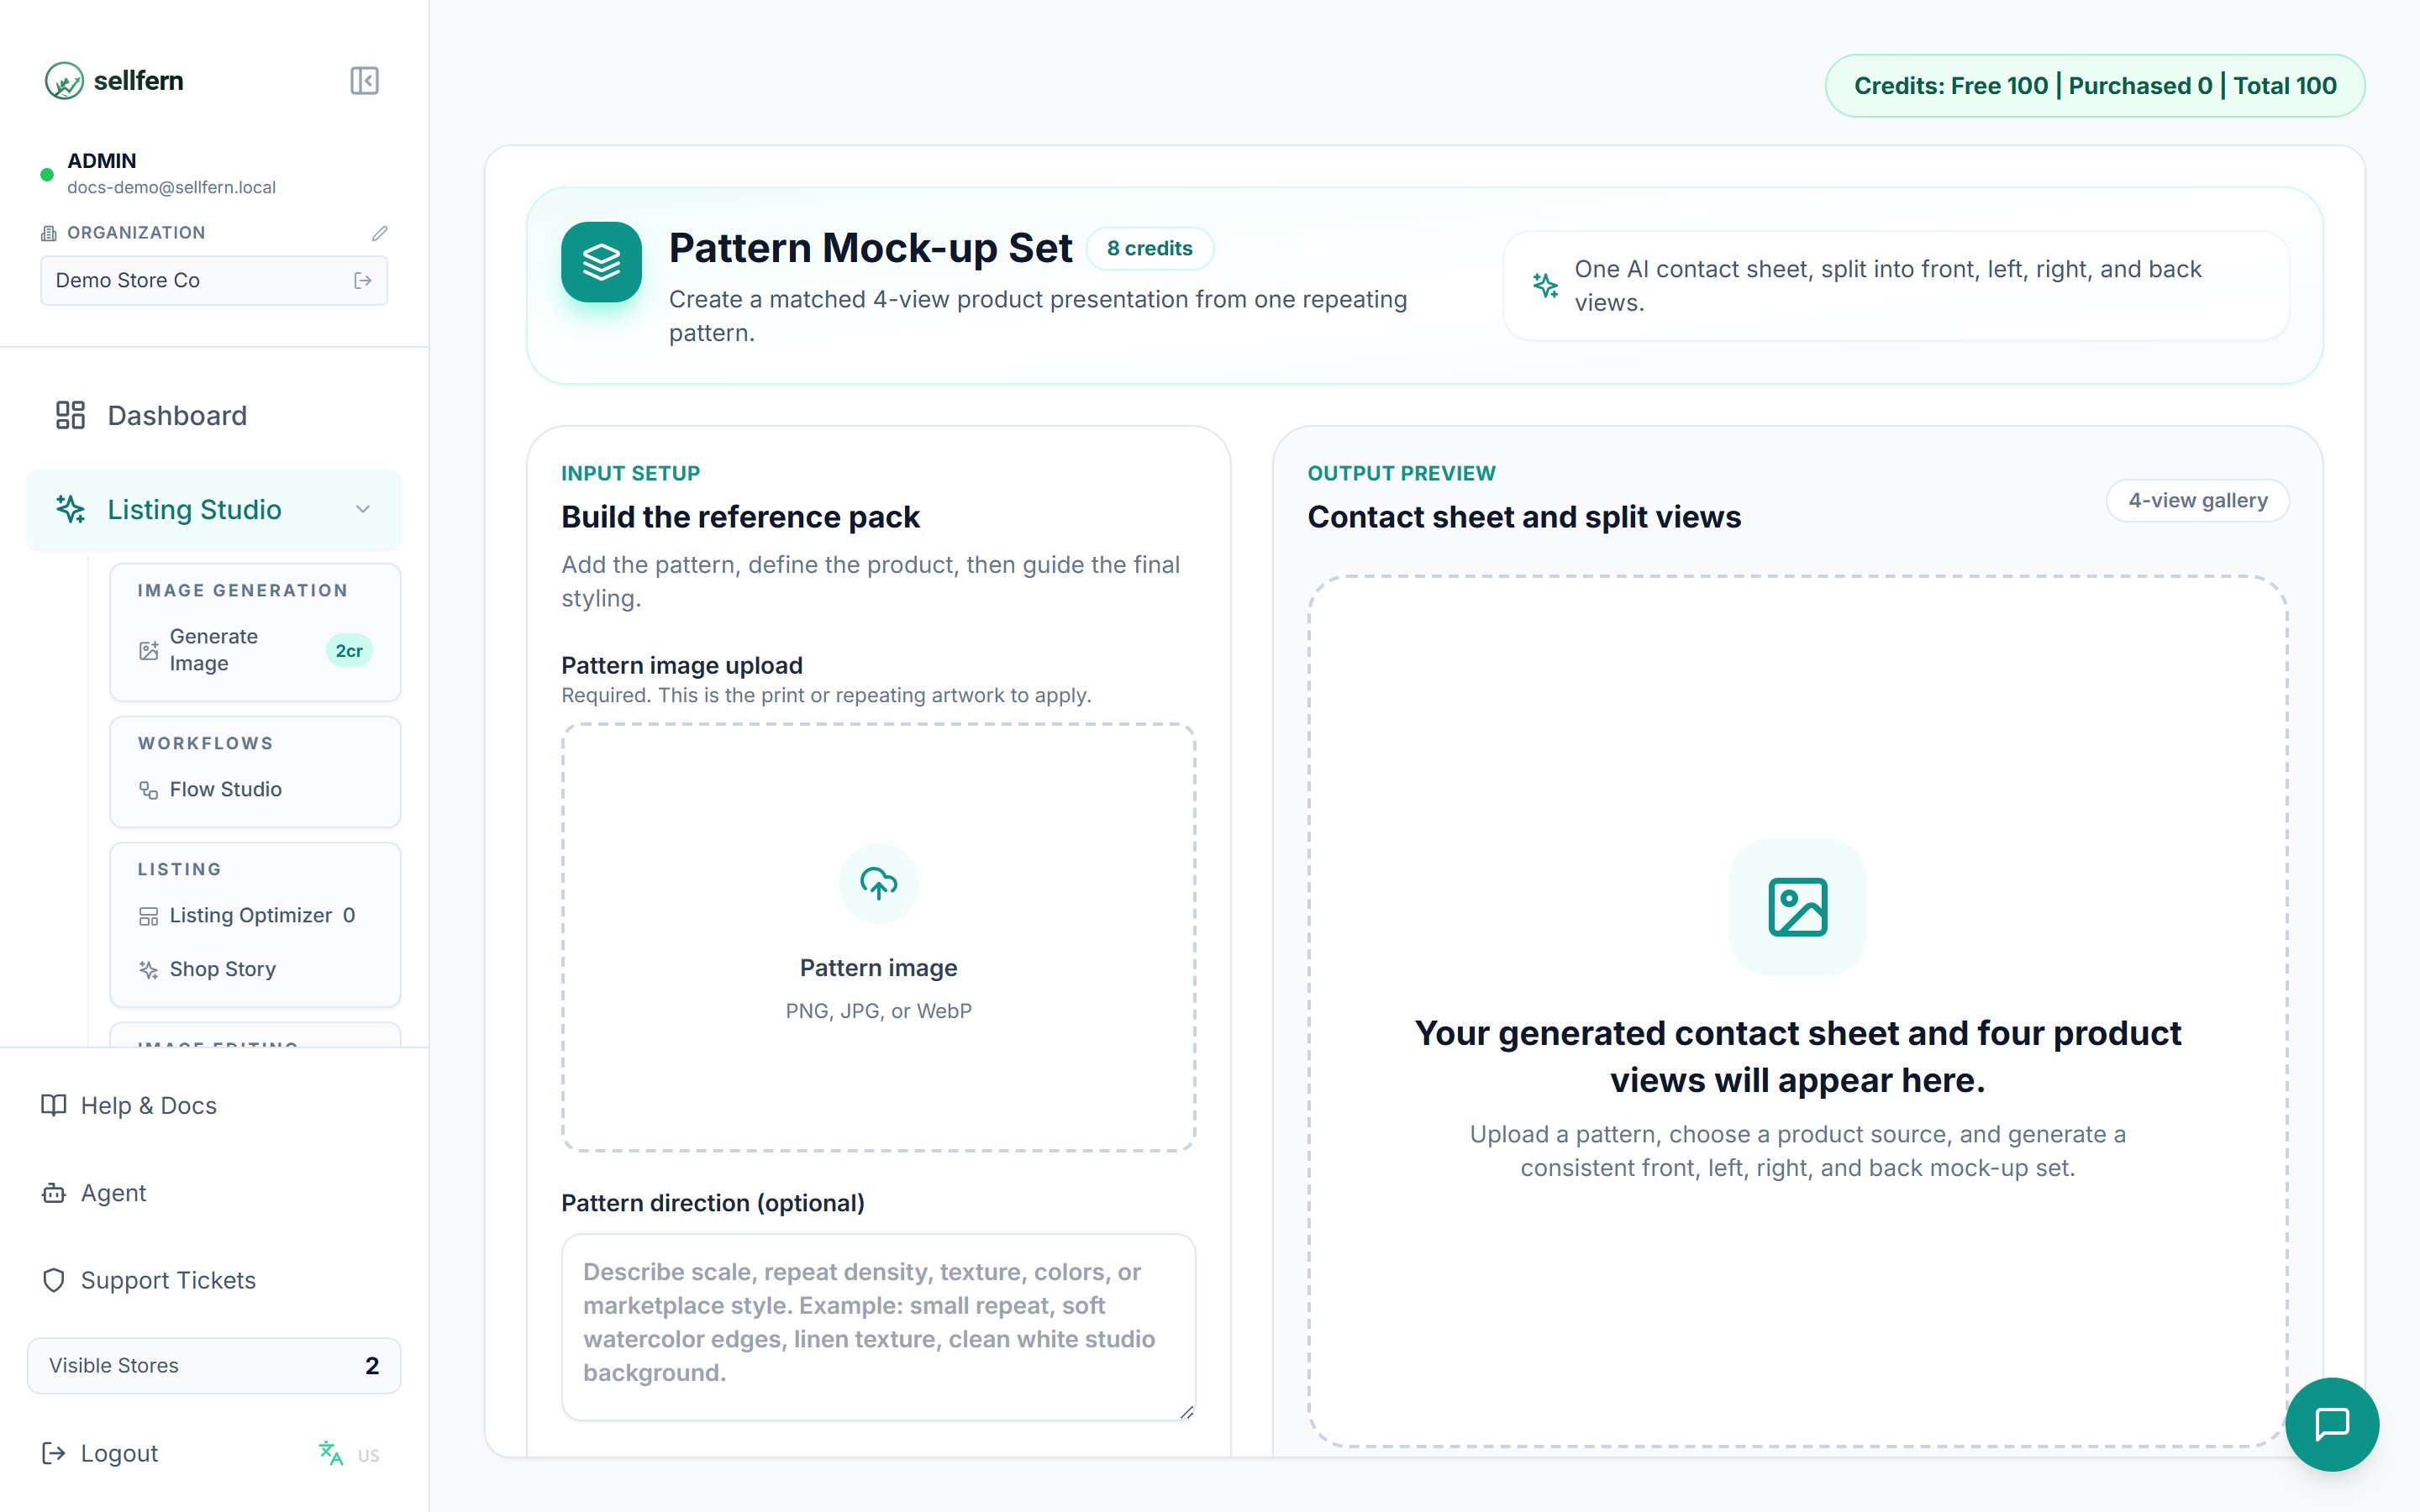
Pattern Mock-up Set: upload the pattern, choose the product source (photo or description), and add style instructions
Upload the pattern
Choose the product source
Add style instructions and pick a model
Wait for the result (runs in the background)
Product Enhancer — 2 credits
Turns raw product photos into professional studio photography: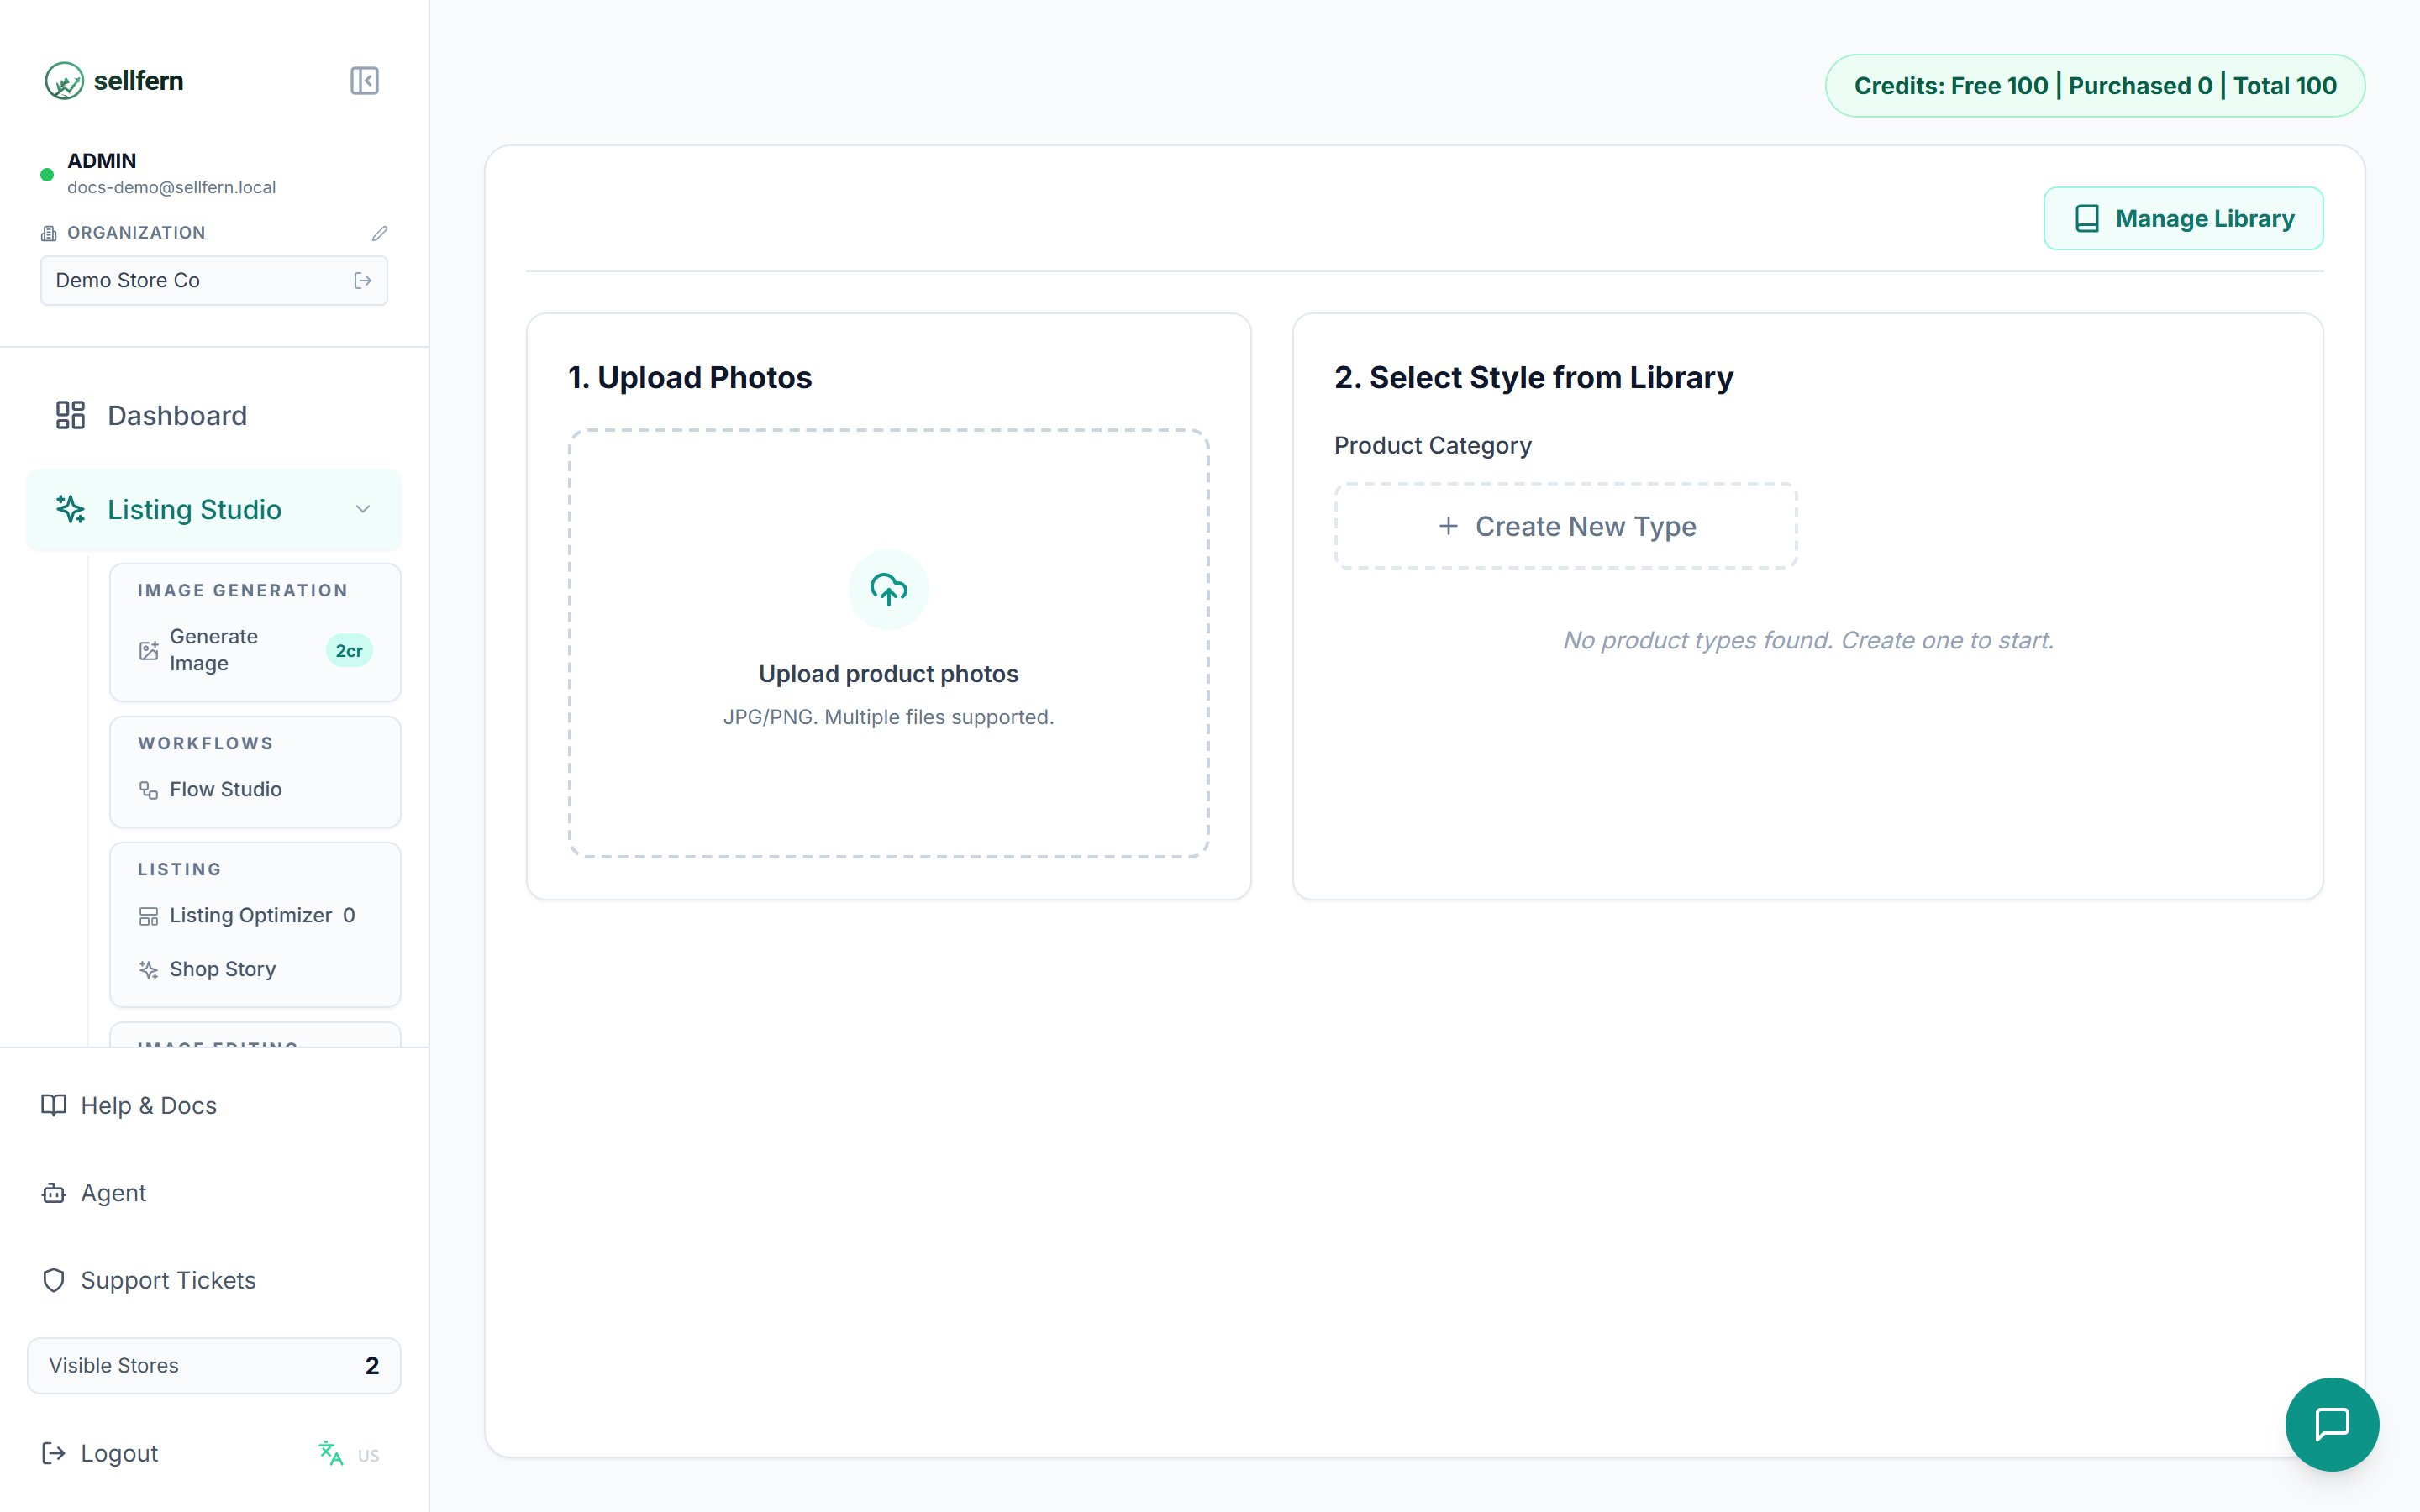
Product Enhancer: pick a product category, choose or create a style, then enhance images in batch
- Upload photos — one or many raw images (JPG/PNG).
- Select a product category — or create a new one.
- Choose or create a style — use a saved style, or the AI Style Generator: describe the look you want (“marble background, warm lighting…”) to create a new style. A prompt library covers common advanced looks.
- Enhance — the AI processes each image in the selected style.
Other
History
Review every past generation across all tools and download stored results. If you accidentally closed the page mid-generation, the output still lands here.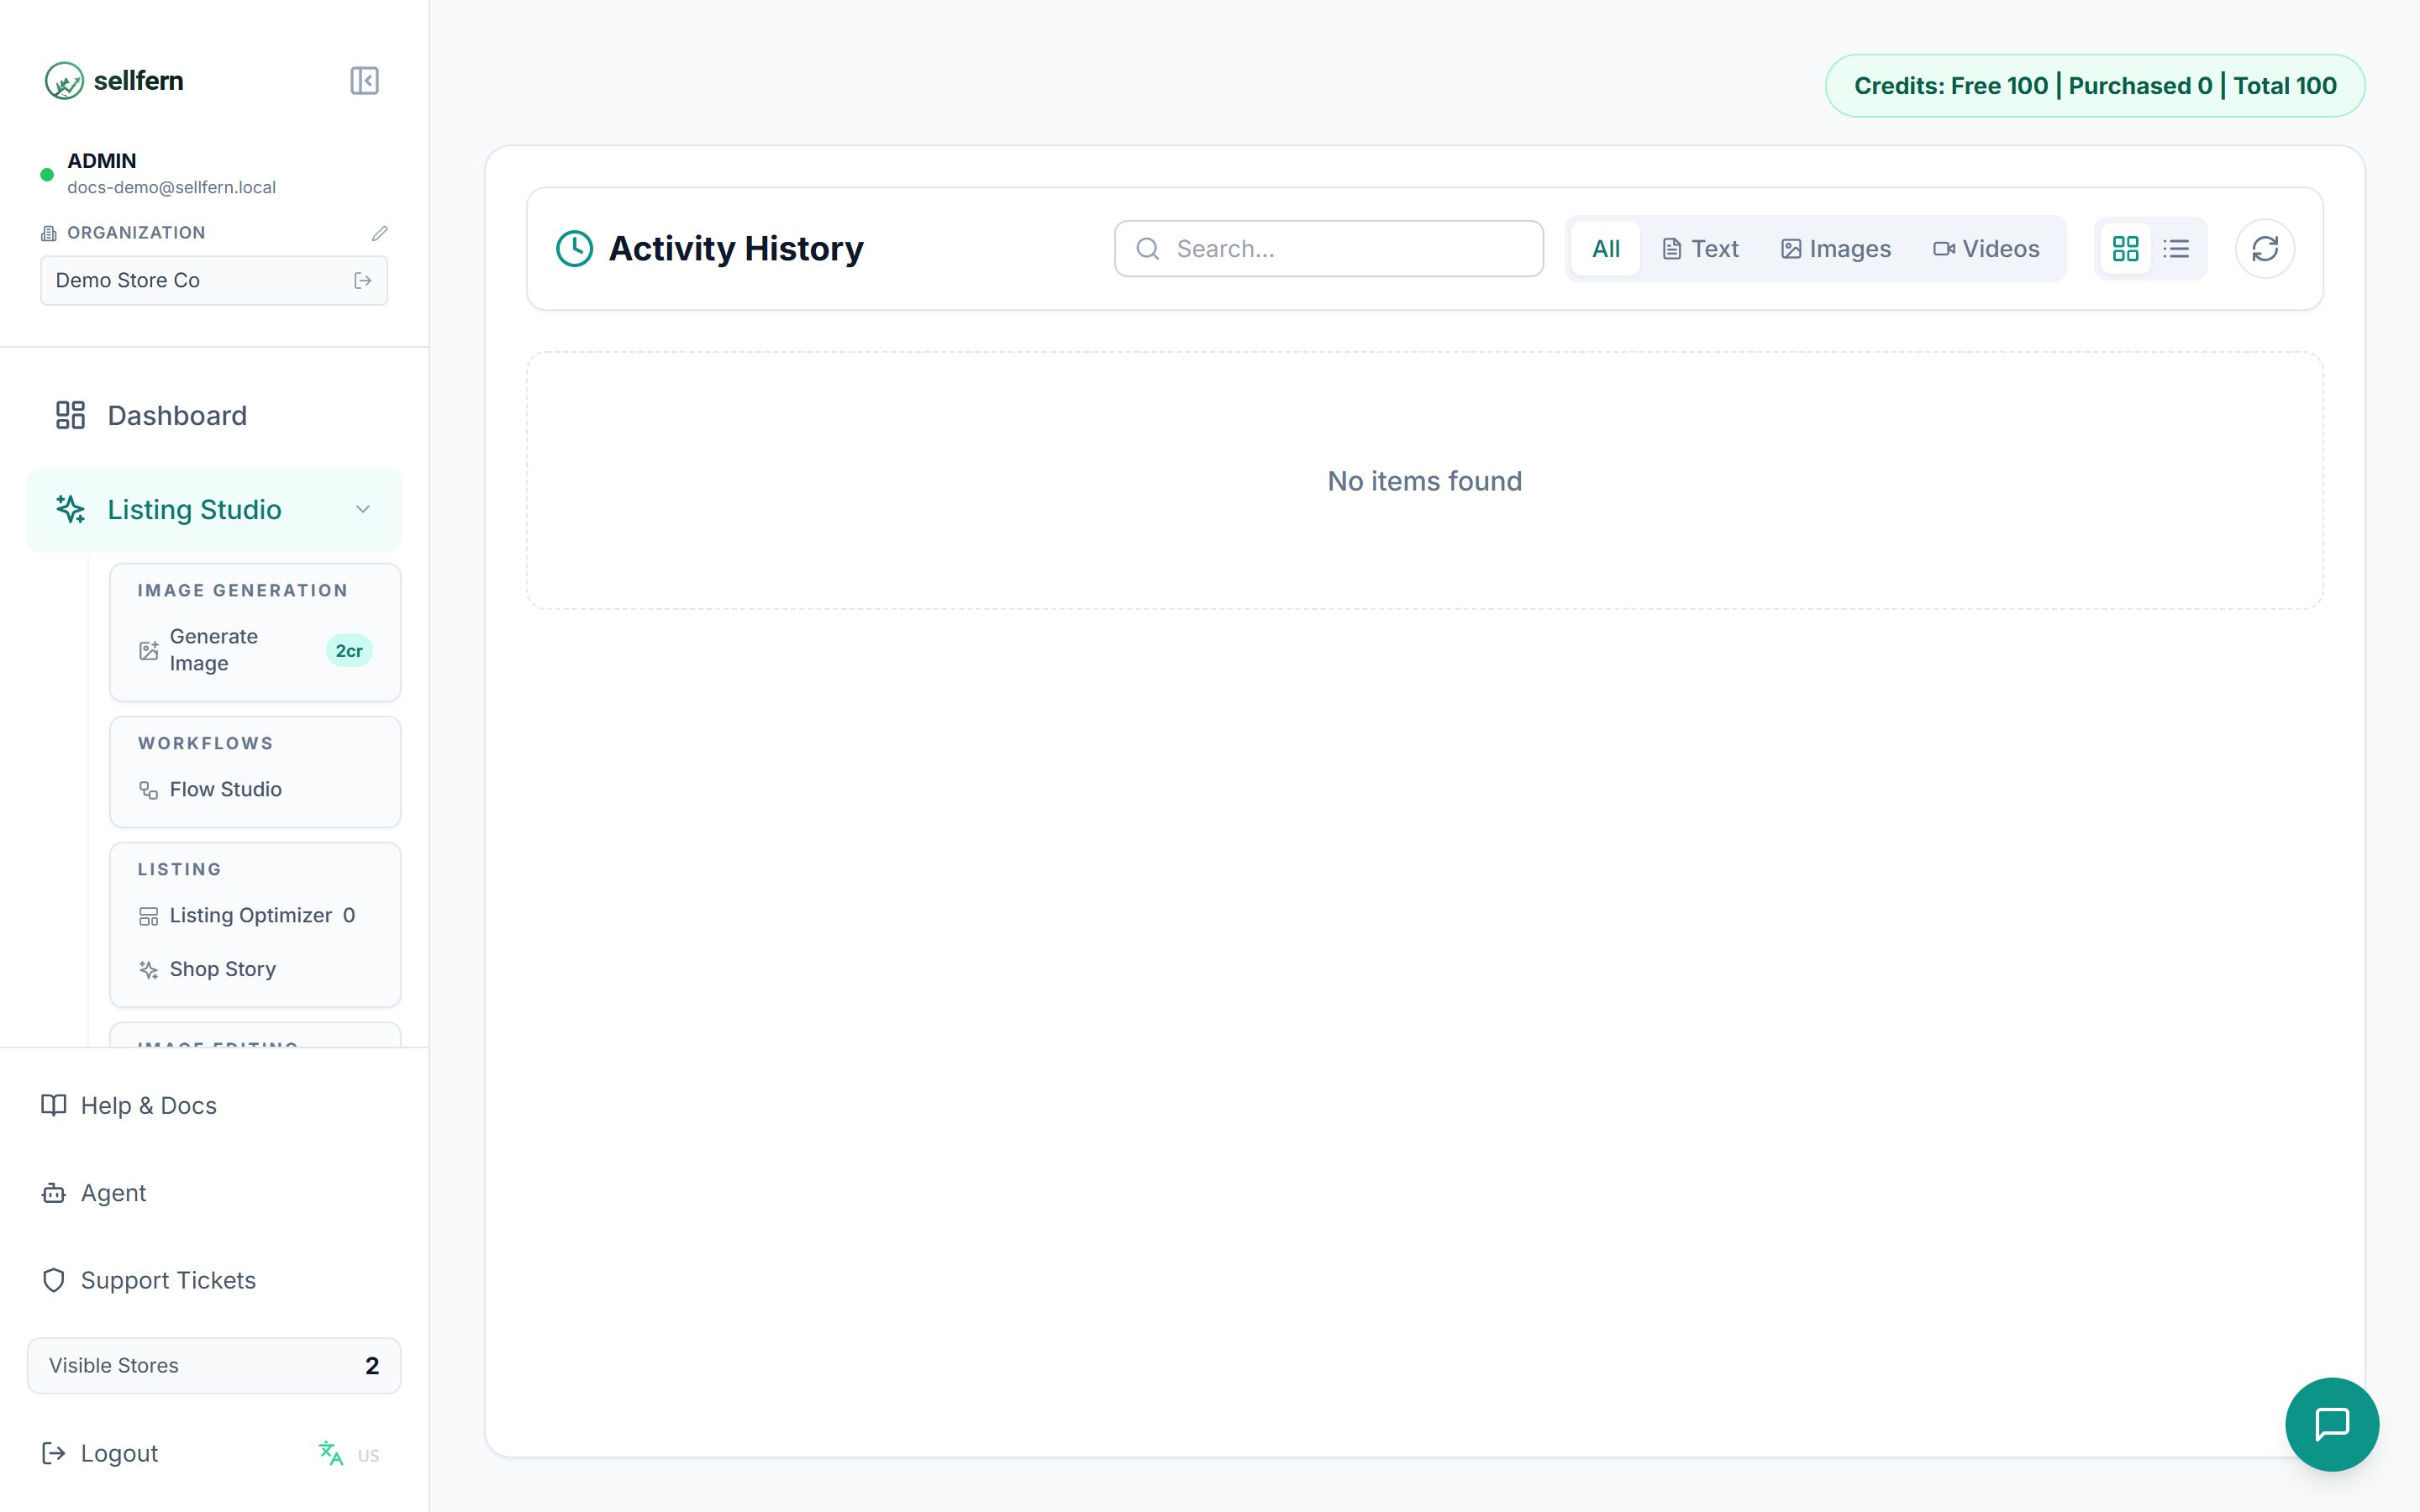
History — every generated result across tools, re-downloadable
Buy Credits
Check your balance and purchase additional credit packages when you run out.- Starter — ~500 images
- Pro — ~2,500 images
- Business — ~7,500 images
Credits
- Each tool run deducts credits when generation starts.
- Video generation charges separately for the video step (3 credits) on top of the free text output.
- Your current balance is shown on the Listing Studio dashboard and next to each tool in the menu.
Suggested end-to-end workflow
A complete listing from zero:- Generate Image (or Design Extractor from an old photo) → artwork.
- Background Remover → clean PNG.
- Mockup Generator / Pattern Mock-up Set → product photos.
- Listing Optimizer → title, tags, description (+ video if needed).
- Attach the results in My Products and publish to Etsy.