1. Create an account and sign in
1
Register
Open the Sellfern login page. Register with email and password, or sign in with Google.
2
Activate (if you were invited)
If an Admin created your account, you’ll receive an activation email. Click the link and set a password — the account moves from Pending to Active. No email? Check your spam folder.
3
Create or select an organization
An organization is the top-level container holding stores, members, orders, costs, and settings. If you belong to multiple organizations, use the organization selector at the top of the sidebar to switch. Admins can rename the organization with the pencil icon next to its name.
4
Forgot your password?
Use the Forgot Password link on the login page to receive a reset email.
2. Choose your quickstart path
Depending on your business profile, follow the appropriate steps:Path A: Fulfillment-Only (POD)
If you are using Sellfern solely as a print-on-demand platform:- Go to Products → All Products to browse blank products from integrated suppliers (like Printway).
- Go to Settings → Stores and connect your marketplace store (e.g., Etsy).
- Set up SKU Prefix Rules in Settings → SKU Prefix Rules to map your marketplace listings to the system’s blank products.
- When orders come in, they will be auto-recognized. Review them in COGS & Fulfillment → Cost Table, double-check the details, and mark them ready to send to the printer.
Path B: Operations Management
If you are using Sellfern to centralize order tracking, custom suppliers, and financials:- Set up your storefronts in Settings → Stores.
- Add your custom manufacturing or shipping partners in Settings → Suppliers.
- Import your orders via CSV or connect Gmail Live Sync in Order Ingestion.
- Use COGS & Fulfillment → Cost Table to assign unit base costs, SKUs, and suppliers to your orders. Once marked ready, track production and input carrier tracking numbers on the Fulfillment tab.
- Record ad spend, software fees, and salaries in Operating Expenses and Payroll to calculate accurate net profits on the Dashboard and Analytics.
Path C: Creative & AI-Only
If you only need Listing Studio’s AI graphics suite:- Open Listing Studio from the sidebar.
- Check your credit balance (starter credits are added on registration). Go to Buy Credits if you need more.
- Use Generate Image to create new graphics, Background Remover to clean them, and Mockup Generator to place them on product photos.
- Optimize listing copy using the Listing Optimizer, then export your assets.
3. Understand the app layout
The left sidebar is the main navigation. What you see depends on your role, granted page permissions, and active workflow: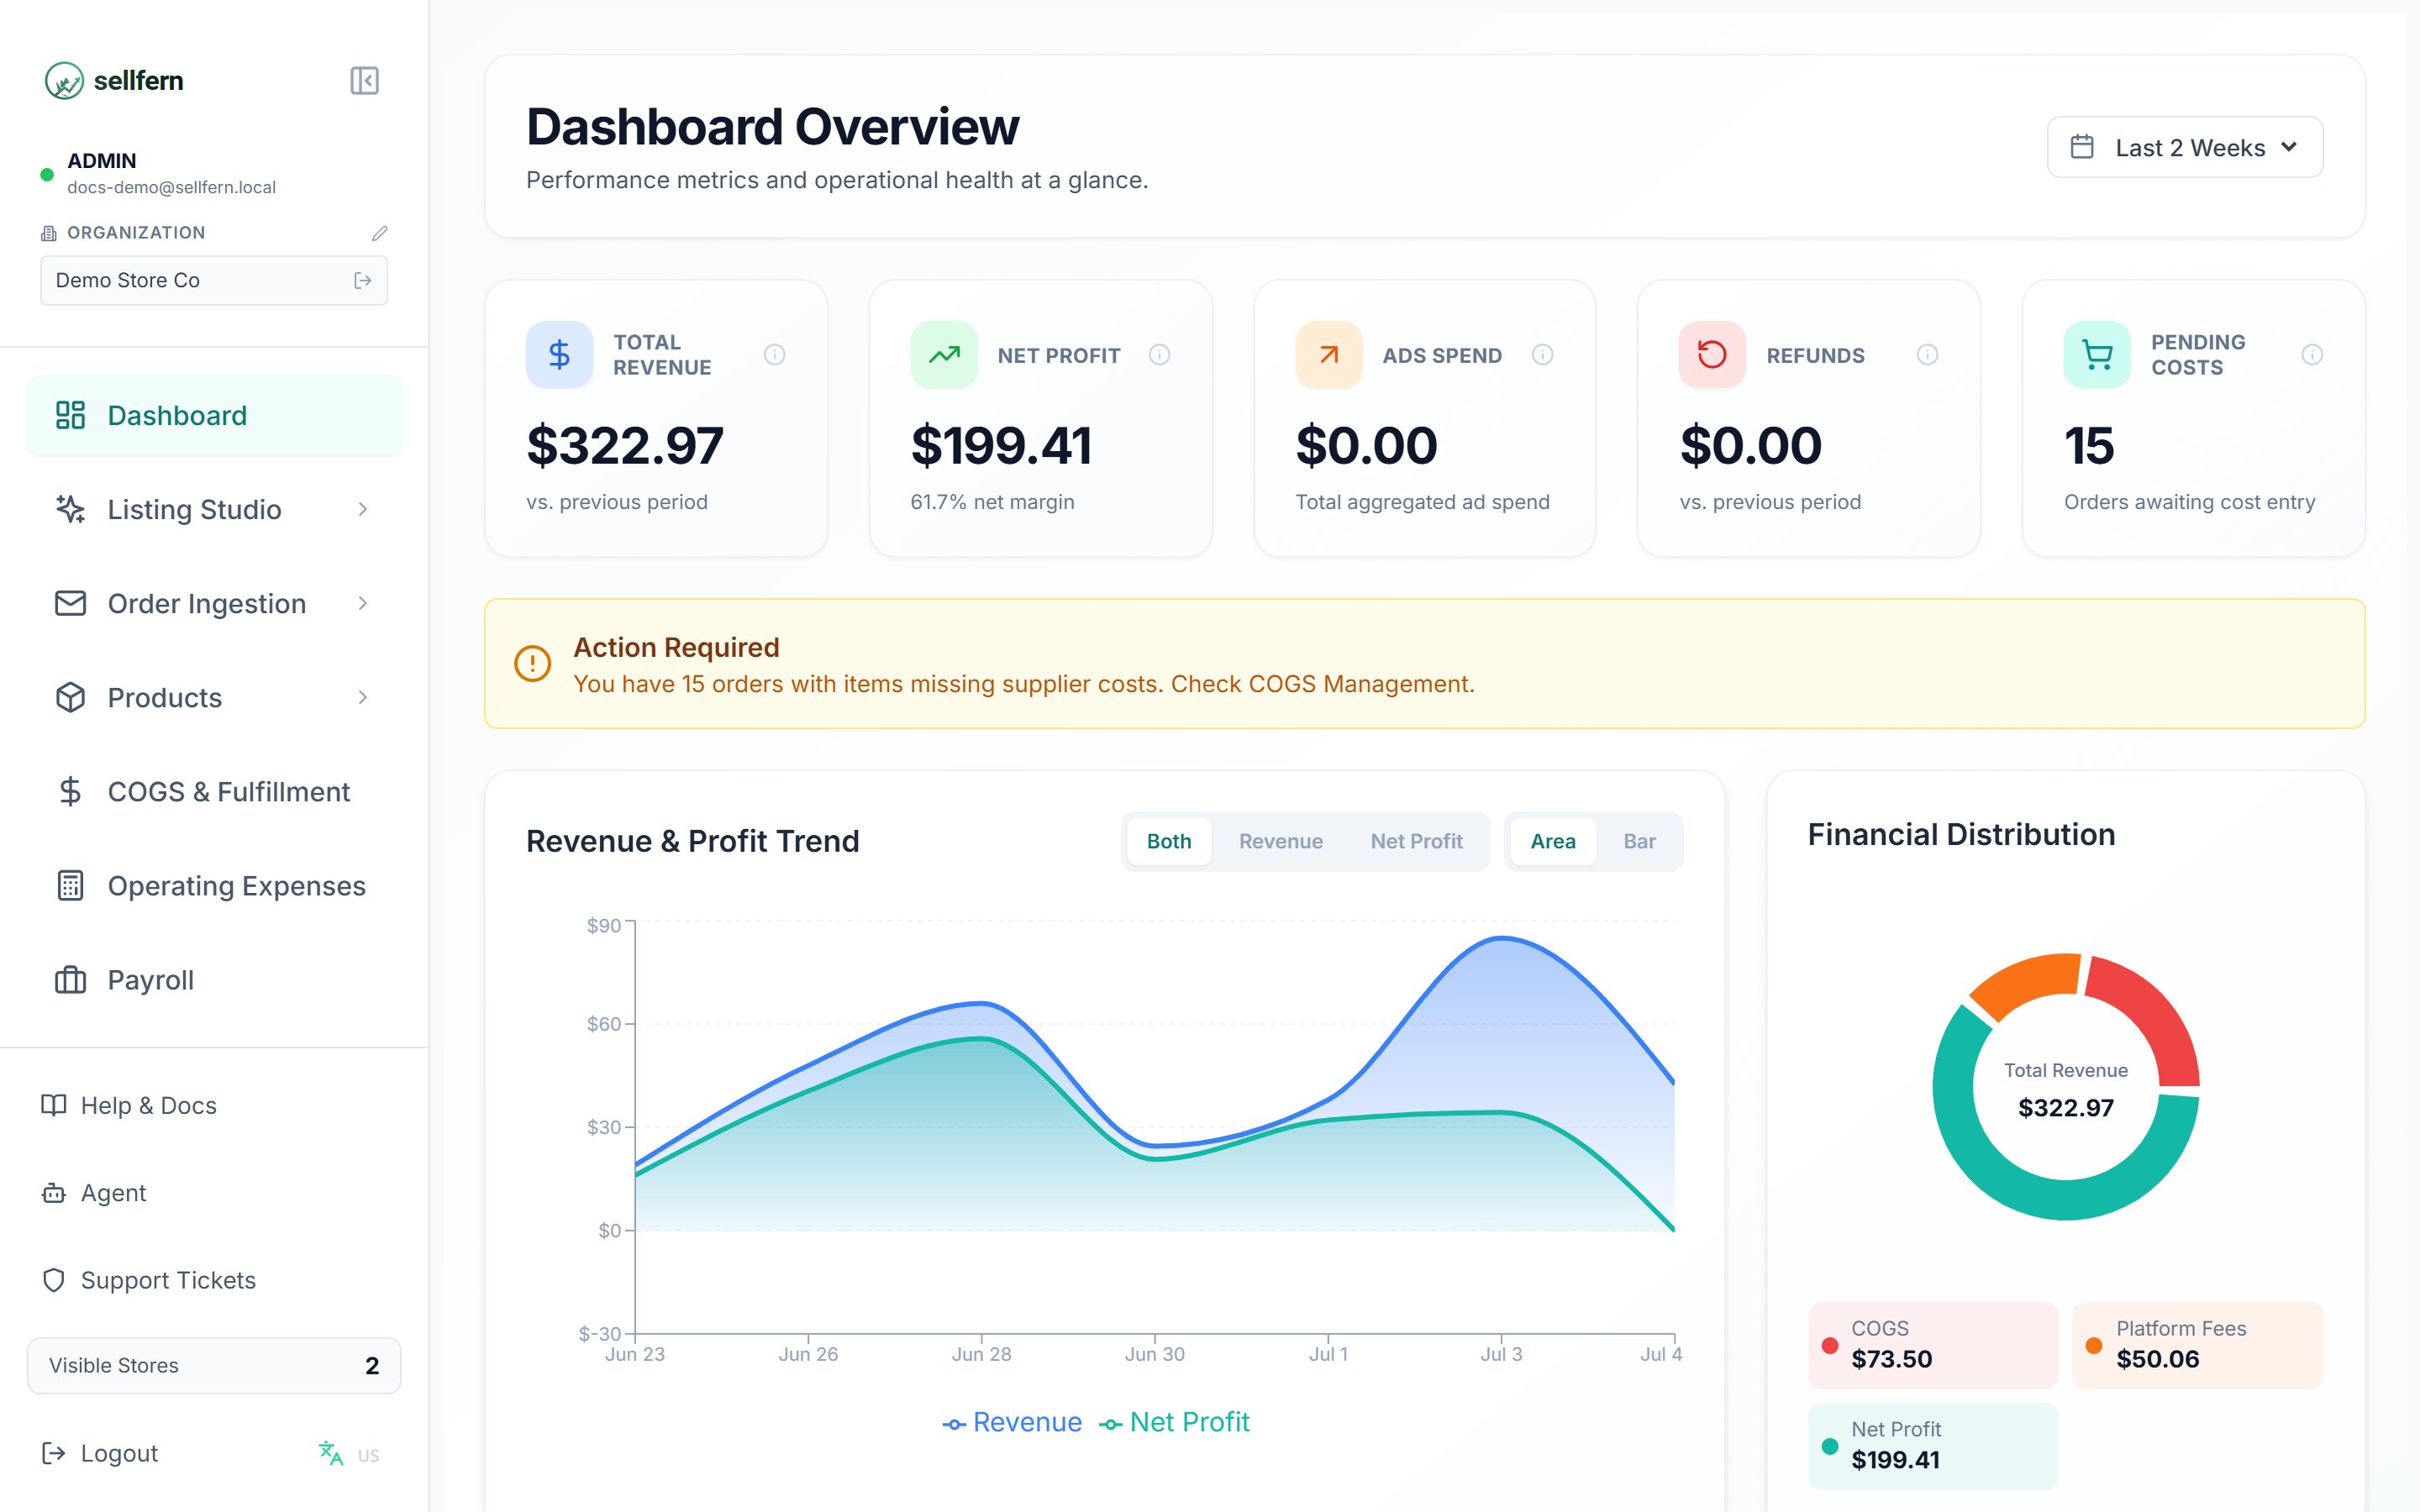
The main interface after login: navigation sidebar on the left, page content in the center
The bottom of the sidebar also has Help & Docs (opens this documentation), the language switcher (EN/VI), and Logout.
4. Set up your organization
5. When you need help
- Open Help & Docs at the bottom of the sidebar to return to this documentation.
- Ask the AI Assistant right inside the app — it answers from the docs and your data.
- Create a Support Ticket when a teammate or Admin needs to act.
- Browse the FAQ.
Next steps
- Explore Listing Studio to generate images, mockups, and listing content with AI.
- Manage your listing catalog in Products.
- Automate with the API: create a scoped API key and read the Developer Quickstart.