> ## Documentation Index
> Fetch the complete documentation index at: https://docs.sellfern.com/llms.txt
> Use this file to discover all available pages before exploring further.
# Listing Studio
> A detailed guide to every Listing Studio AI tool — image generation, design editing, mockups, listing optimization, and shop stories.
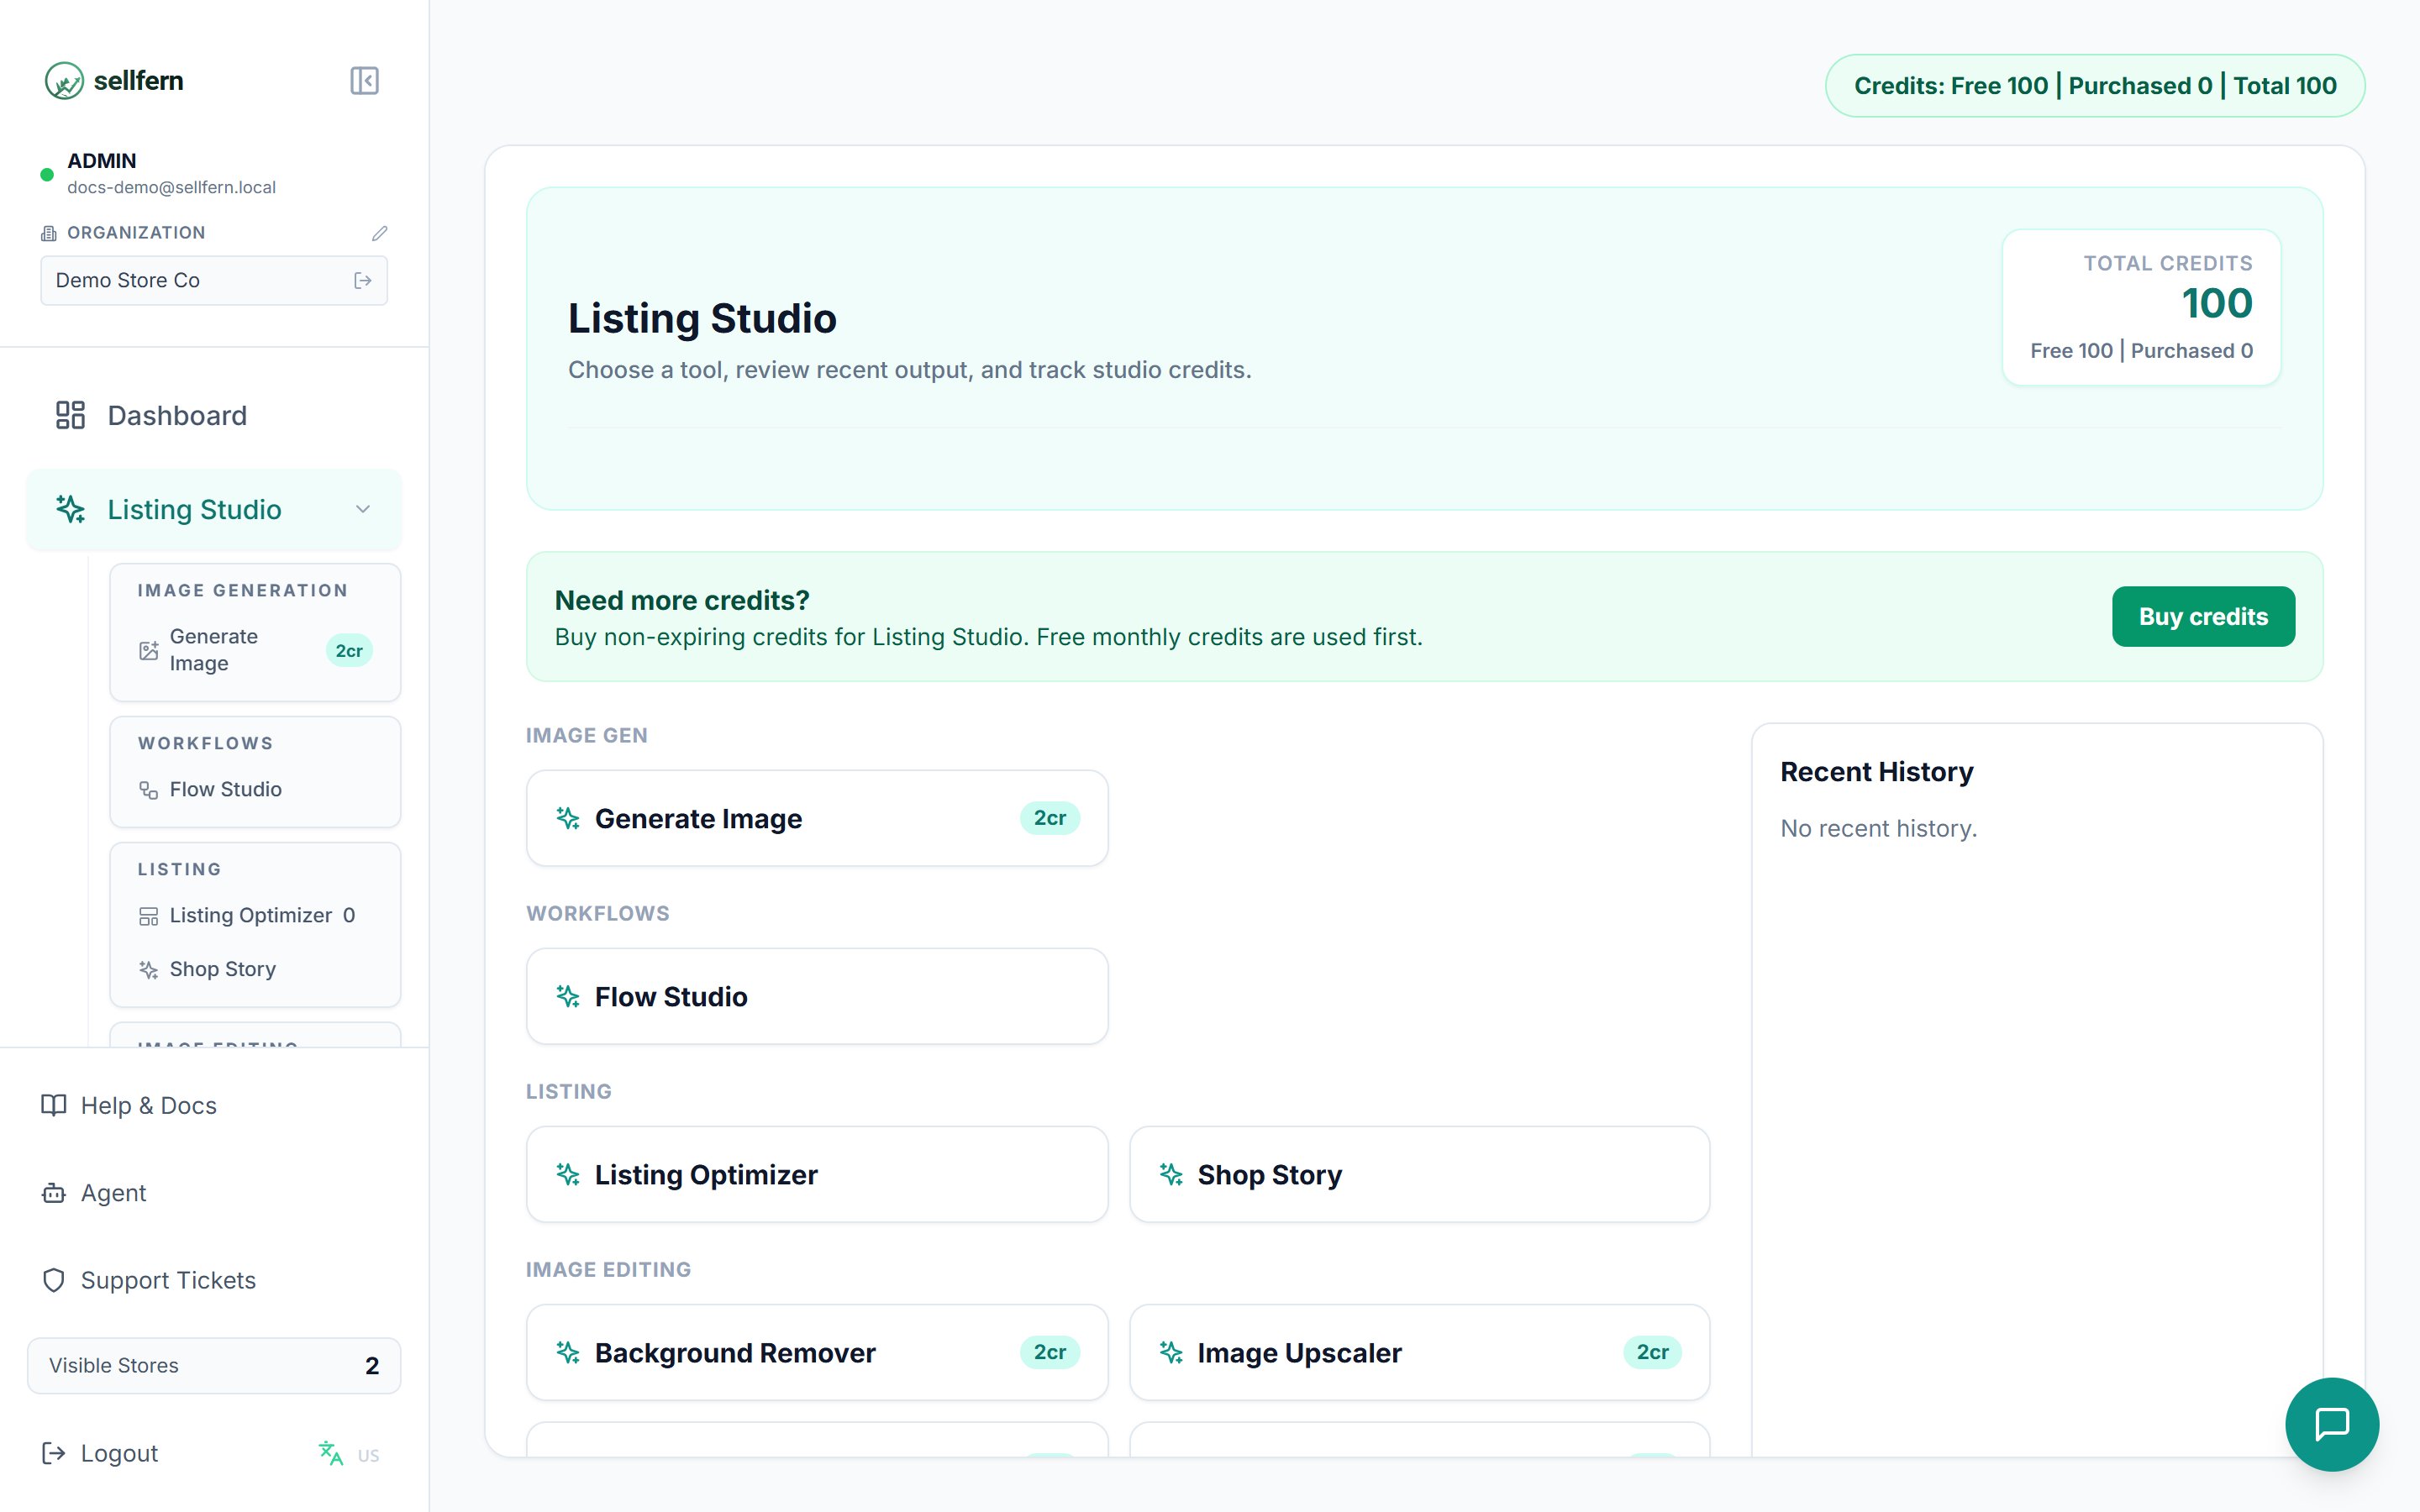
Listing Studio is Sellfern's AI workspace for creating and improving marketplace listing assets. It opens on a dashboard that summarizes available tools, recent output, and your current credit balance.
 ## Navigation overview
The sidebar groups tools by purpose. Each tool shows its credit cost (cr) directly in the menu so you know the usage before running.
| Group | Tool | Credits per run |
| -------------------- | ------------------------ | --------------- |
| **Image Generation** | Generate Image | 2 |
| **Workflows** | Flow Studio | per step |
| **Listing** | Listing Optimizer | 0 (video: 3) |
| **Listing** | Shop Story | 0 |
| **Image Editing** | Background Remover | 2 |
| **Image Editing** | Image Upscaler | 2 |
| **Image Editing** | Design Extractor (Clone) | 2 |
| **Image Editing** | Redesign Tool | 2 |
| **Image Editing** | Embroidery Simulator | 2 |
| **Visualization** | Mockup Generator | 2 / image |
| **Visualization** | Pattern Mock-up Set | 8 |
| **Visualization** | Product Enhancer | 2 |
| **Other** | Buy Credits, History | — |
***
## Image Generation
### Generate Image — 2 credits
Create a brand-new design image from a text description. Use it when you need a starting artwork and have no design file yet.
## Navigation overview
The sidebar groups tools by purpose. Each tool shows its credit cost (cr) directly in the menu so you know the usage before running.
| Group | Tool | Credits per run |
| -------------------- | ------------------------ | --------------- |
| **Image Generation** | Generate Image | 2 |
| **Workflows** | Flow Studio | per step |
| **Listing** | Listing Optimizer | 0 (video: 3) |
| **Listing** | Shop Story | 0 |
| **Image Editing** | Background Remover | 2 |
| **Image Editing** | Image Upscaler | 2 |
| **Image Editing** | Design Extractor (Clone) | 2 |
| **Image Editing** | Redesign Tool | 2 |
| **Image Editing** | Embroidery Simulator | 2 |
| **Visualization** | Mockup Generator | 2 / image |
| **Visualization** | Pattern Mock-up Set | 8 |
| **Visualization** | Product Enhancer | 2 |
| **Other** | Buy Credits, History | — |
***
## Image Generation
### Generate Image — 2 credits
Create a brand-new design image from a text description. Use it when you need a starting artwork and have no design file yet.
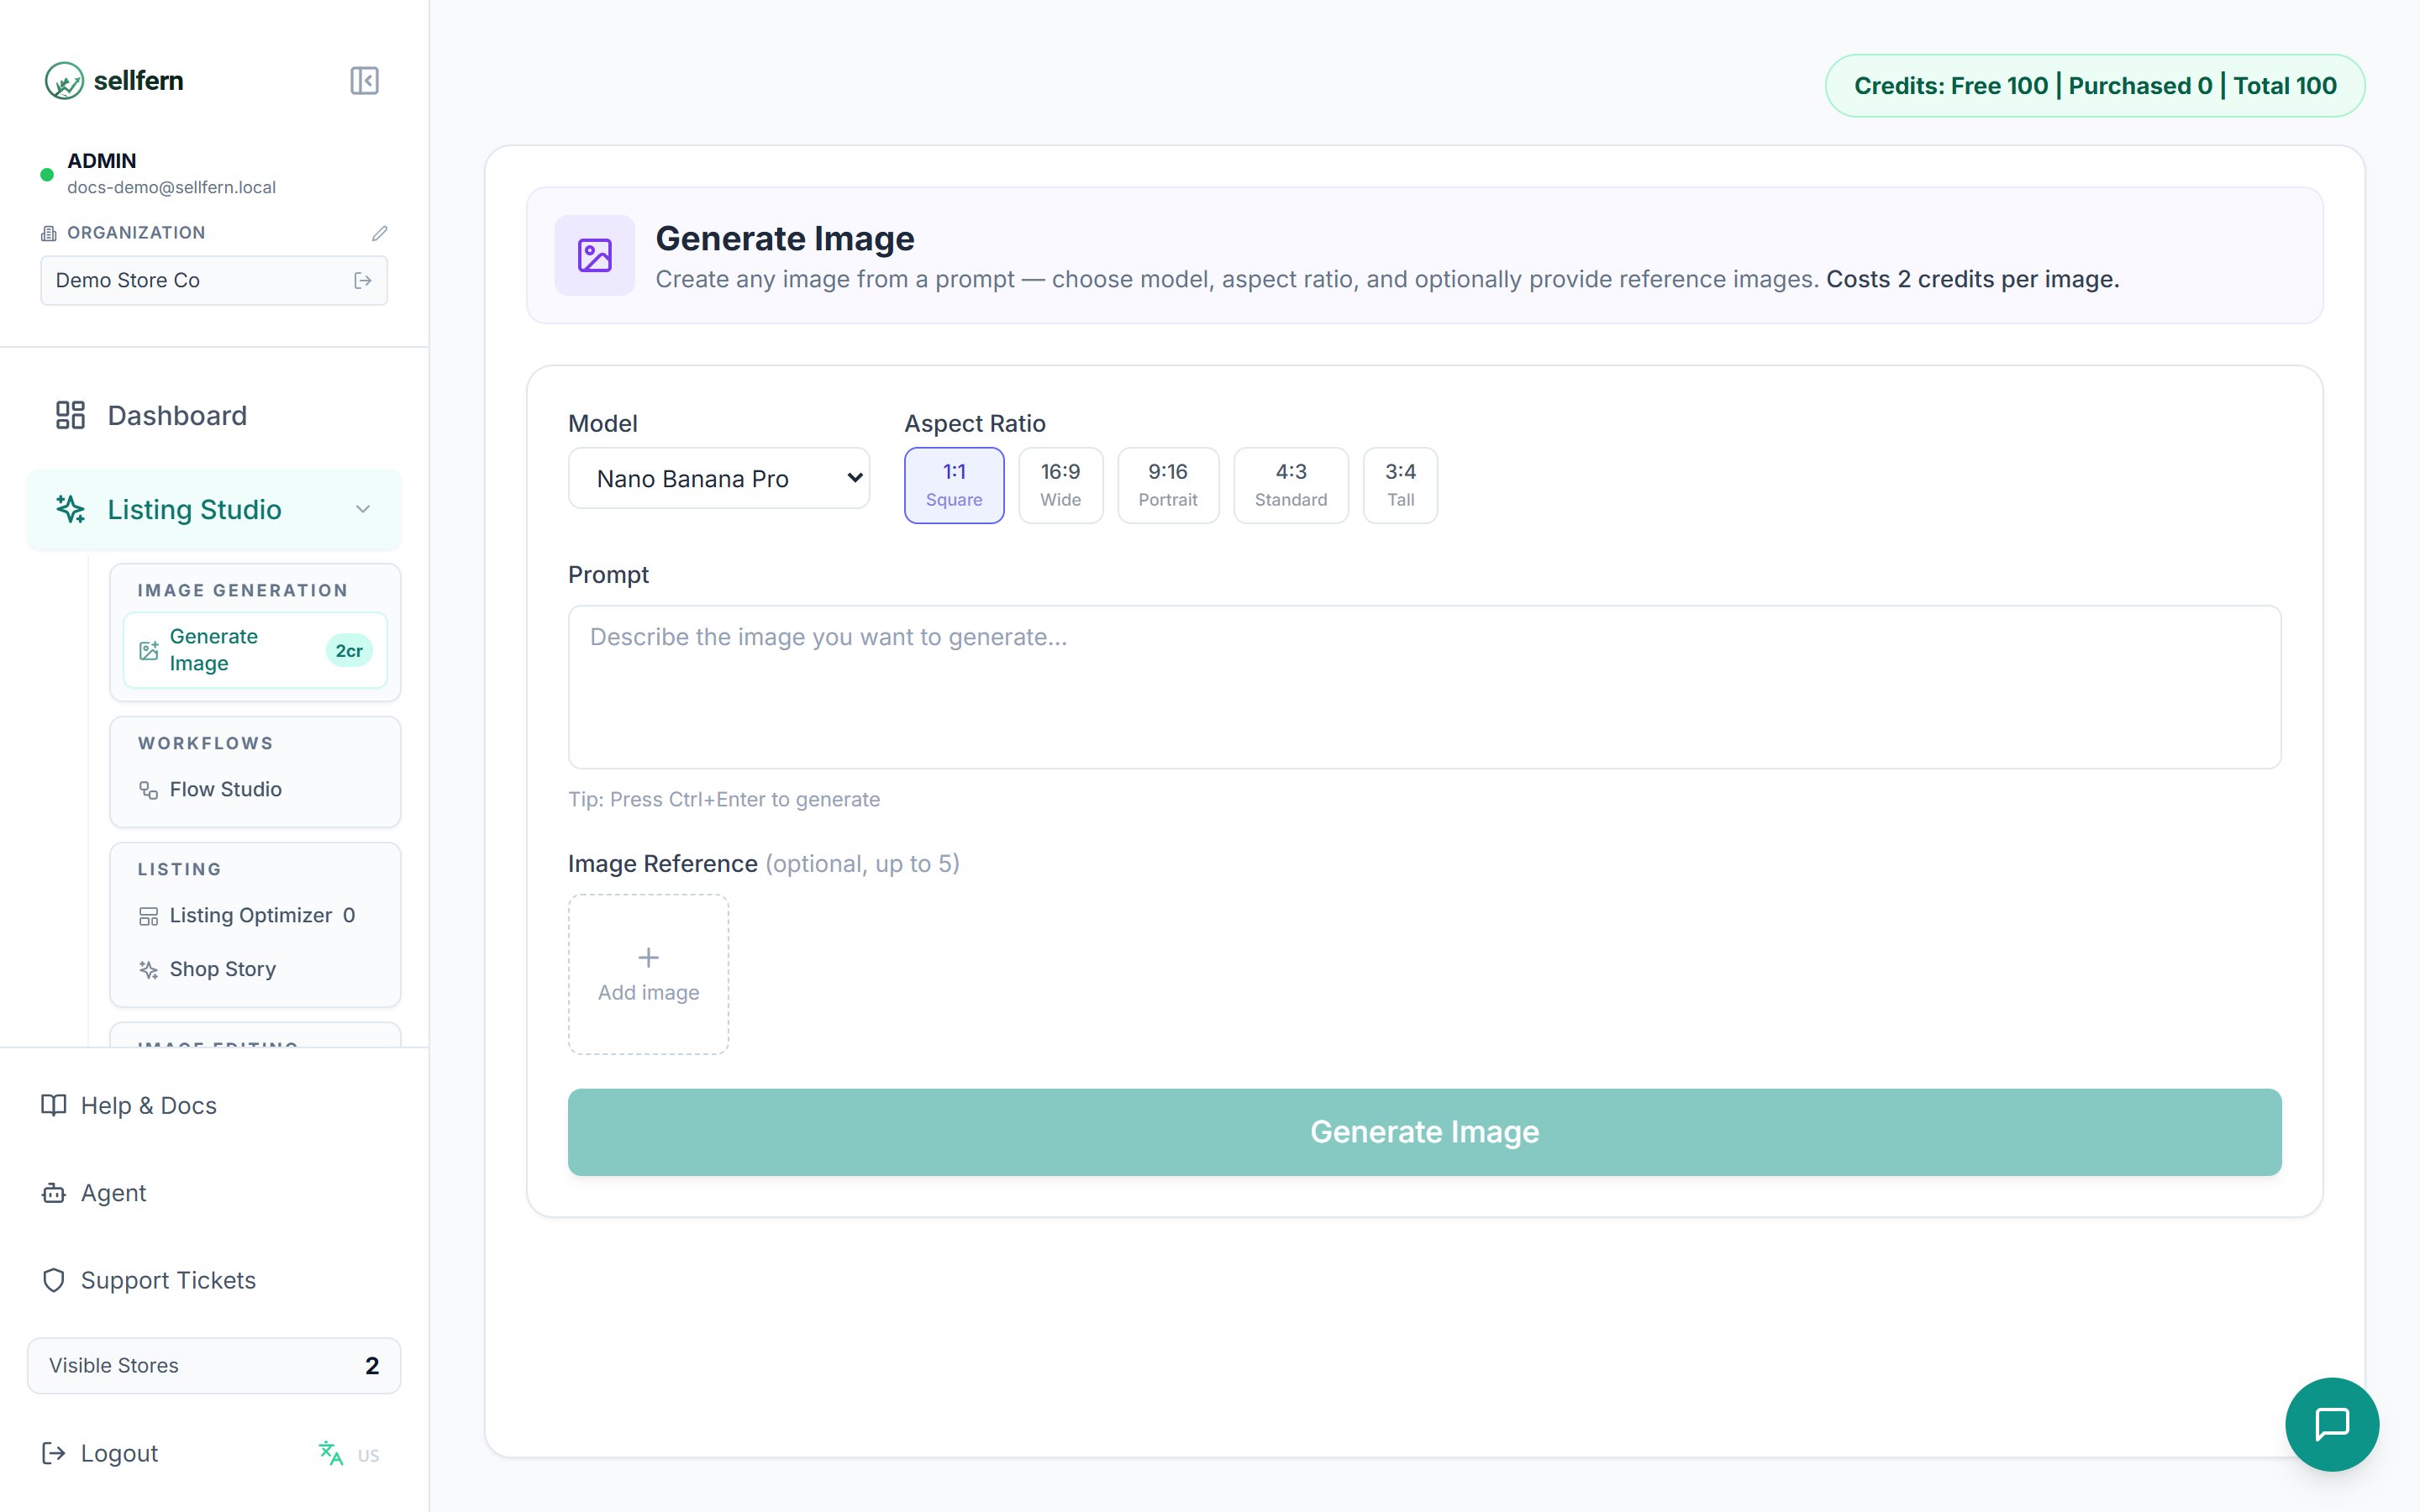 **How to use it:**
Choose the **AI model** and the **aspect ratio** that fits your product — square for listing photos, portrait for posters.
Describe the image as specifically as possible: subject, style (watercolor, vintage, minimalist...), colors, composition.
Upload up to **5 reference images** so the AI follows an existing style or subject — useful for making variations that match your older designs.
Click generate, review the result, and download it. Results are also saved to **History**.
A good prompt = subject + style + colors + background. Example: *"A cute highland cow wearing a flower crown, watercolor style, pastel colors, white background"*.
***
## Workflows
### Flow Studio — credits per enabled step
Flow Studio is an **assembly line** that batch-processes images through multiple tools in sequence, instead of running each tool by hand.
**How to use it:**
Choose the **AI model** and the **aspect ratio** that fits your product — square for listing photos, portrait for posters.
Describe the image as specifically as possible: subject, style (watercolor, vintage, minimalist...), colors, composition.
Upload up to **5 reference images** so the AI follows an existing style or subject — useful for making variations that match your older designs.
Click generate, review the result, and download it. Results are also saved to **History**.
A good prompt = subject + style + colors + background. Example: *"A cute highland cow wearing a flower crown, watercolor style, pastel colors, white background"*.
***
## Workflows
### Flow Studio — credits per enabled step
Flow Studio is an **assembly line** that batch-processes images through multiple tools in sequence, instead of running each tool by hand.
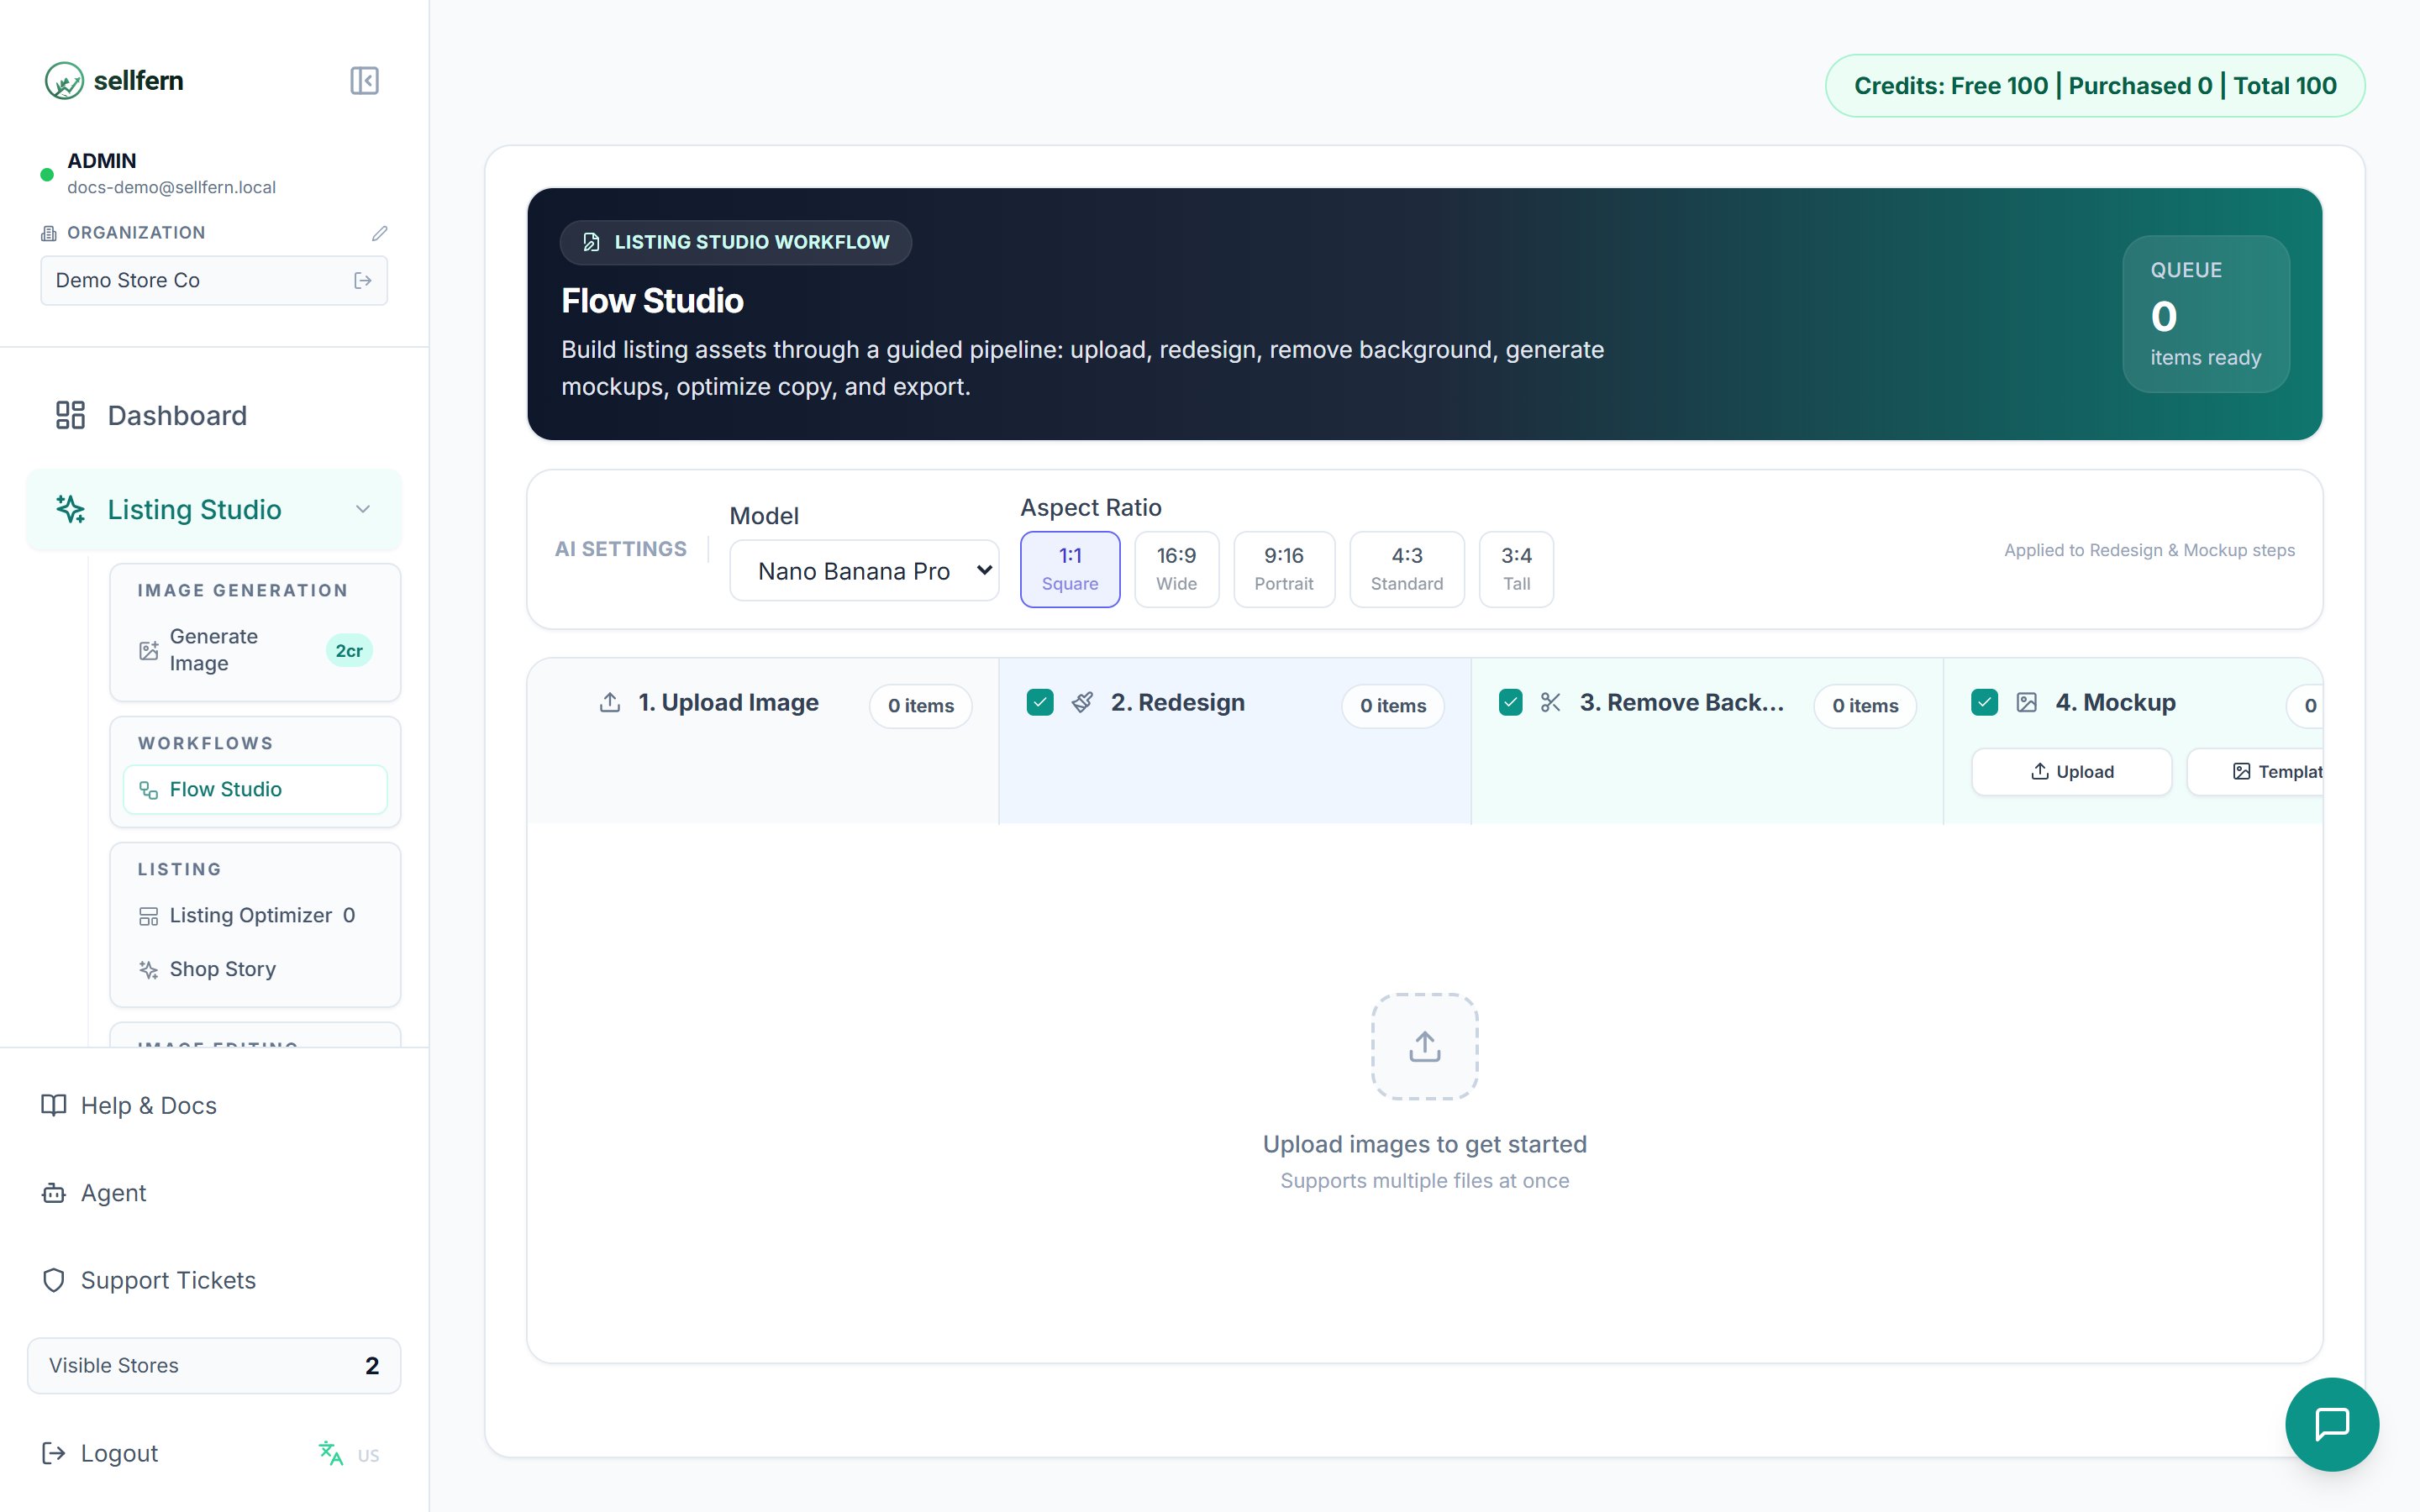 Every uploaded image passes through the chain:
1. **Upload** — add one or many source images.
2. **Redesign** — restyle the design from a prompt (optional, toggleable).
3. **Remove BG** — automatic background removal.
4. **Mockup** — place the design on mockup images; pick from your **Template Library**.
5. **Listing** — AI writes the listing title, tags, and description.
6. **Export** — bundles the final image + listing copy into one result with quick copy buttons per field.
**Why it's powerful:**
* **Toggle steps on/off** — you only pay credits for enabled steps; if you just need Remove BG + Mockup, disable Redesign and Listing.
* **Batch processing** — drop in 10 designs and get back 10 complete sets (mockup image + title + tags + description) at once.
* Each step reports its own status (Running / Done / Error), so one failed step doesn't ruin the whole batch.
Flow Studio is the biggest time-saver if you publish many listings per day: configure once, and a whole batch of images comes out publication-ready.
***
## Listing
### Listing Optimizer — free (video: 3 credits)
Optimize your Etsy listing copy and generate a promo video in one step.
Every uploaded image passes through the chain:
1. **Upload** — add one or many source images.
2. **Redesign** — restyle the design from a prompt (optional, toggleable).
3. **Remove BG** — automatic background removal.
4. **Mockup** — place the design on mockup images; pick from your **Template Library**.
5. **Listing** — AI writes the listing title, tags, and description.
6. **Export** — bundles the final image + listing copy into one result with quick copy buttons per field.
**Why it's powerful:**
* **Toggle steps on/off** — you only pay credits for enabled steps; if you just need Remove BG + Mockup, disable Redesign and Listing.
* **Batch processing** — drop in 10 designs and get back 10 complete sets (mockup image + title + tags + description) at once.
* Each step reports its own status (Running / Done / Error), so one failed step doesn't ruin the whole batch.
Flow Studio is the biggest time-saver if you publish many listings per day: configure once, and a whole batch of images comes out publication-ready.
***
## Listing
### Listing Optimizer — free (video: 3 credits)
Optimize your Etsy listing copy and generate a promo video in one step.
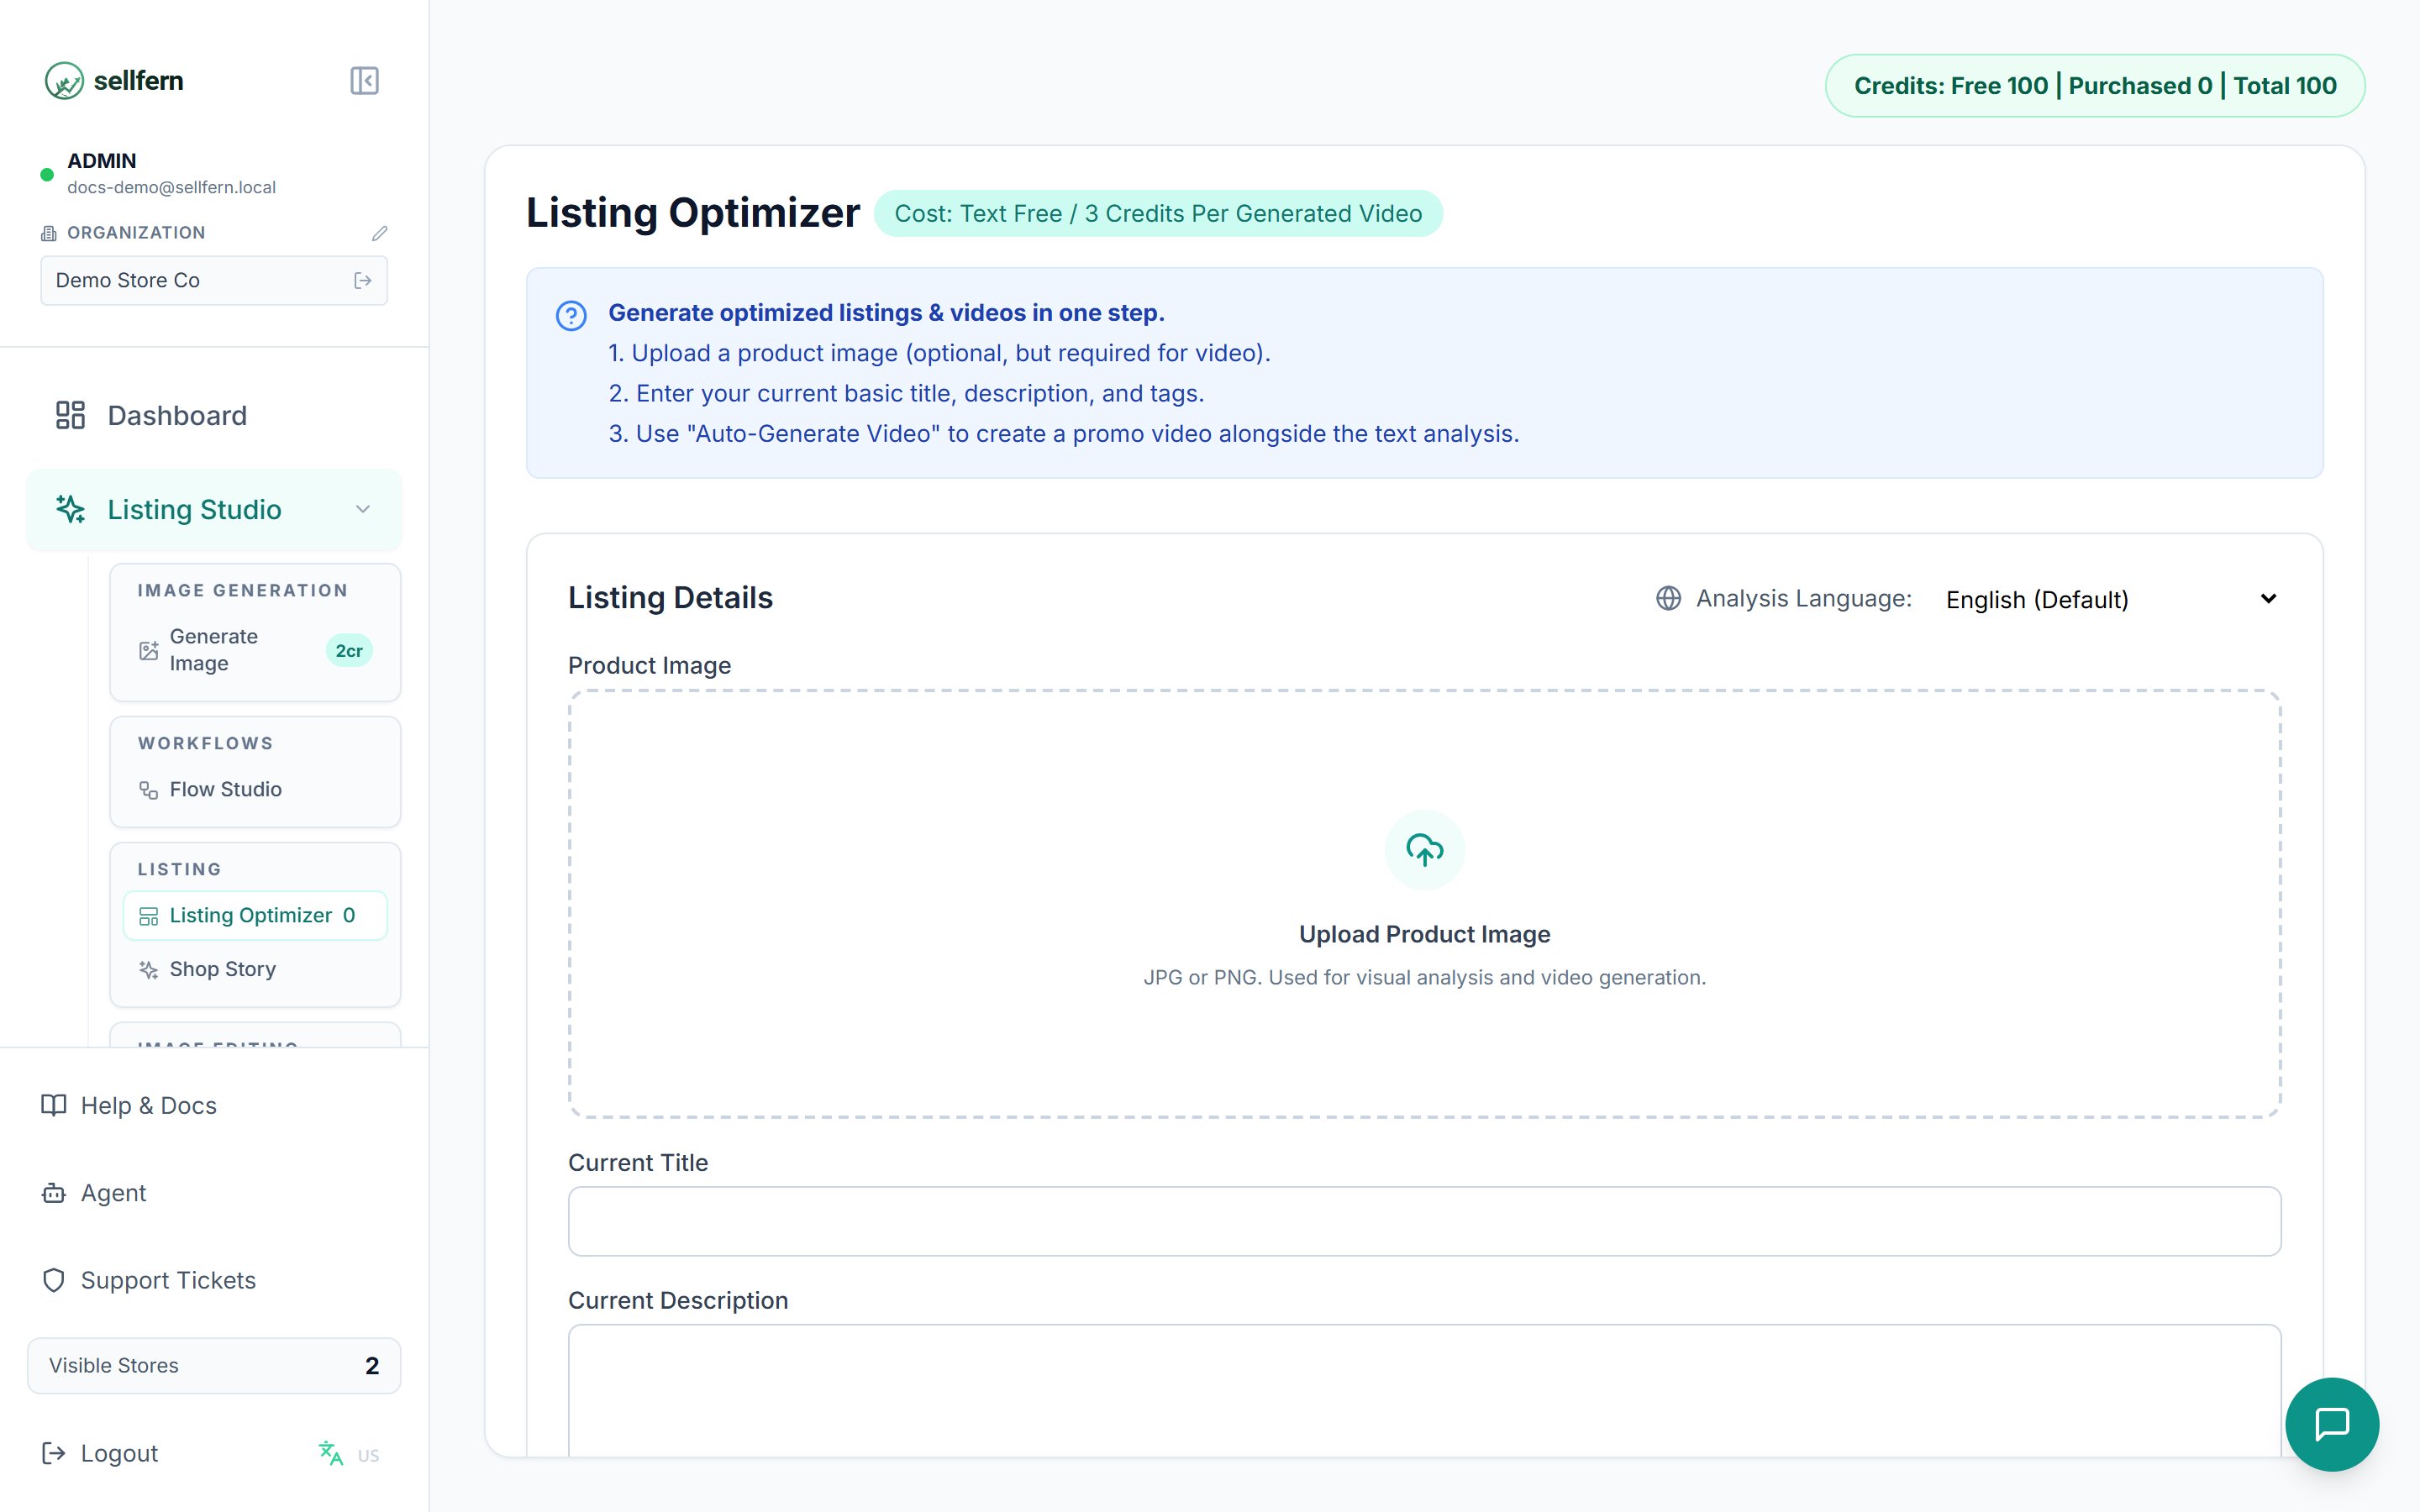 **How to use it:**
The image is optional for the text output, but **required if you want a video**.
Paste the listing's current title, description, and tags (a rough draft is fine).
This option additionally creates a **square promotional video** from the product image, charging 3 credits.
The AI returns an Etsy-SEO title, a structured description, and a fresh tag set — copy each part into Etsy.
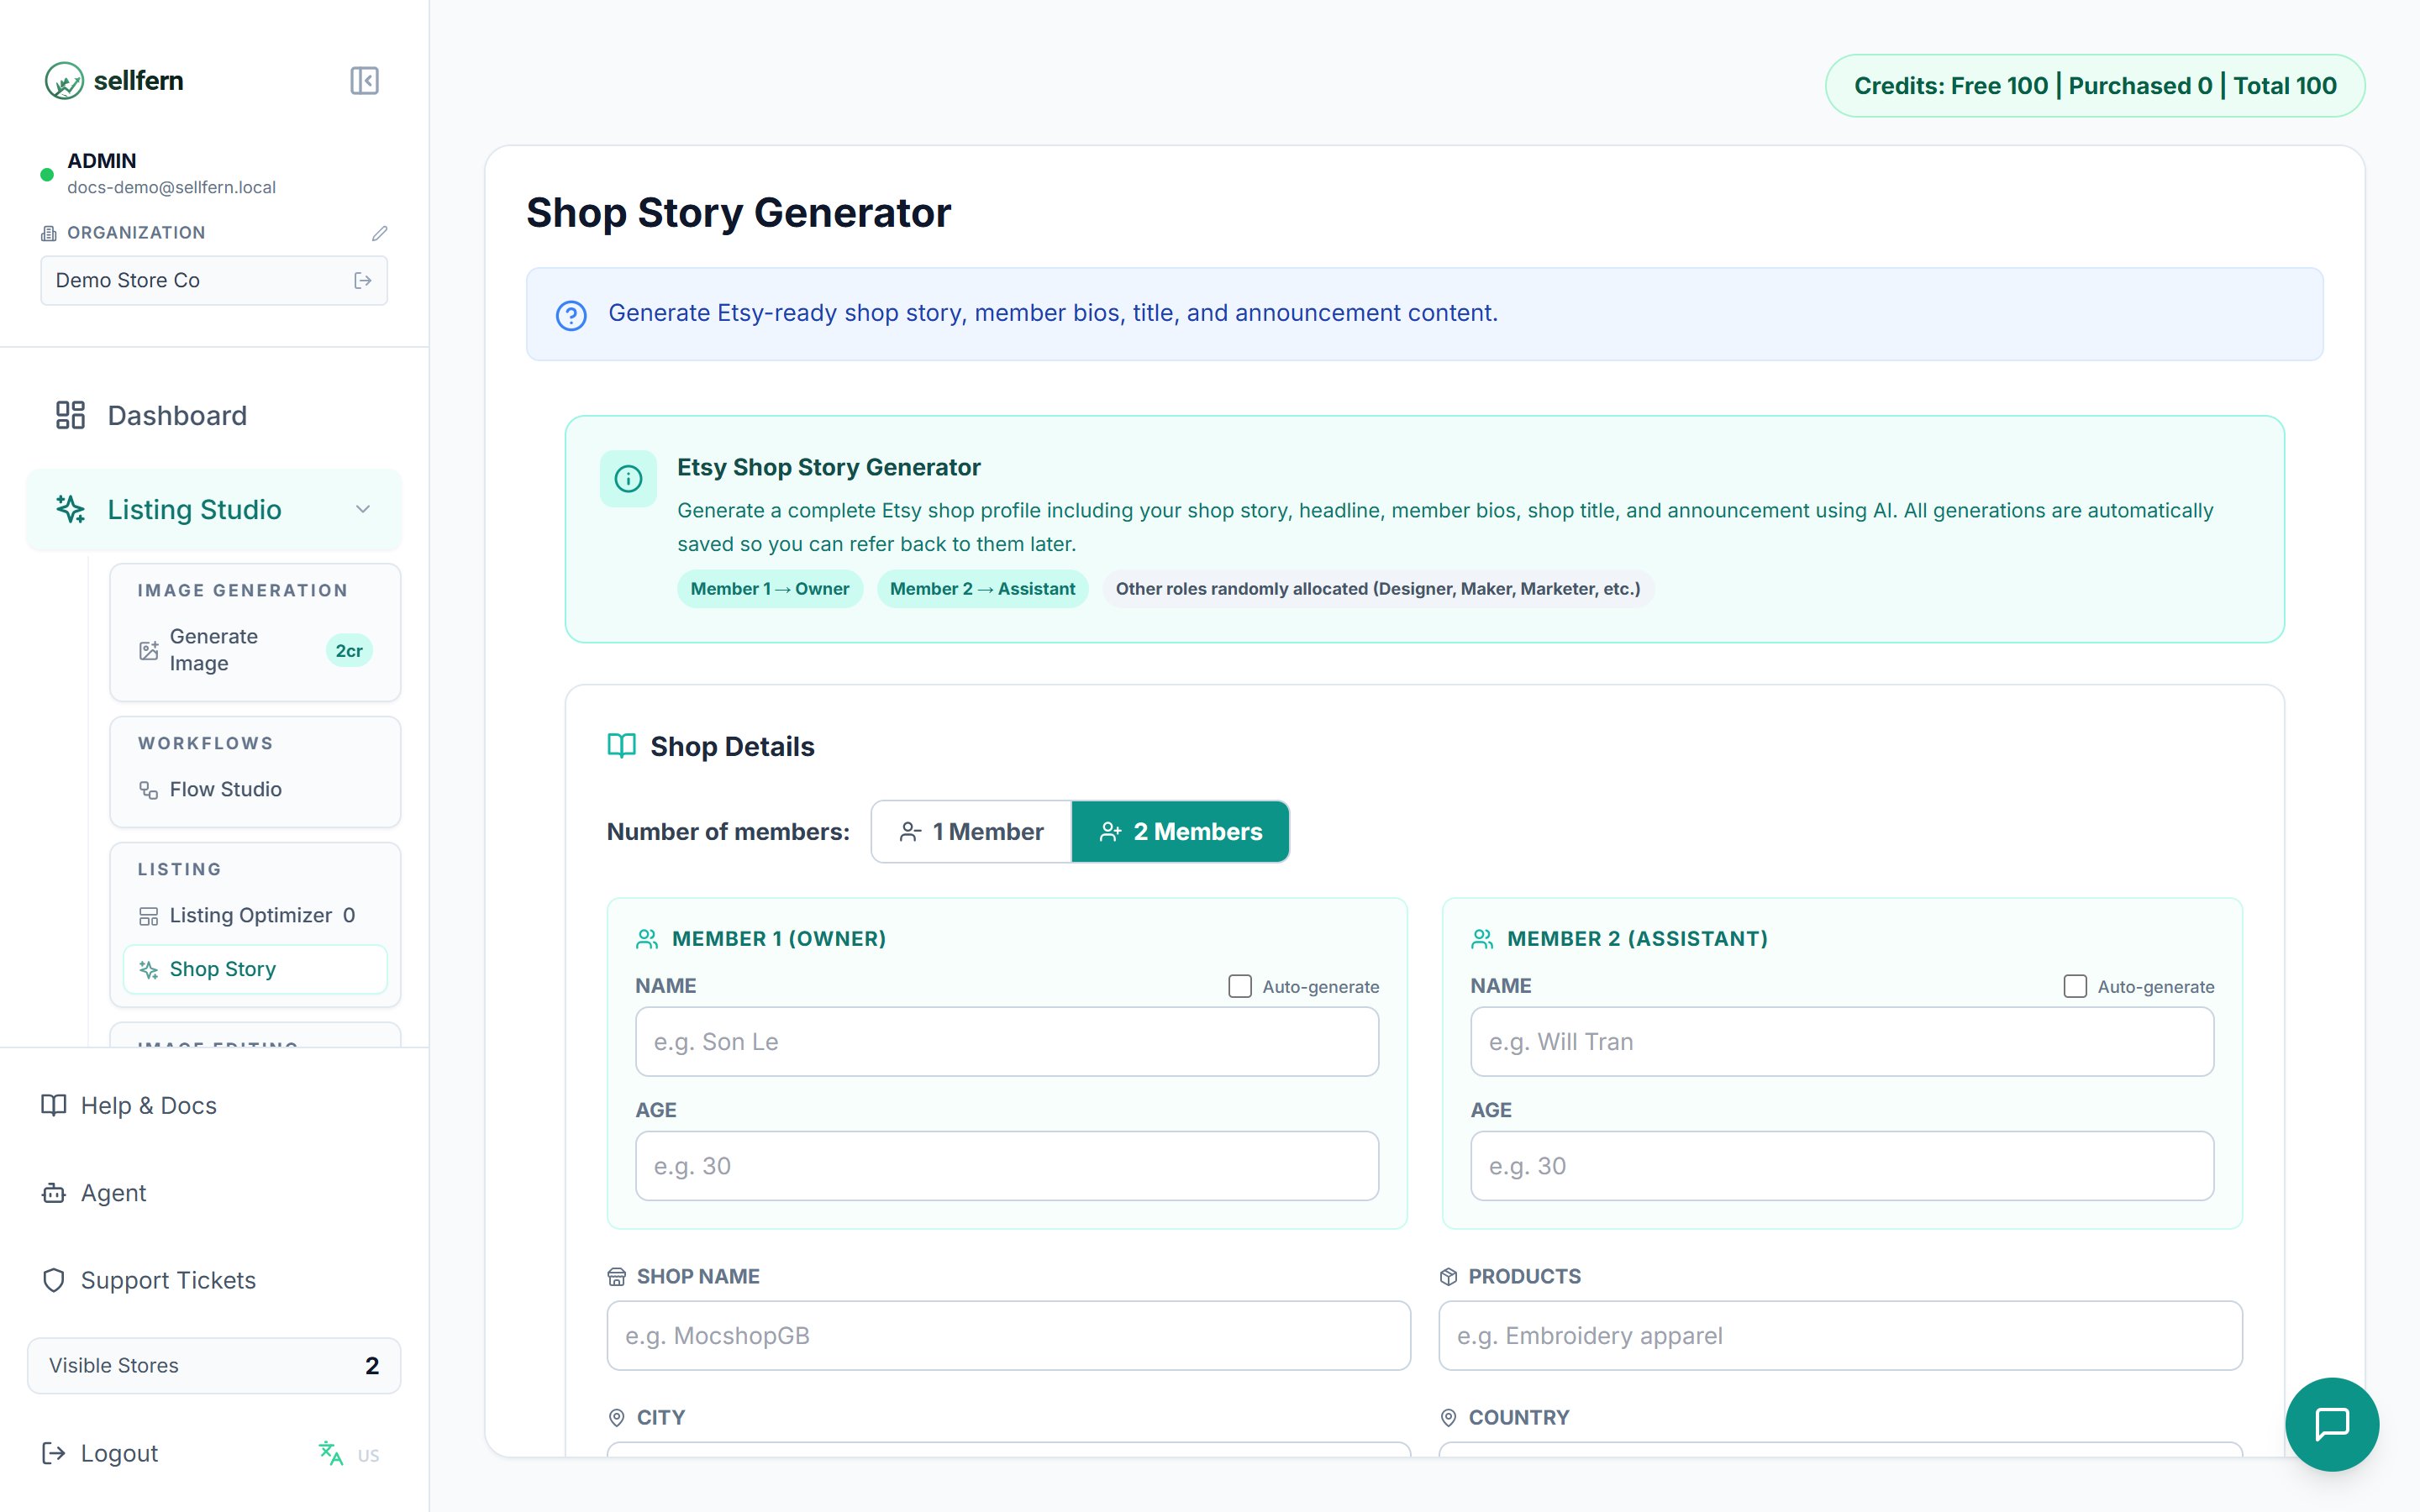
### Shop Story Generator — free
Generates the full "About" package for your Etsy shop: the **shop story**, a **headline**, **member bios**, a **shop title**, and an **announcement**. Give it a few notes about your brand (what you sell, for whom, what makes it special) — the AI writes polished, Etsy-toned copy.
**How to use it:**
The image is optional for the text output, but **required if you want a video**.
Paste the listing's current title, description, and tags (a rough draft is fine).
This option additionally creates a **square promotional video** from the product image, charging 3 credits.
The AI returns an Etsy-SEO title, a structured description, and a fresh tag set — copy each part into Etsy.
### Shop Story Generator — free
Generates the full "About" package for your Etsy shop: the **shop story**, a **headline**, **member bios**, a **shop title**, and an **announcement**. Give it a few notes about your brand (what you sell, for whom, what makes it special) — the AI writes polished, Etsy-toned copy.
 ### IP Check
IP Check is an internal-only feature — visible only to enabled organizations.
An intellectual-property risk dashboard: monitor removed listings, search active listings for risky keywords, get a per-listing **risk level**, and receive safer **replacement titles/tags**. Results are exportable to CSV.
***
## Image Editing
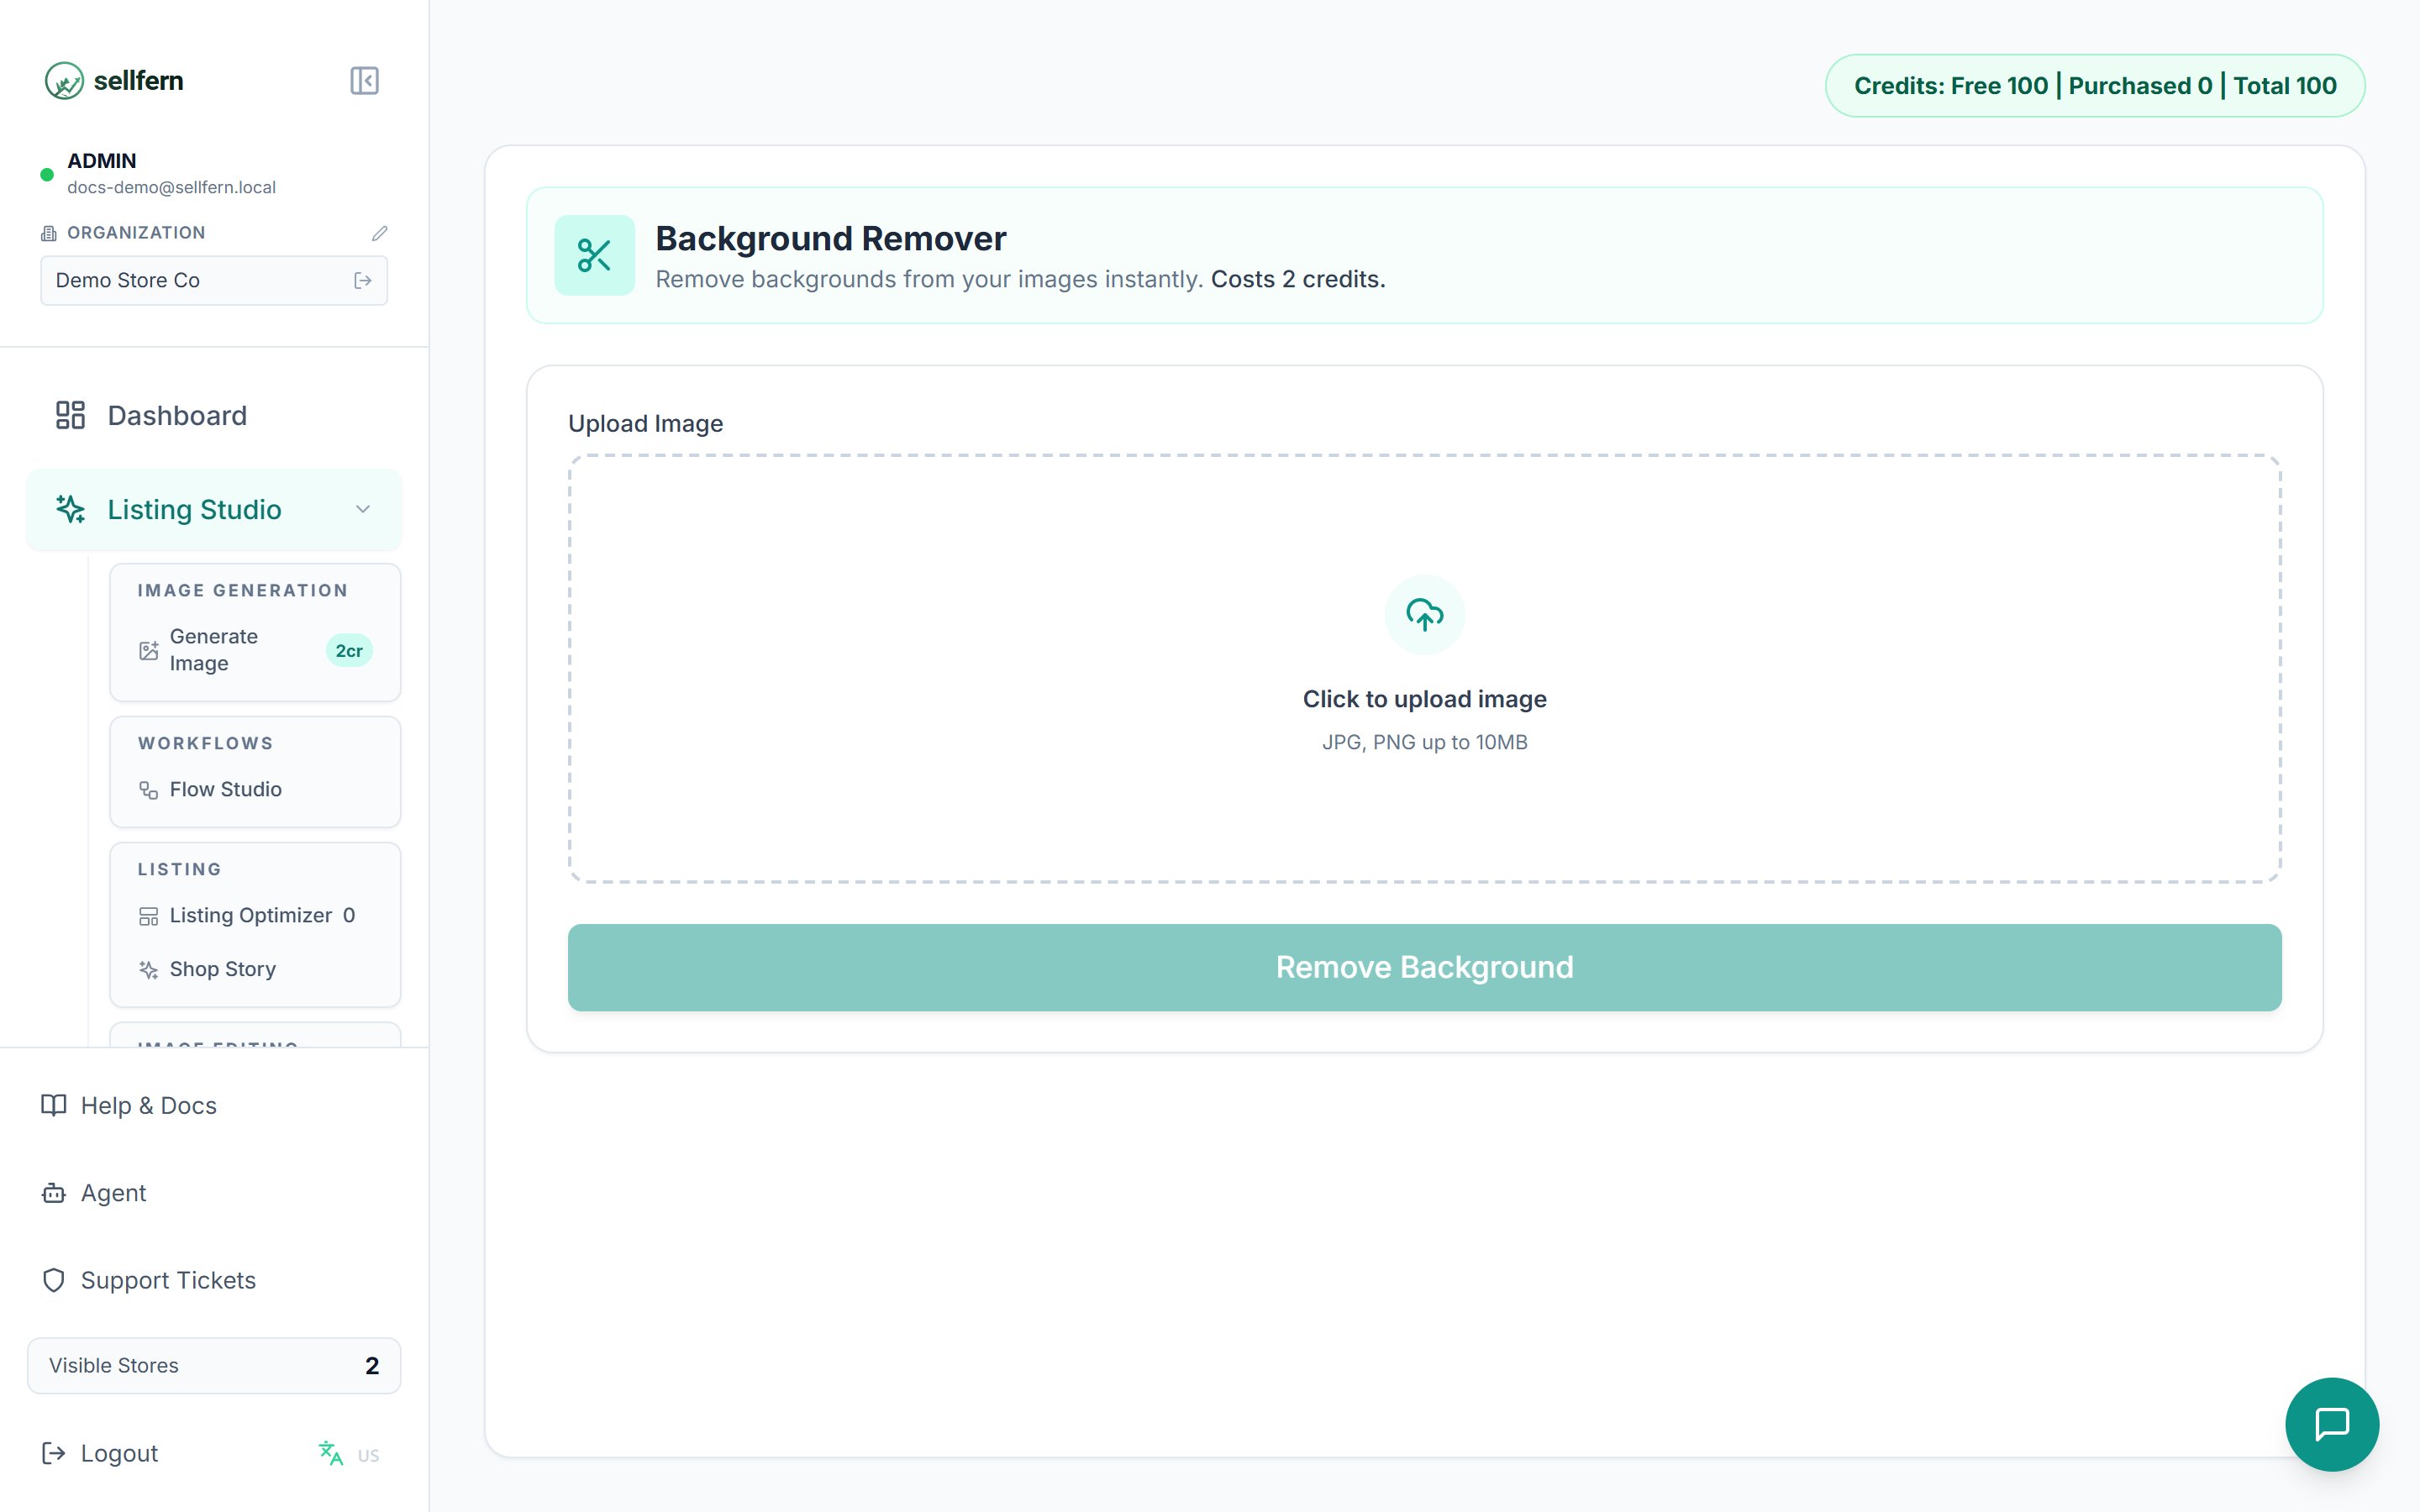
### Background Remover — 2 credits
Removes the background from an image instantly. Upload → receive a transparent PNG. Use it before mockups or whenever you need a clean-background product shot.
### IP Check
IP Check is an internal-only feature — visible only to enabled organizations.
An intellectual-property risk dashboard: monitor removed listings, search active listings for risky keywords, get a per-listing **risk level**, and receive safer **replacement titles/tags**. Results are exportable to CSV.
***
## Image Editing
### Background Remover — 2 credits
Removes the background from an image instantly. Upload → receive a transparent PNG. Use it before mockups or whenever you need a clean-background product shot.
 ### Image Upscaler — 2 credits
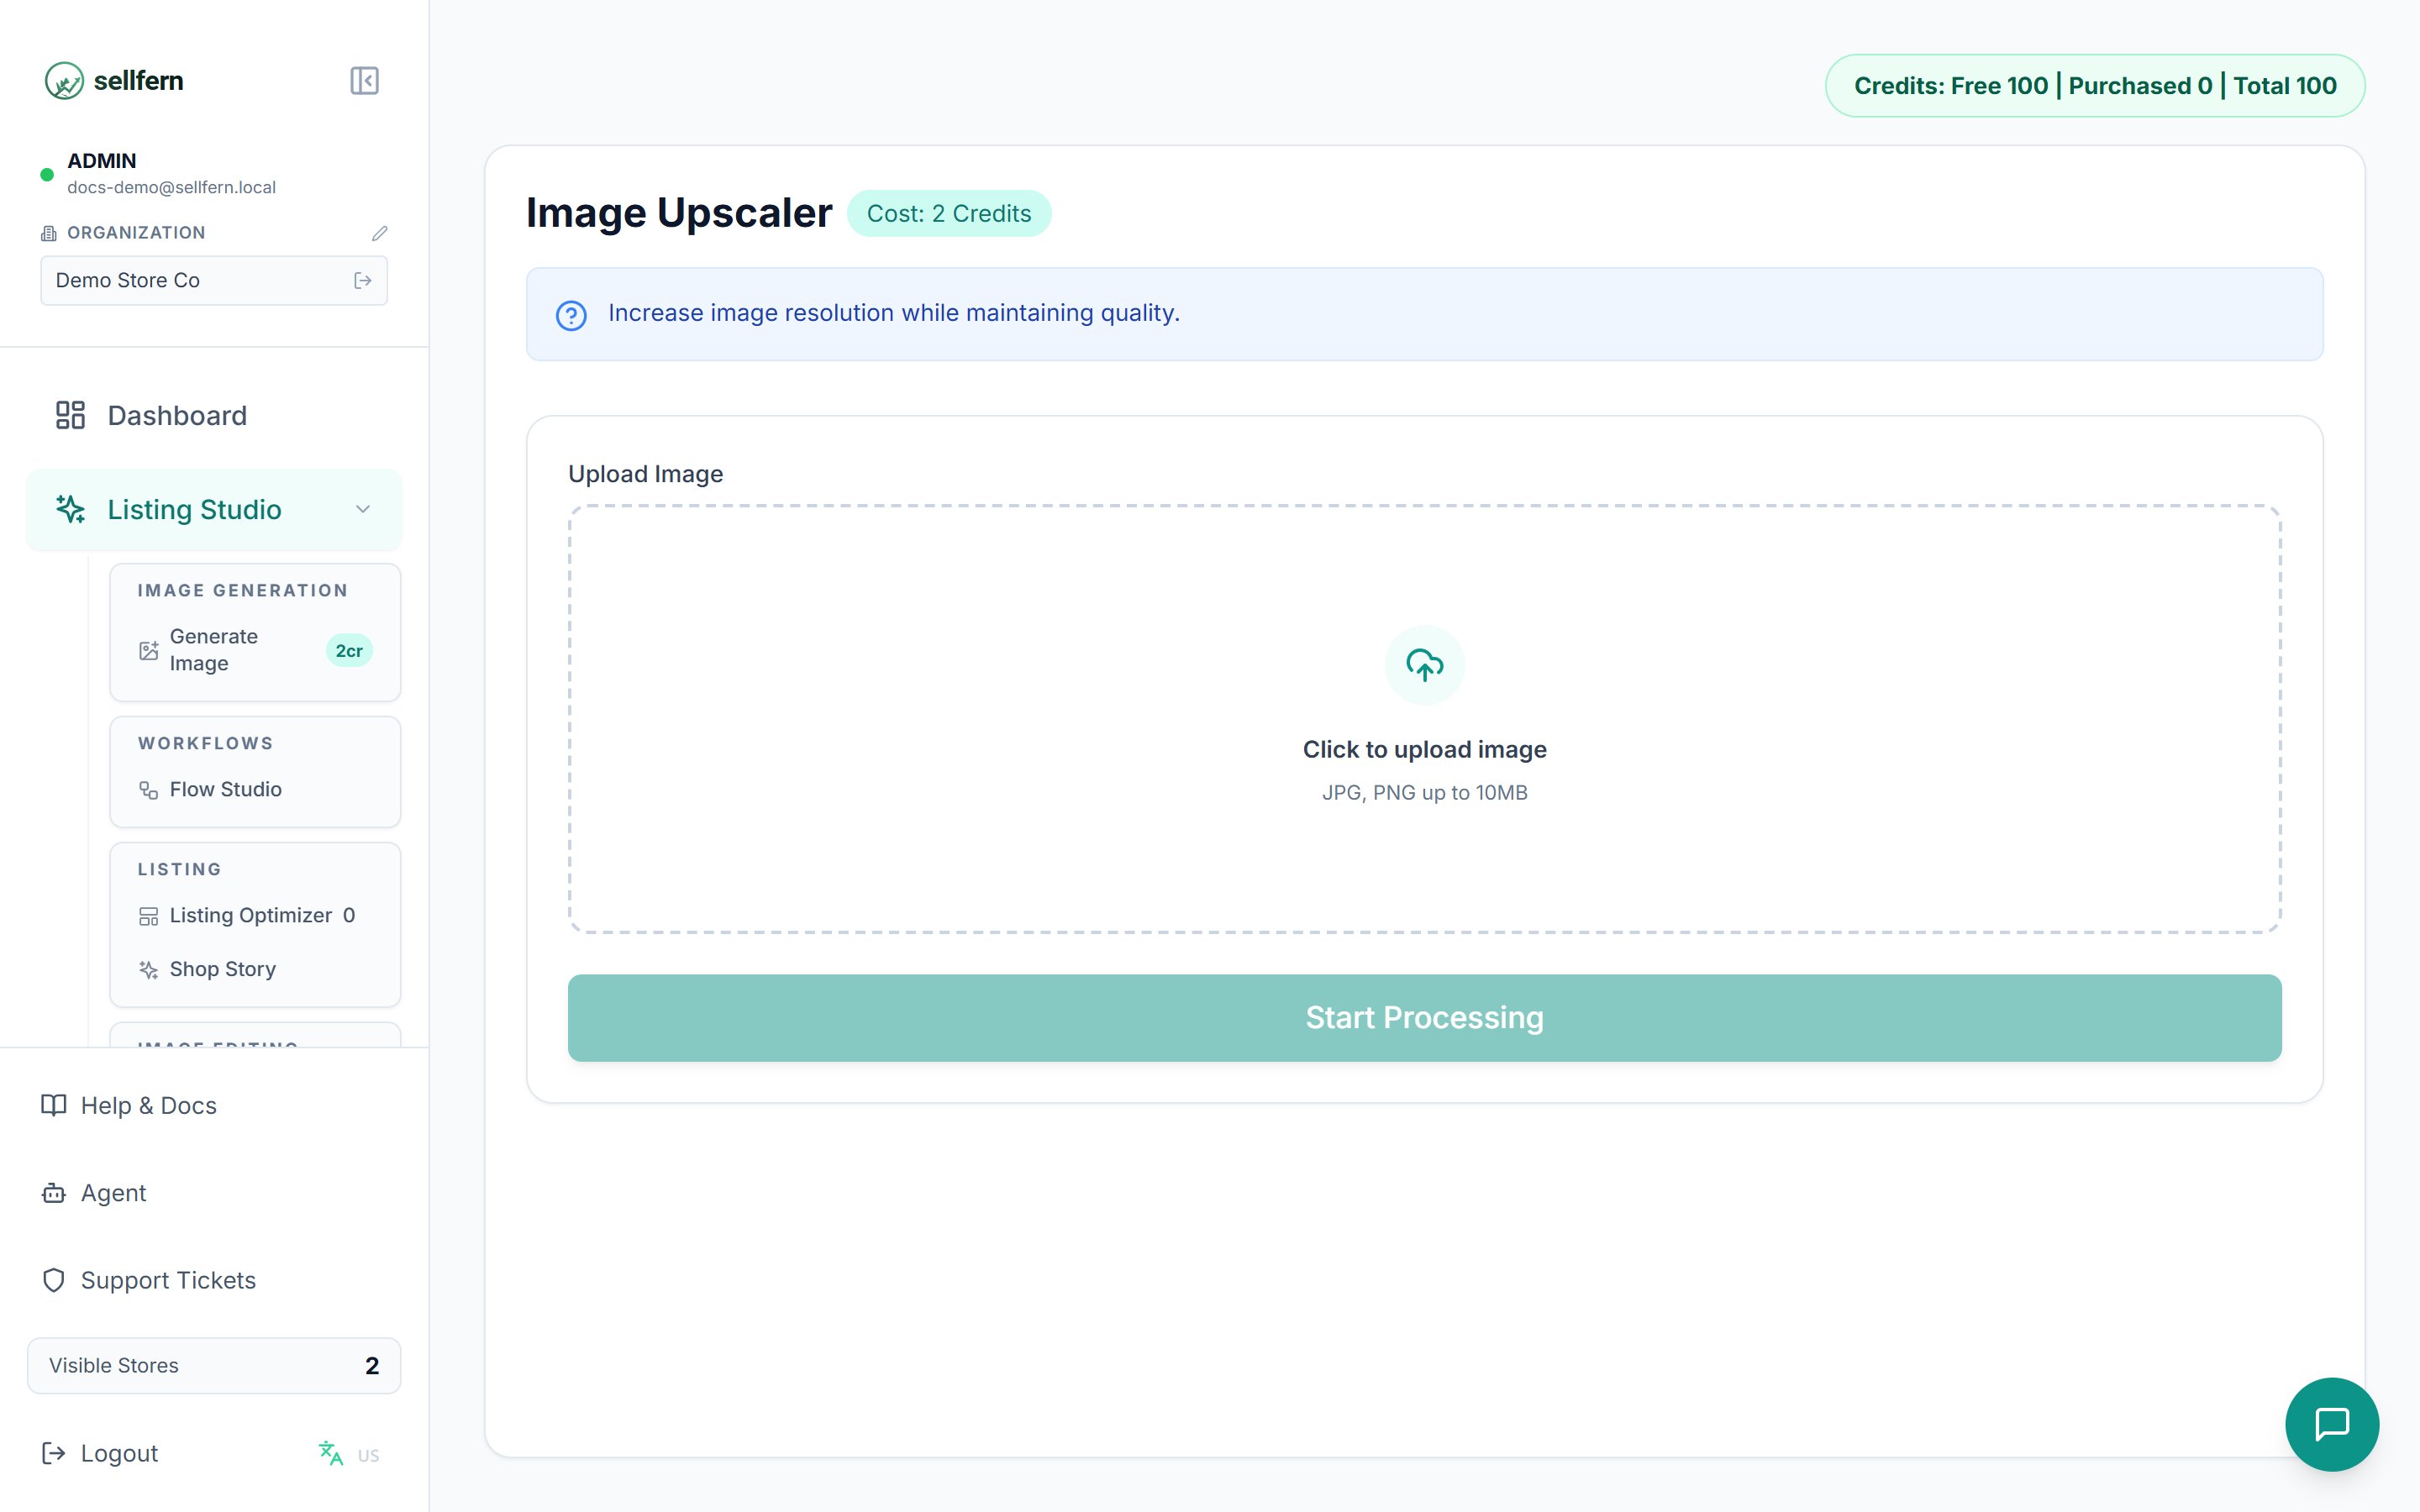
Increases image resolution while preserving detail — for when the original design is too small to print (e.g. a 500px image that needs to become a print file). Upload an image and get a high-quality enlargement.
### Image Upscaler — 2 credits
Increases image resolution while preserving detail — for when the original design is too small to print (e.g. a 500px image that needs to become a print file). Upload an image and get a high-quality enlargement.
 ### Design Extractor (Clone) — 2 credits
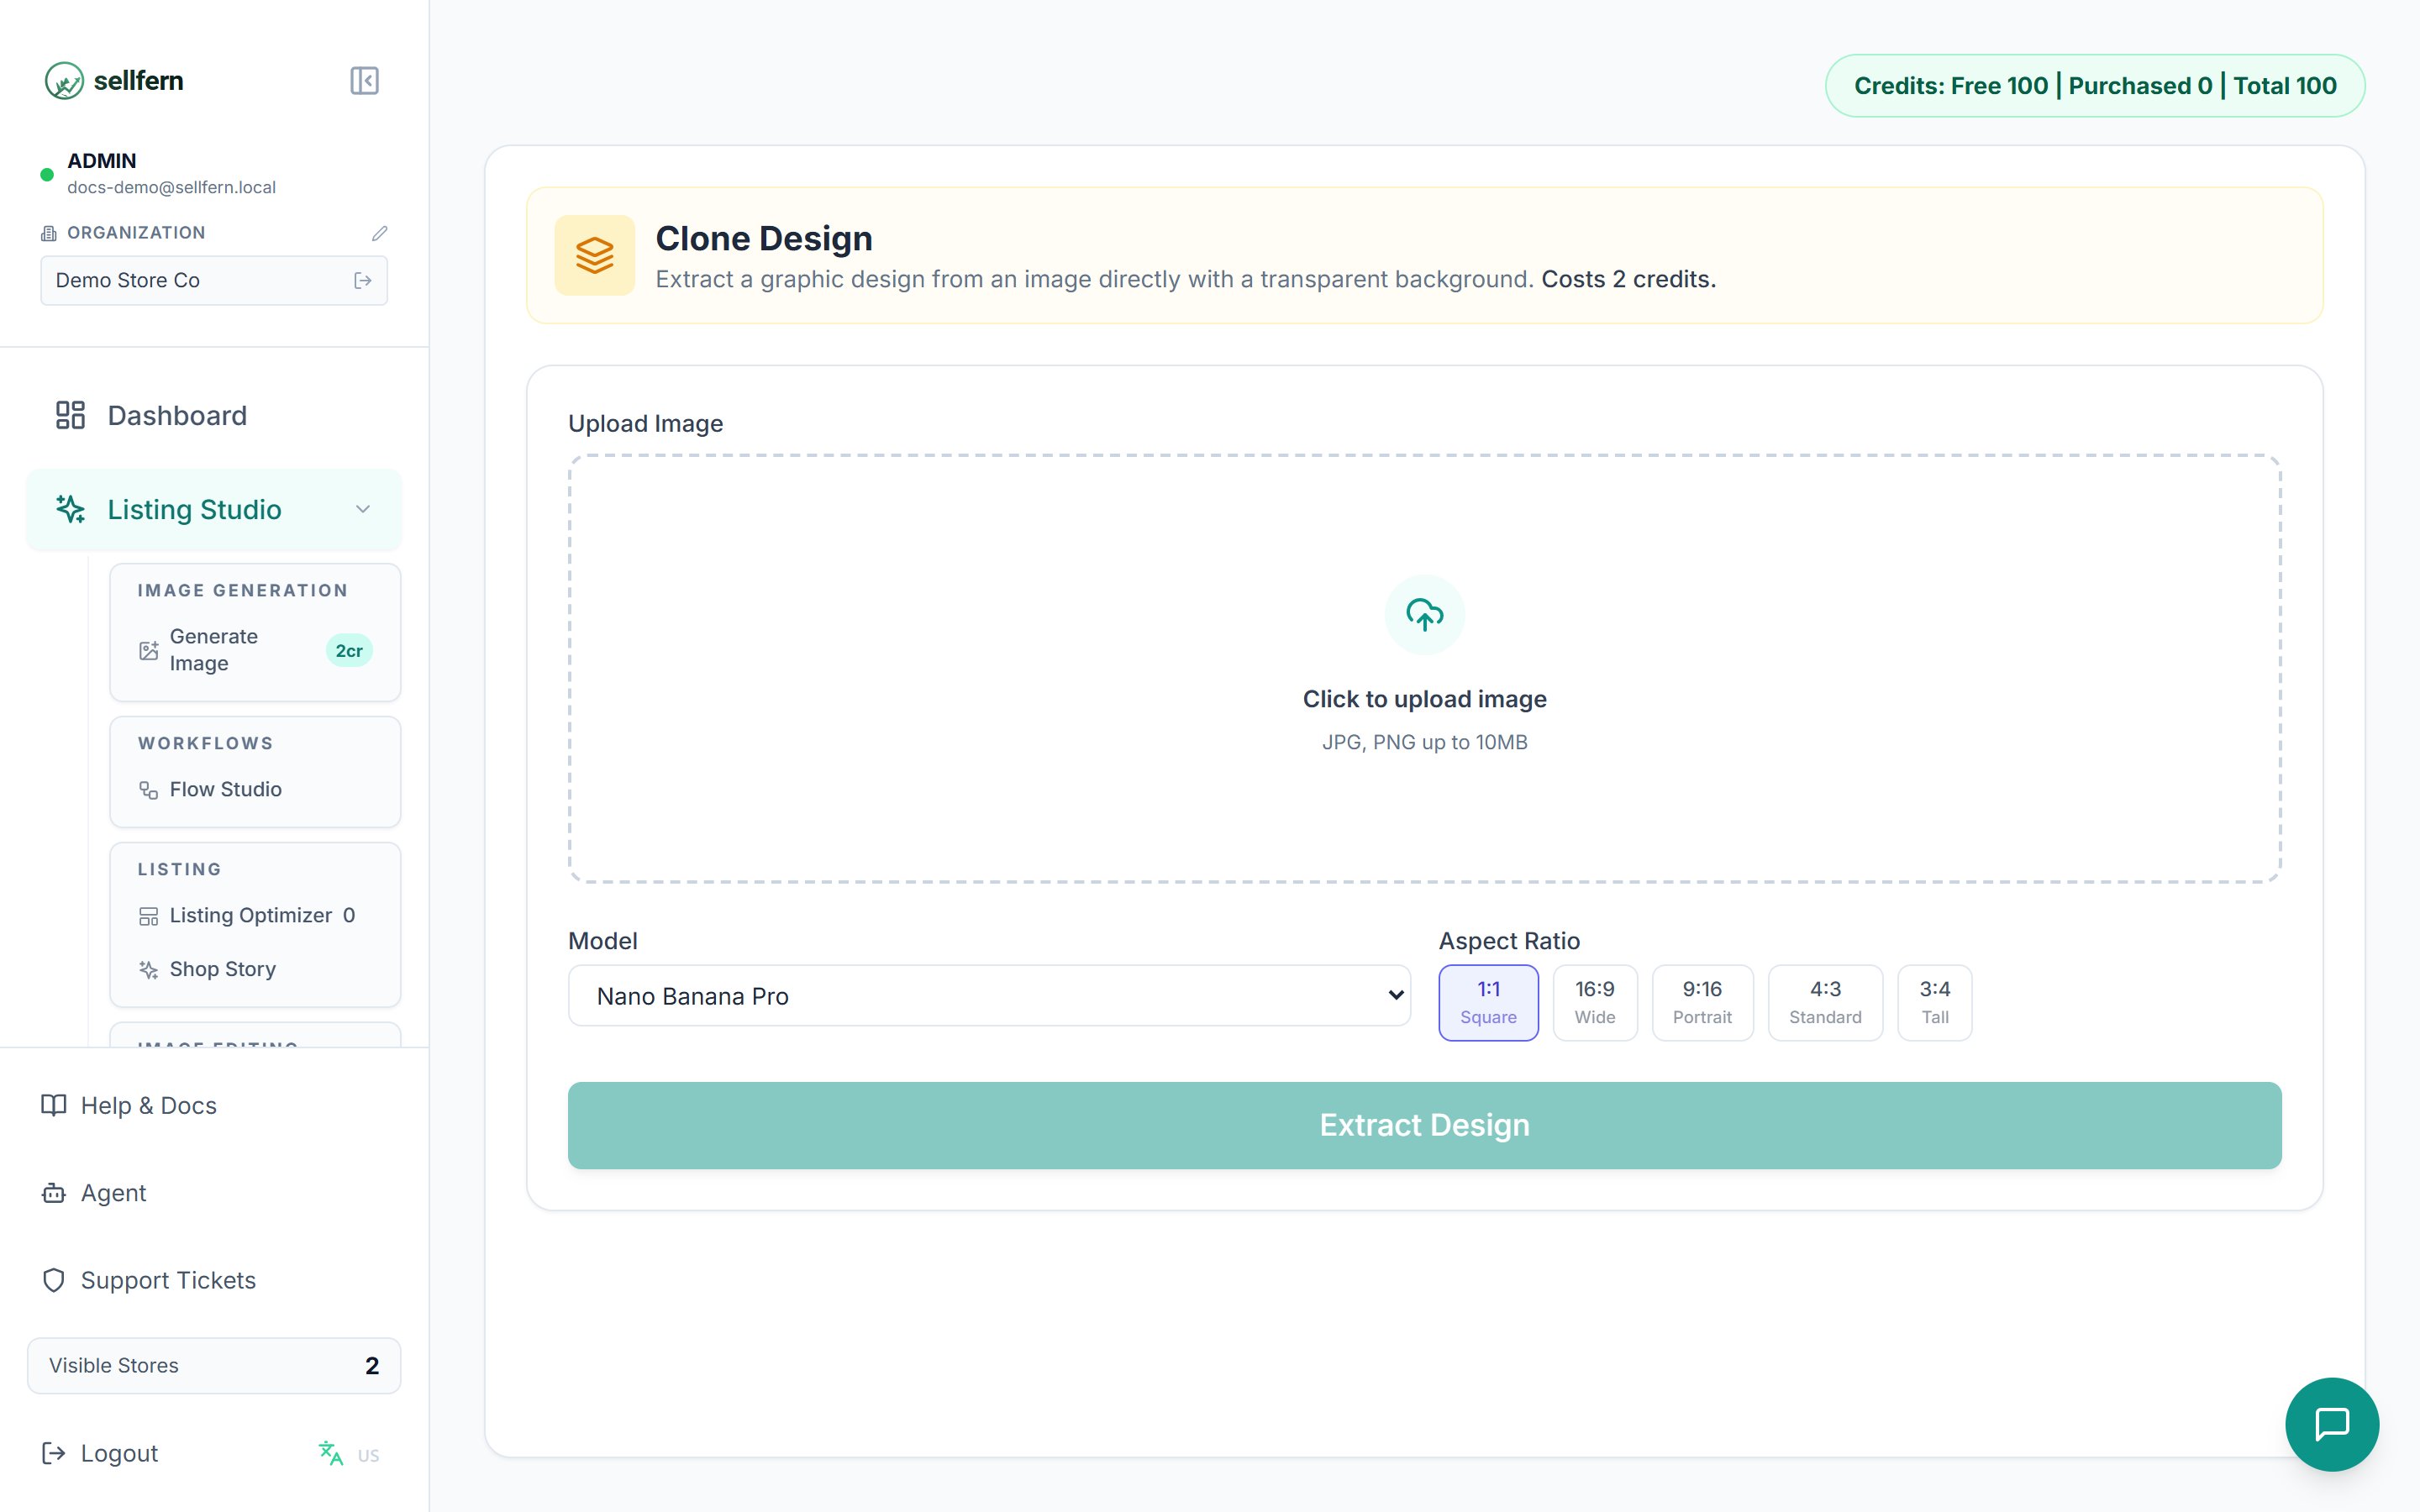
**Extracts the design from a real product photo.** Upload a photo of a printed T-shirt or mug — the AI isolates just the graphic, removes the background, and returns a **clean, print-ready PNG**. Use it when you have an old product photo but lost the original design file.
### Design Extractor (Clone) — 2 credits
**Extracts the design from a real product photo.** Upload a photo of a printed T-shirt or mug — the AI isolates just the graphic, removes the background, and returns a **clean, print-ready PNG**. Use it when you have an old product photo but lost the original design file.
 ### Redesign Tool — 2 credits
Edit **specific parts** of an image using area masking:
### Redesign Tool — 2 credits
Edit **specific parts** of an image using area masking:
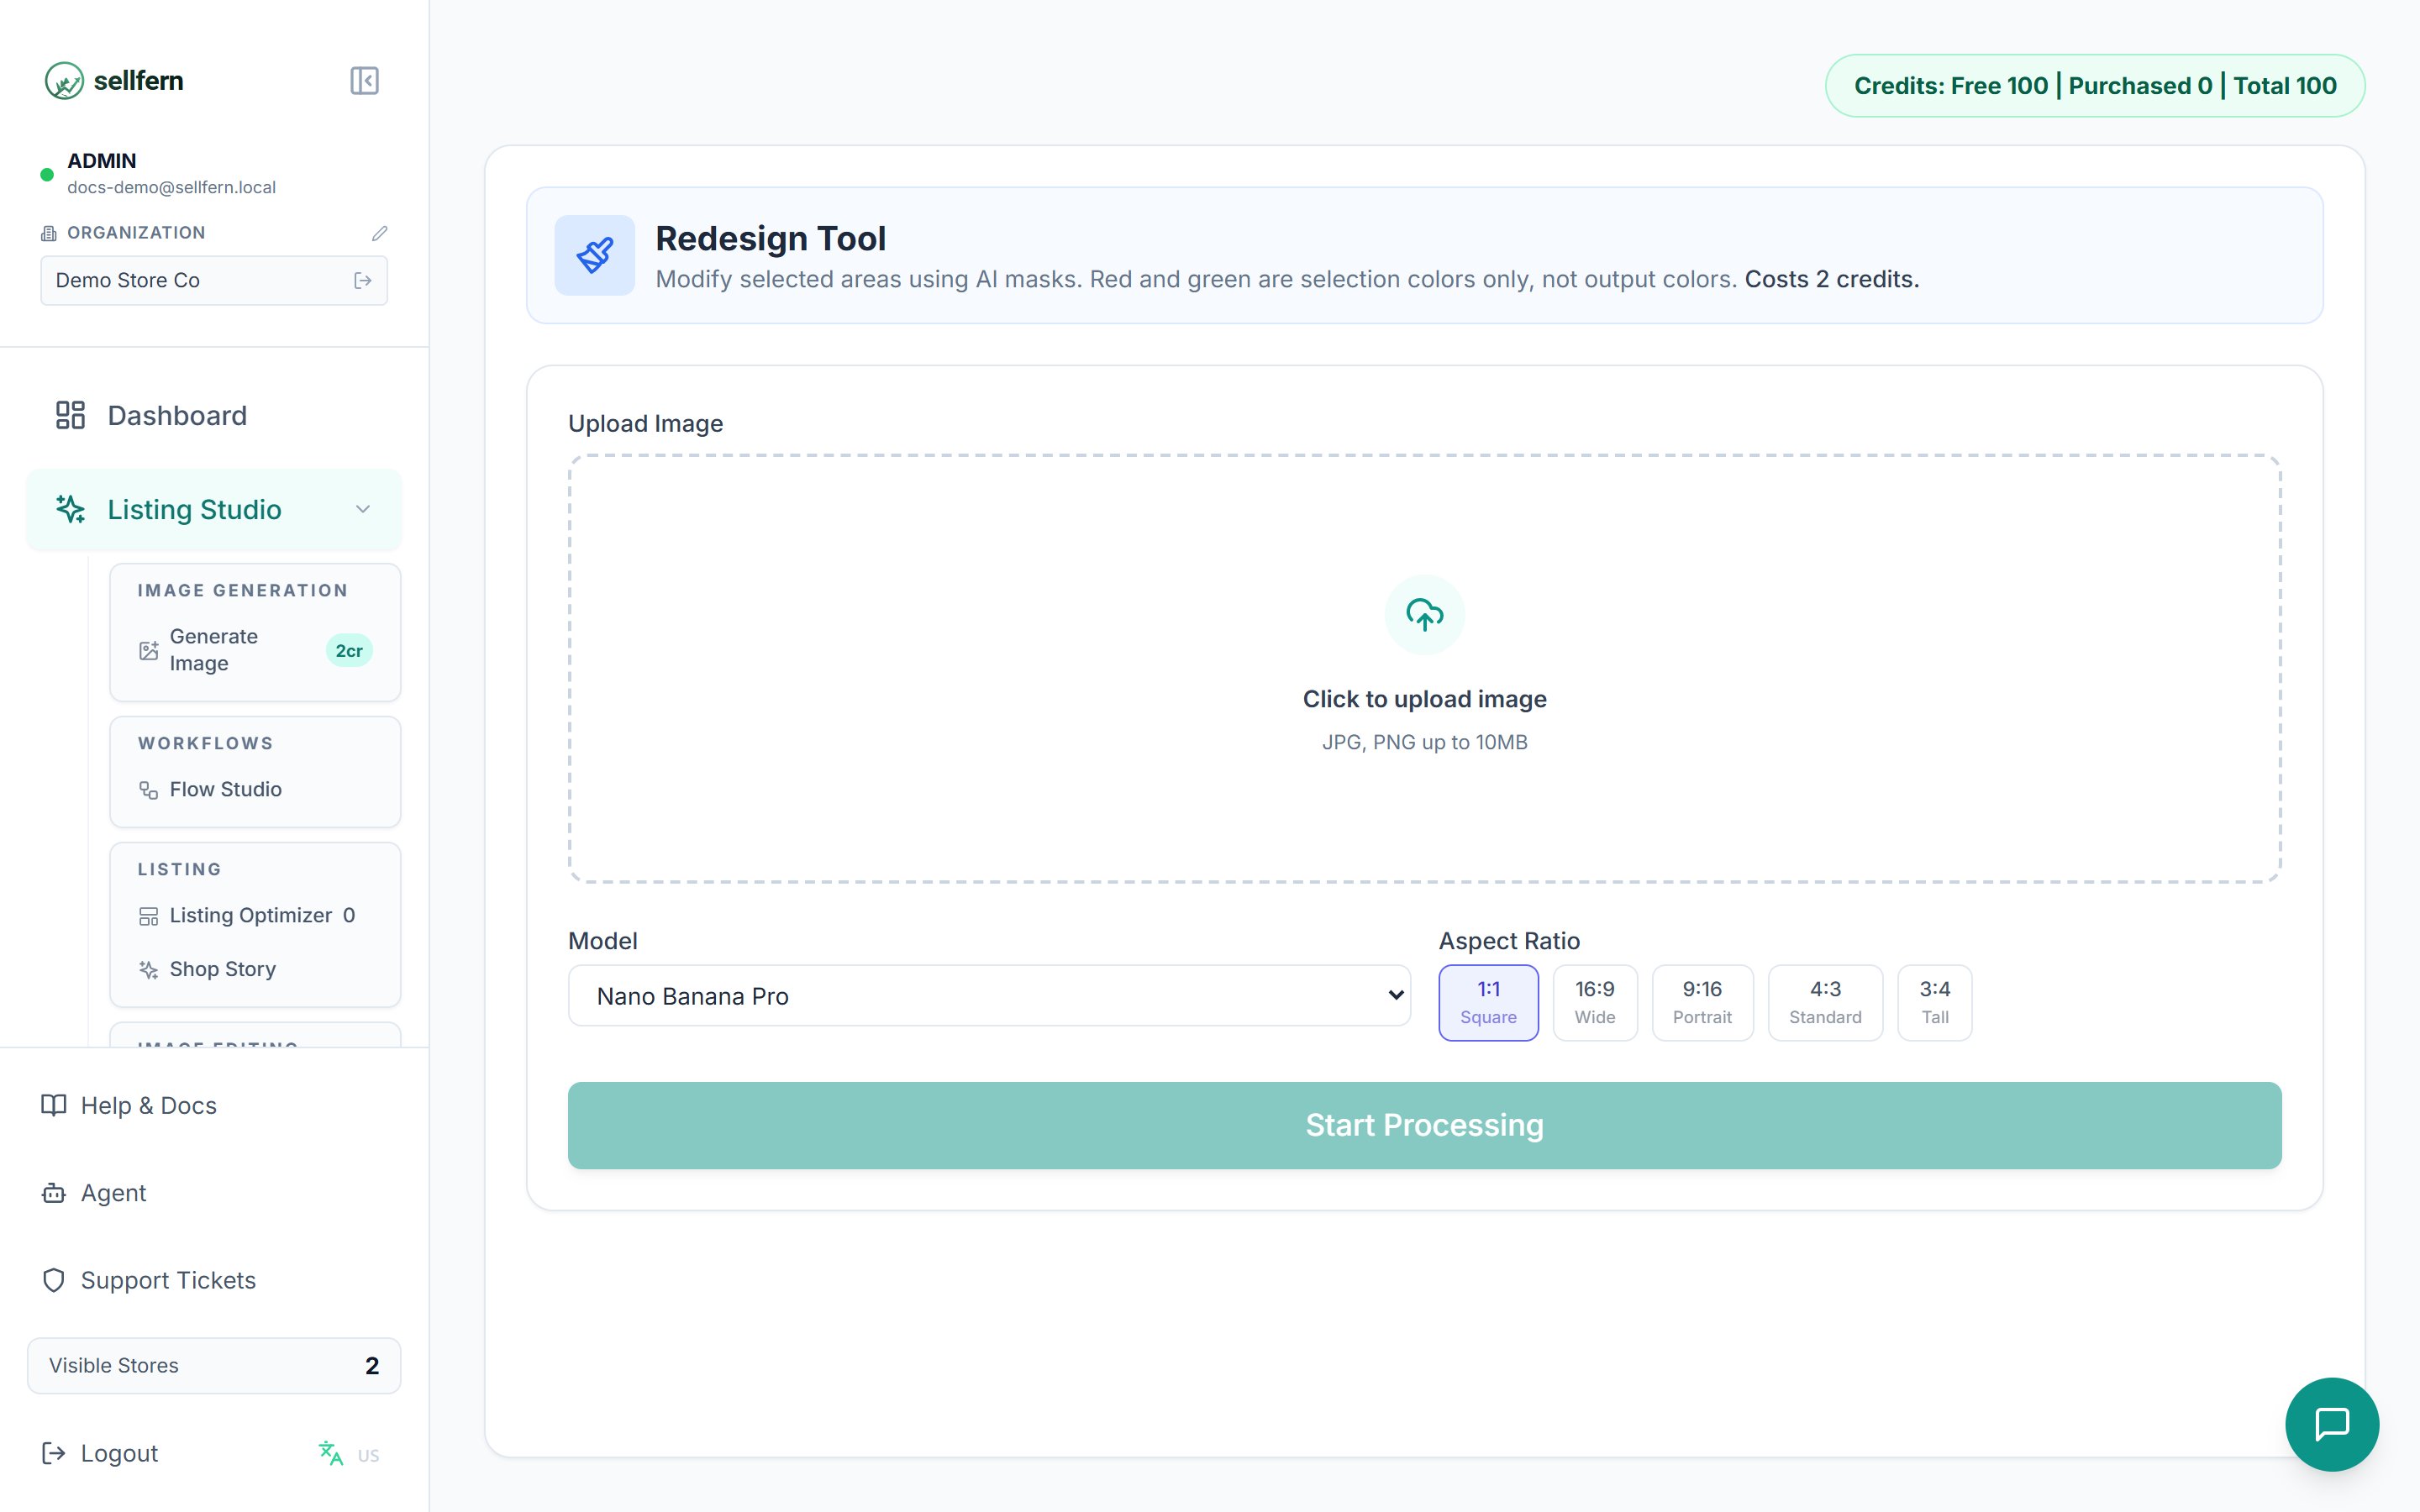 Use the **red brush** and **green brush** to paint over the areas you want changed. The colors are **selection markers only** — they don't affect output colors. Skip masking to apply your instruction to the whole image.
Enter separate instructions for the red and green areas (e.g. red: "change the text to 'Best Dad Ever'", green: "replace the rose with a sunflower"), plus an optional **global context**.
The AI edits only the marked areas and leaves the rest untouched.
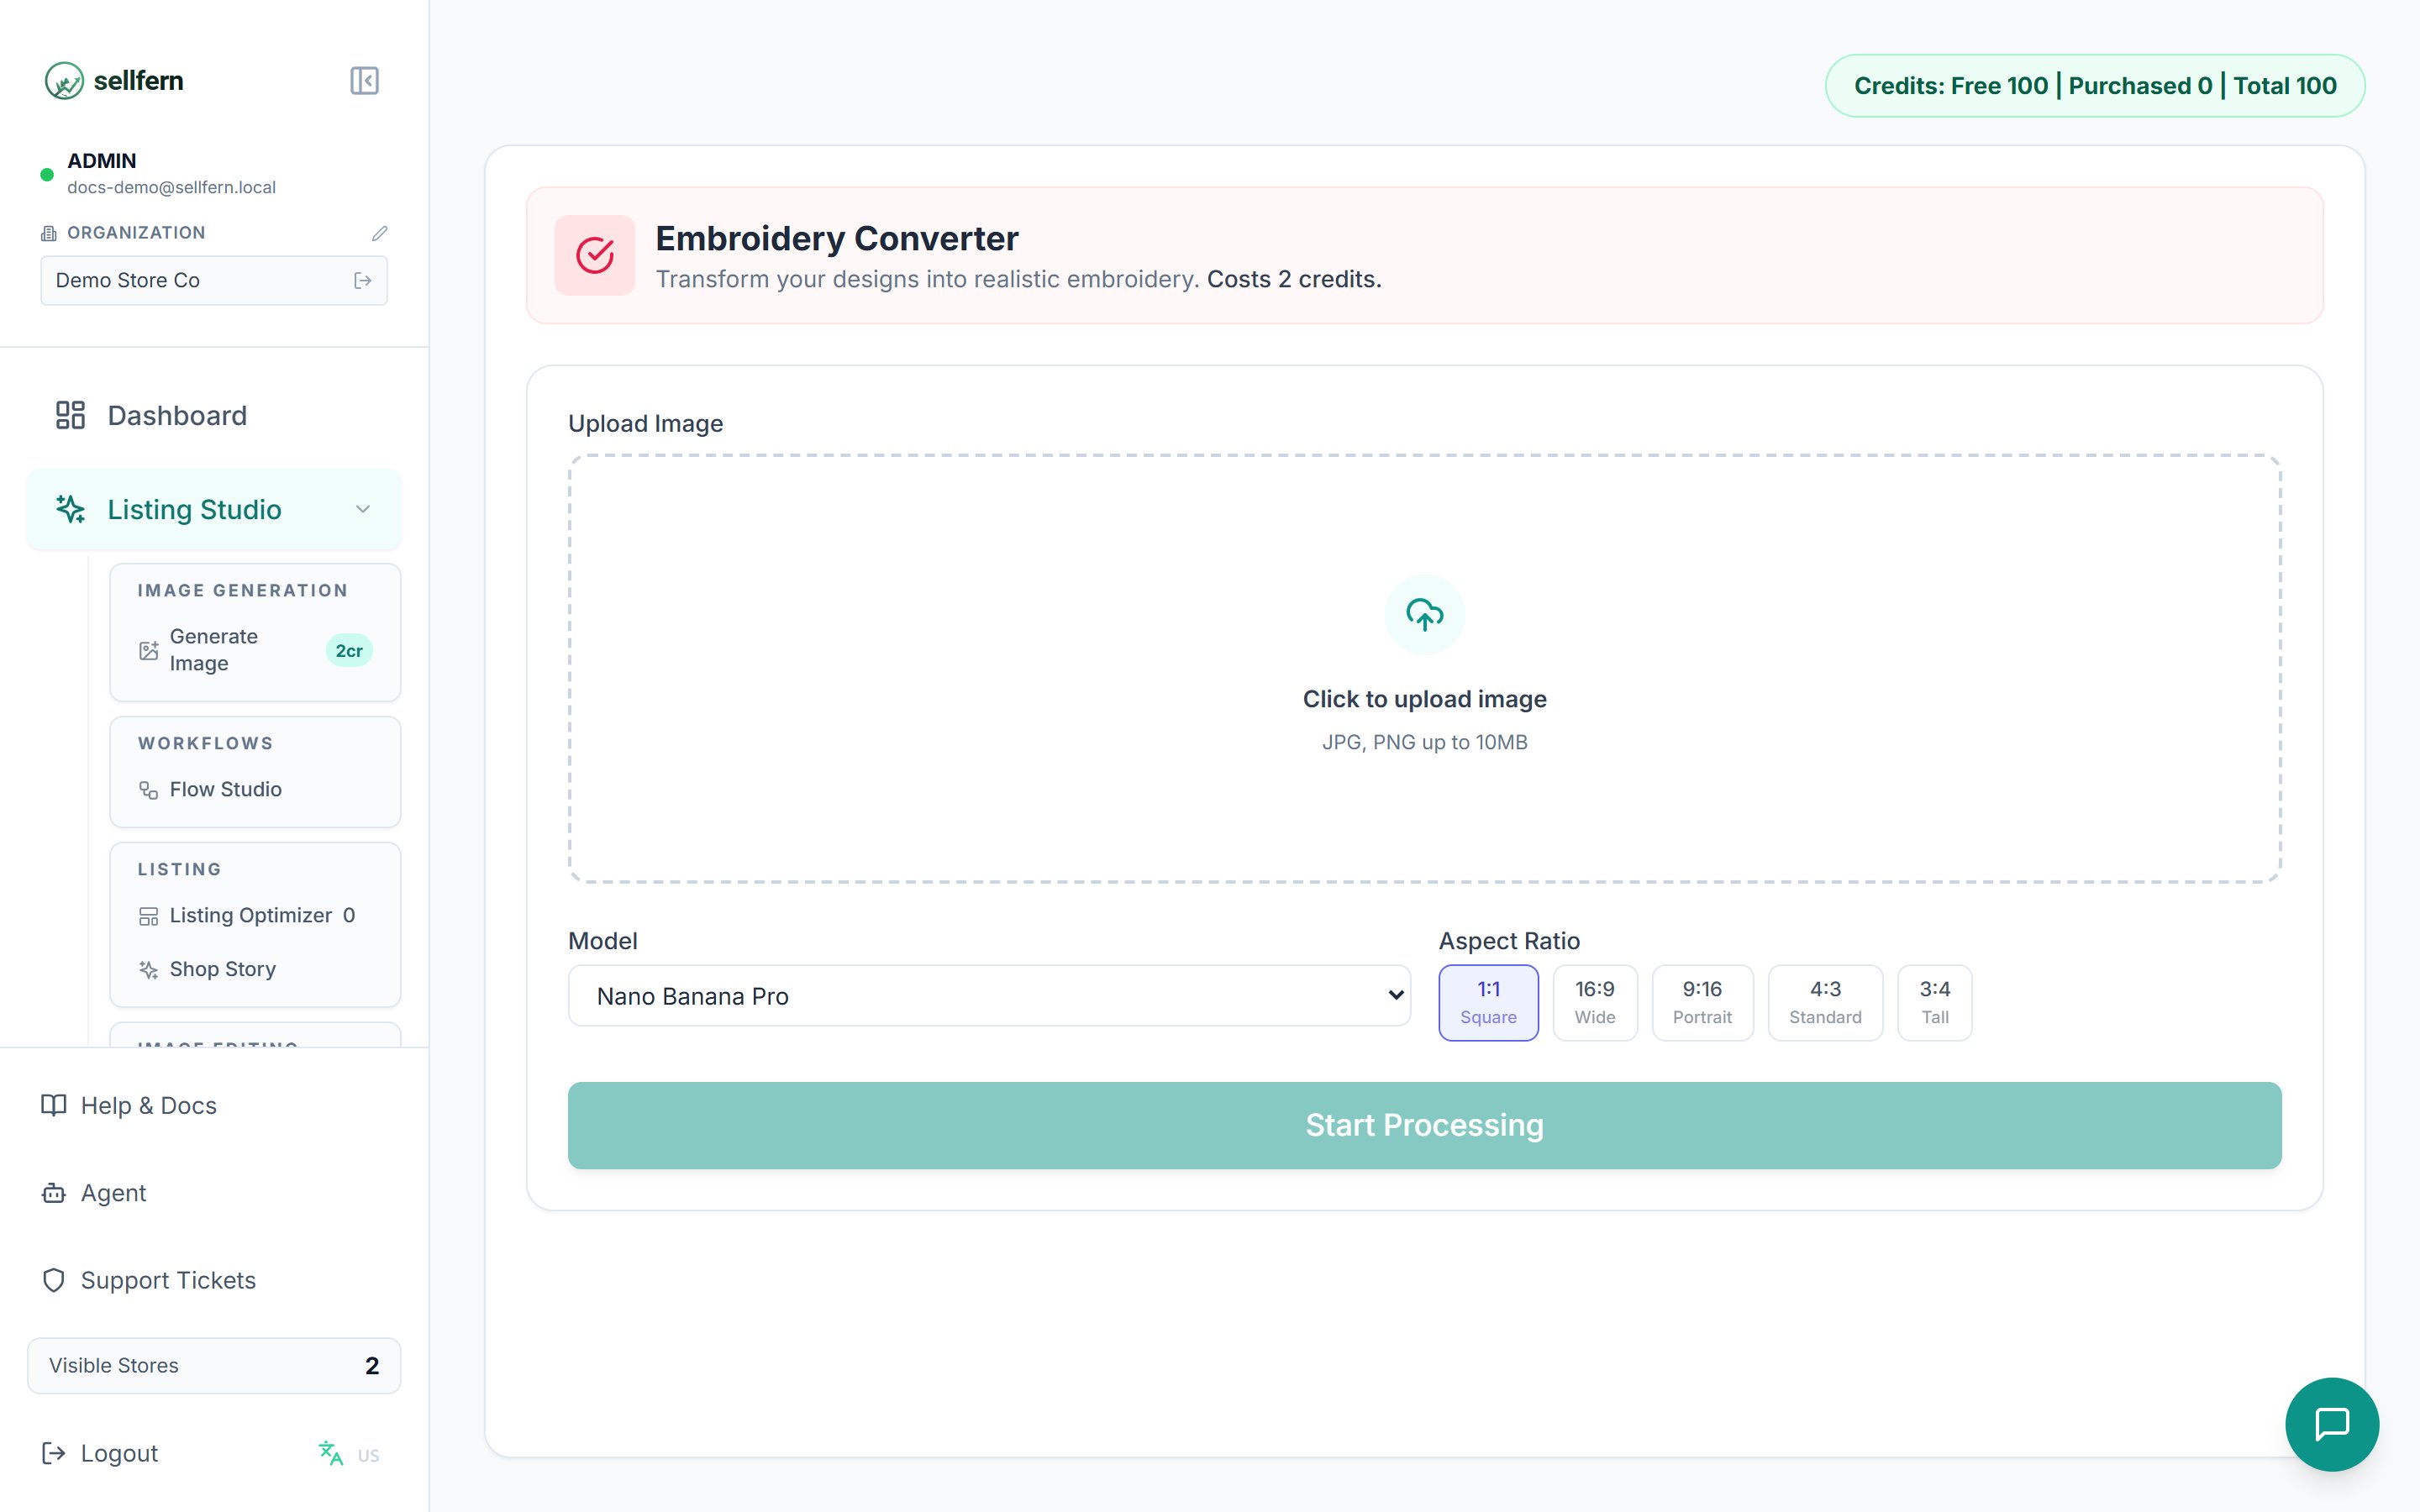
### Embroidery Simulator — 2 credits
Turns a flat design into a **realistic embroidery render** with stitches and fabric texture. Use it to create listing photos for embroidered products without stitching a physical sample.
Use the **red brush** and **green brush** to paint over the areas you want changed. The colors are **selection markers only** — they don't affect output colors. Skip masking to apply your instruction to the whole image.
Enter separate instructions for the red and green areas (e.g. red: "change the text to 'Best Dad Ever'", green: "replace the rose with a sunflower"), plus an optional **global context**.
The AI edits only the marked areas and leaves the rest untouched.
### Embroidery Simulator — 2 credits
Turns a flat design into a **realistic embroidery render** with stitches and fabric texture. Use it to create listing photos for embroidered products without stitching a physical sample.
 ***
## Visualization
### Mockup Generator — 2 credits / image
Places your design onto base product photos:
***
## Visualization
### Mockup Generator — 2 credits / image
Places your design onto base product photos:
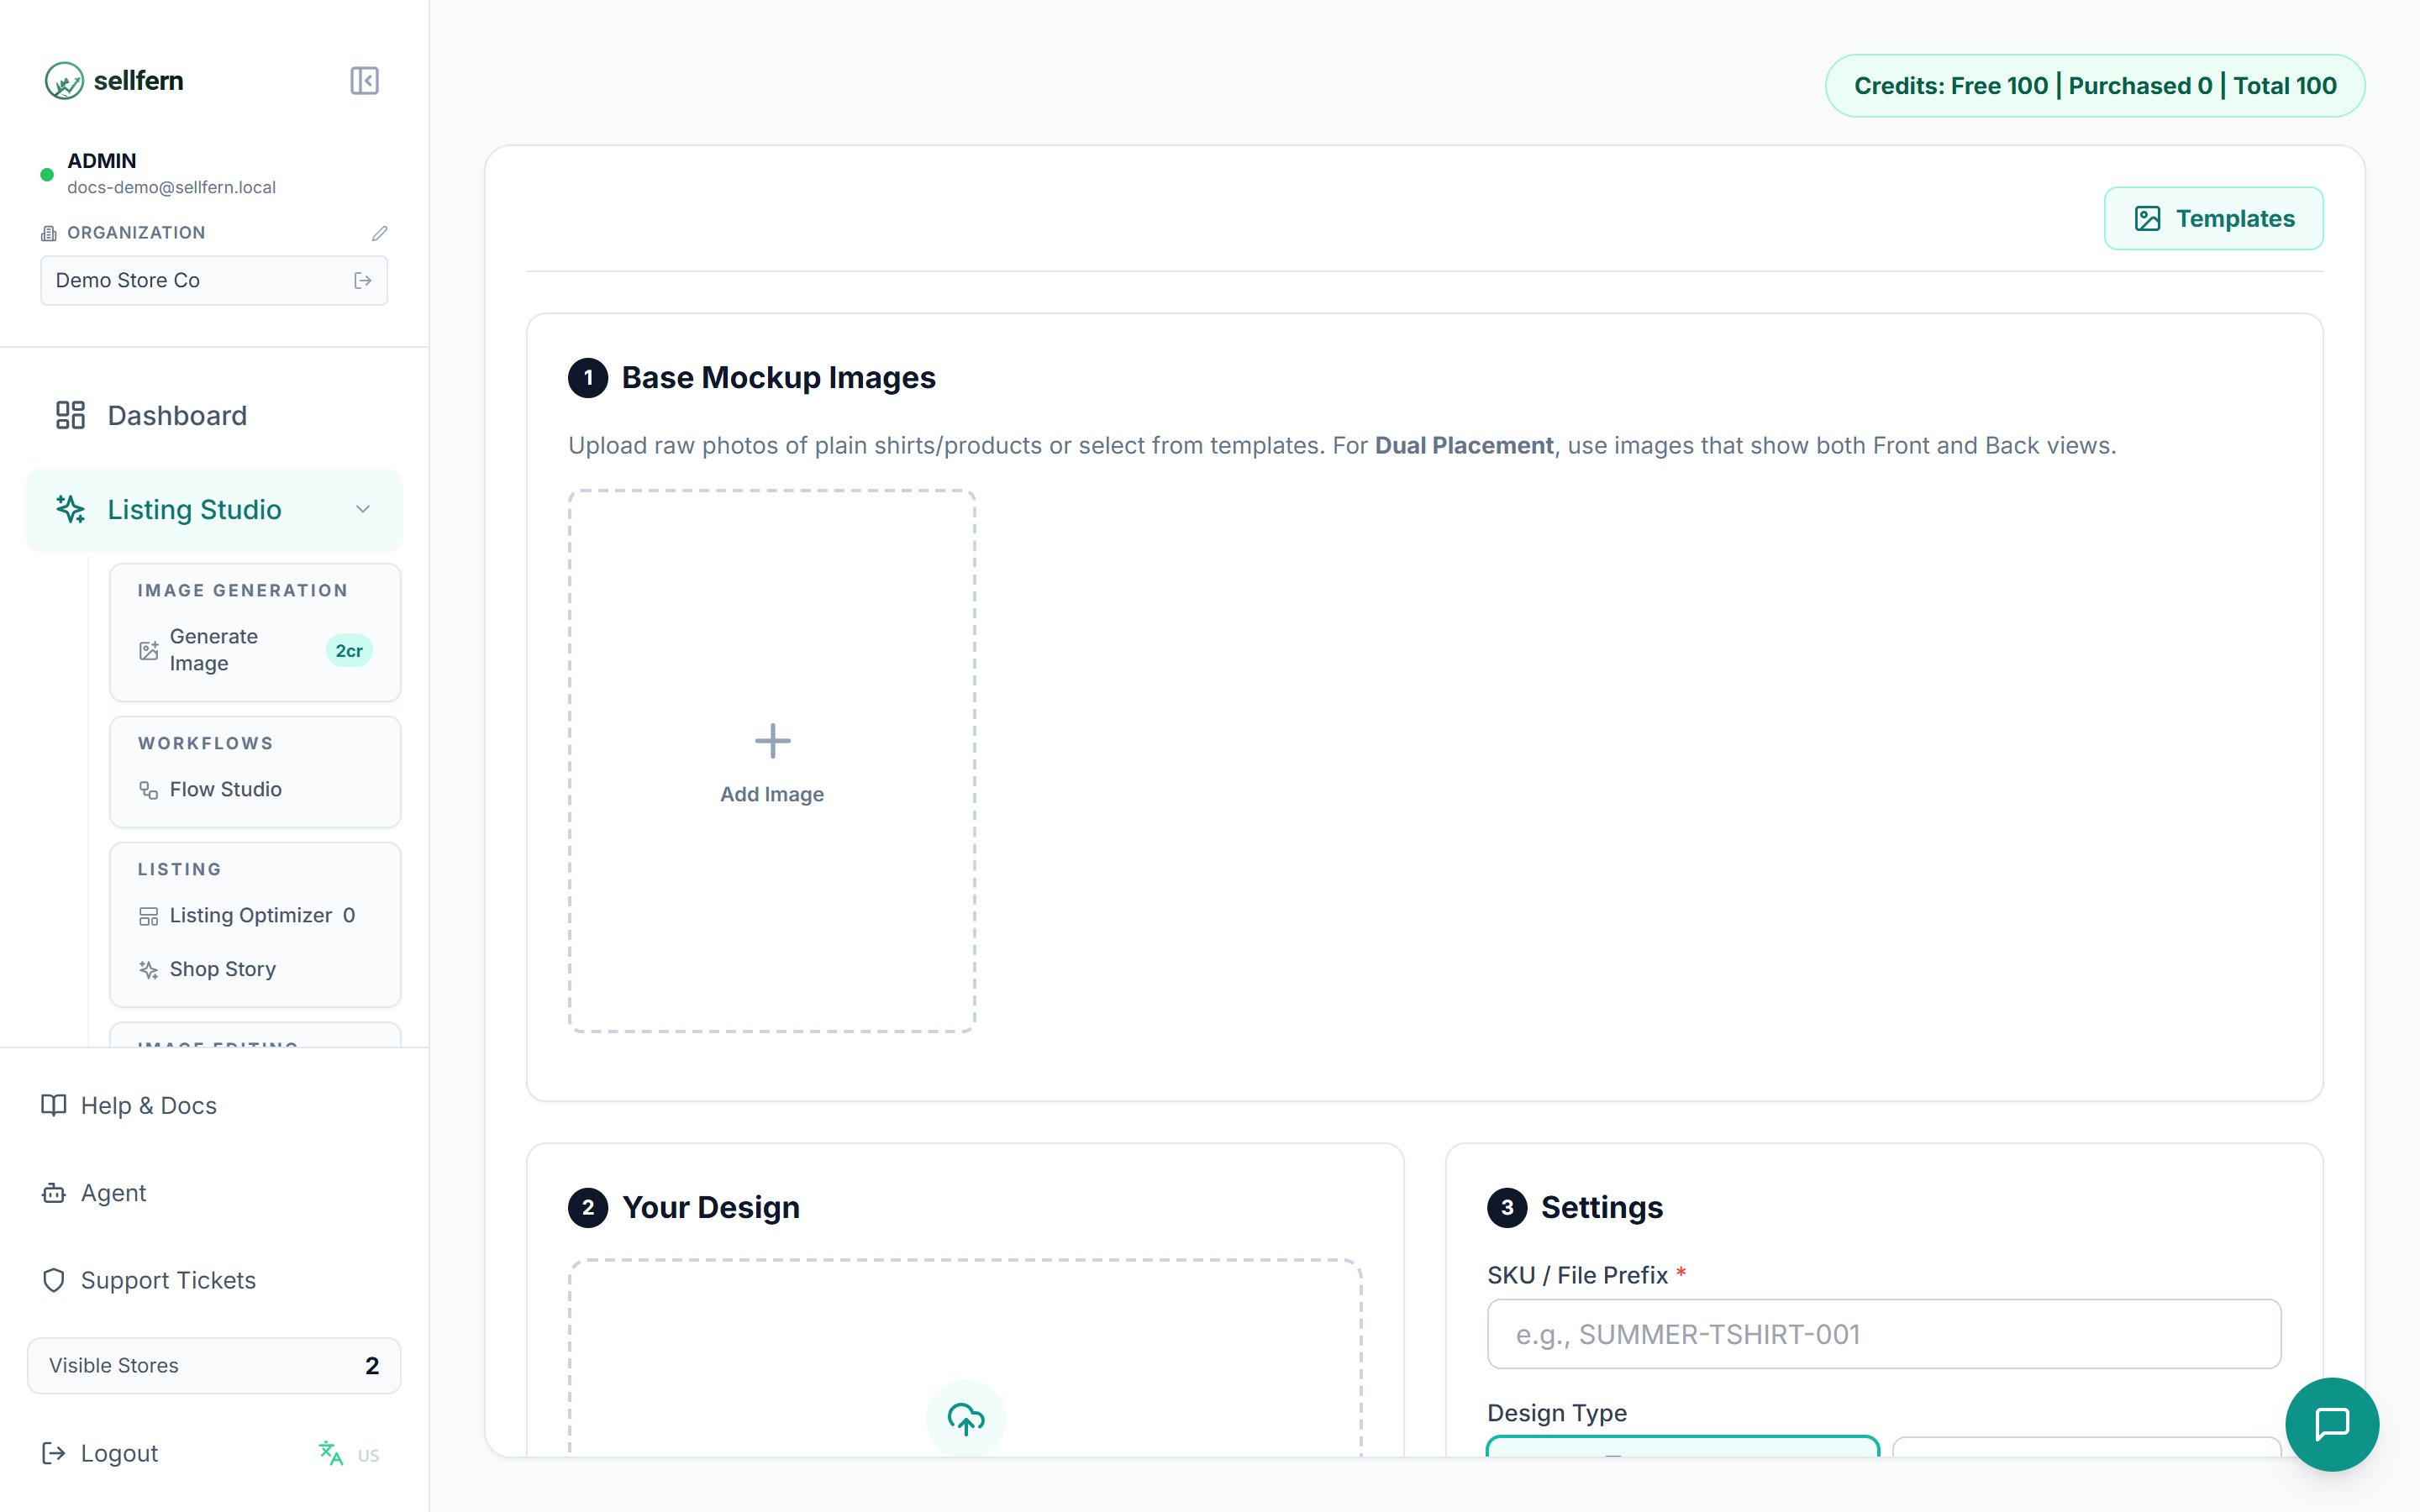 Upload **Base Images** (blank shirts, mugs...) or pick from **Saved Templates** — your reusable template library.
Upload the **Design File** as PNG (remove the background first with Background Remover for best results).
Adjust the design's position/size on the product, then generate. Each generated mockup image costs 2 credits.
Save your frequently used base images as **Saved Templates** — next time you just select them instead of uploading and aligning from scratch.
### Pattern Mock-up Set — 8 credits
Generates a **complete multi-angle mockup set** (Front / Left / Right / Back) for all-over-print products in a single run:
Upload **Base Images** (blank shirts, mugs...) or pick from **Saved Templates** — your reusable template library.
Upload the **Design File** as PNG (remove the background first with Background Remover for best results).
Adjust the design's position/size on the product, then generate. Each generated mockup image costs 2 credits.
Save your frequently used base images as **Saved Templates** — next time you just select them instead of uploading and aligning from scratch.
### Pattern Mock-up Set — 8 credits
Generates a **complete multi-angle mockup set** (Front / Left / Right / Back) for all-over-print products in a single run:
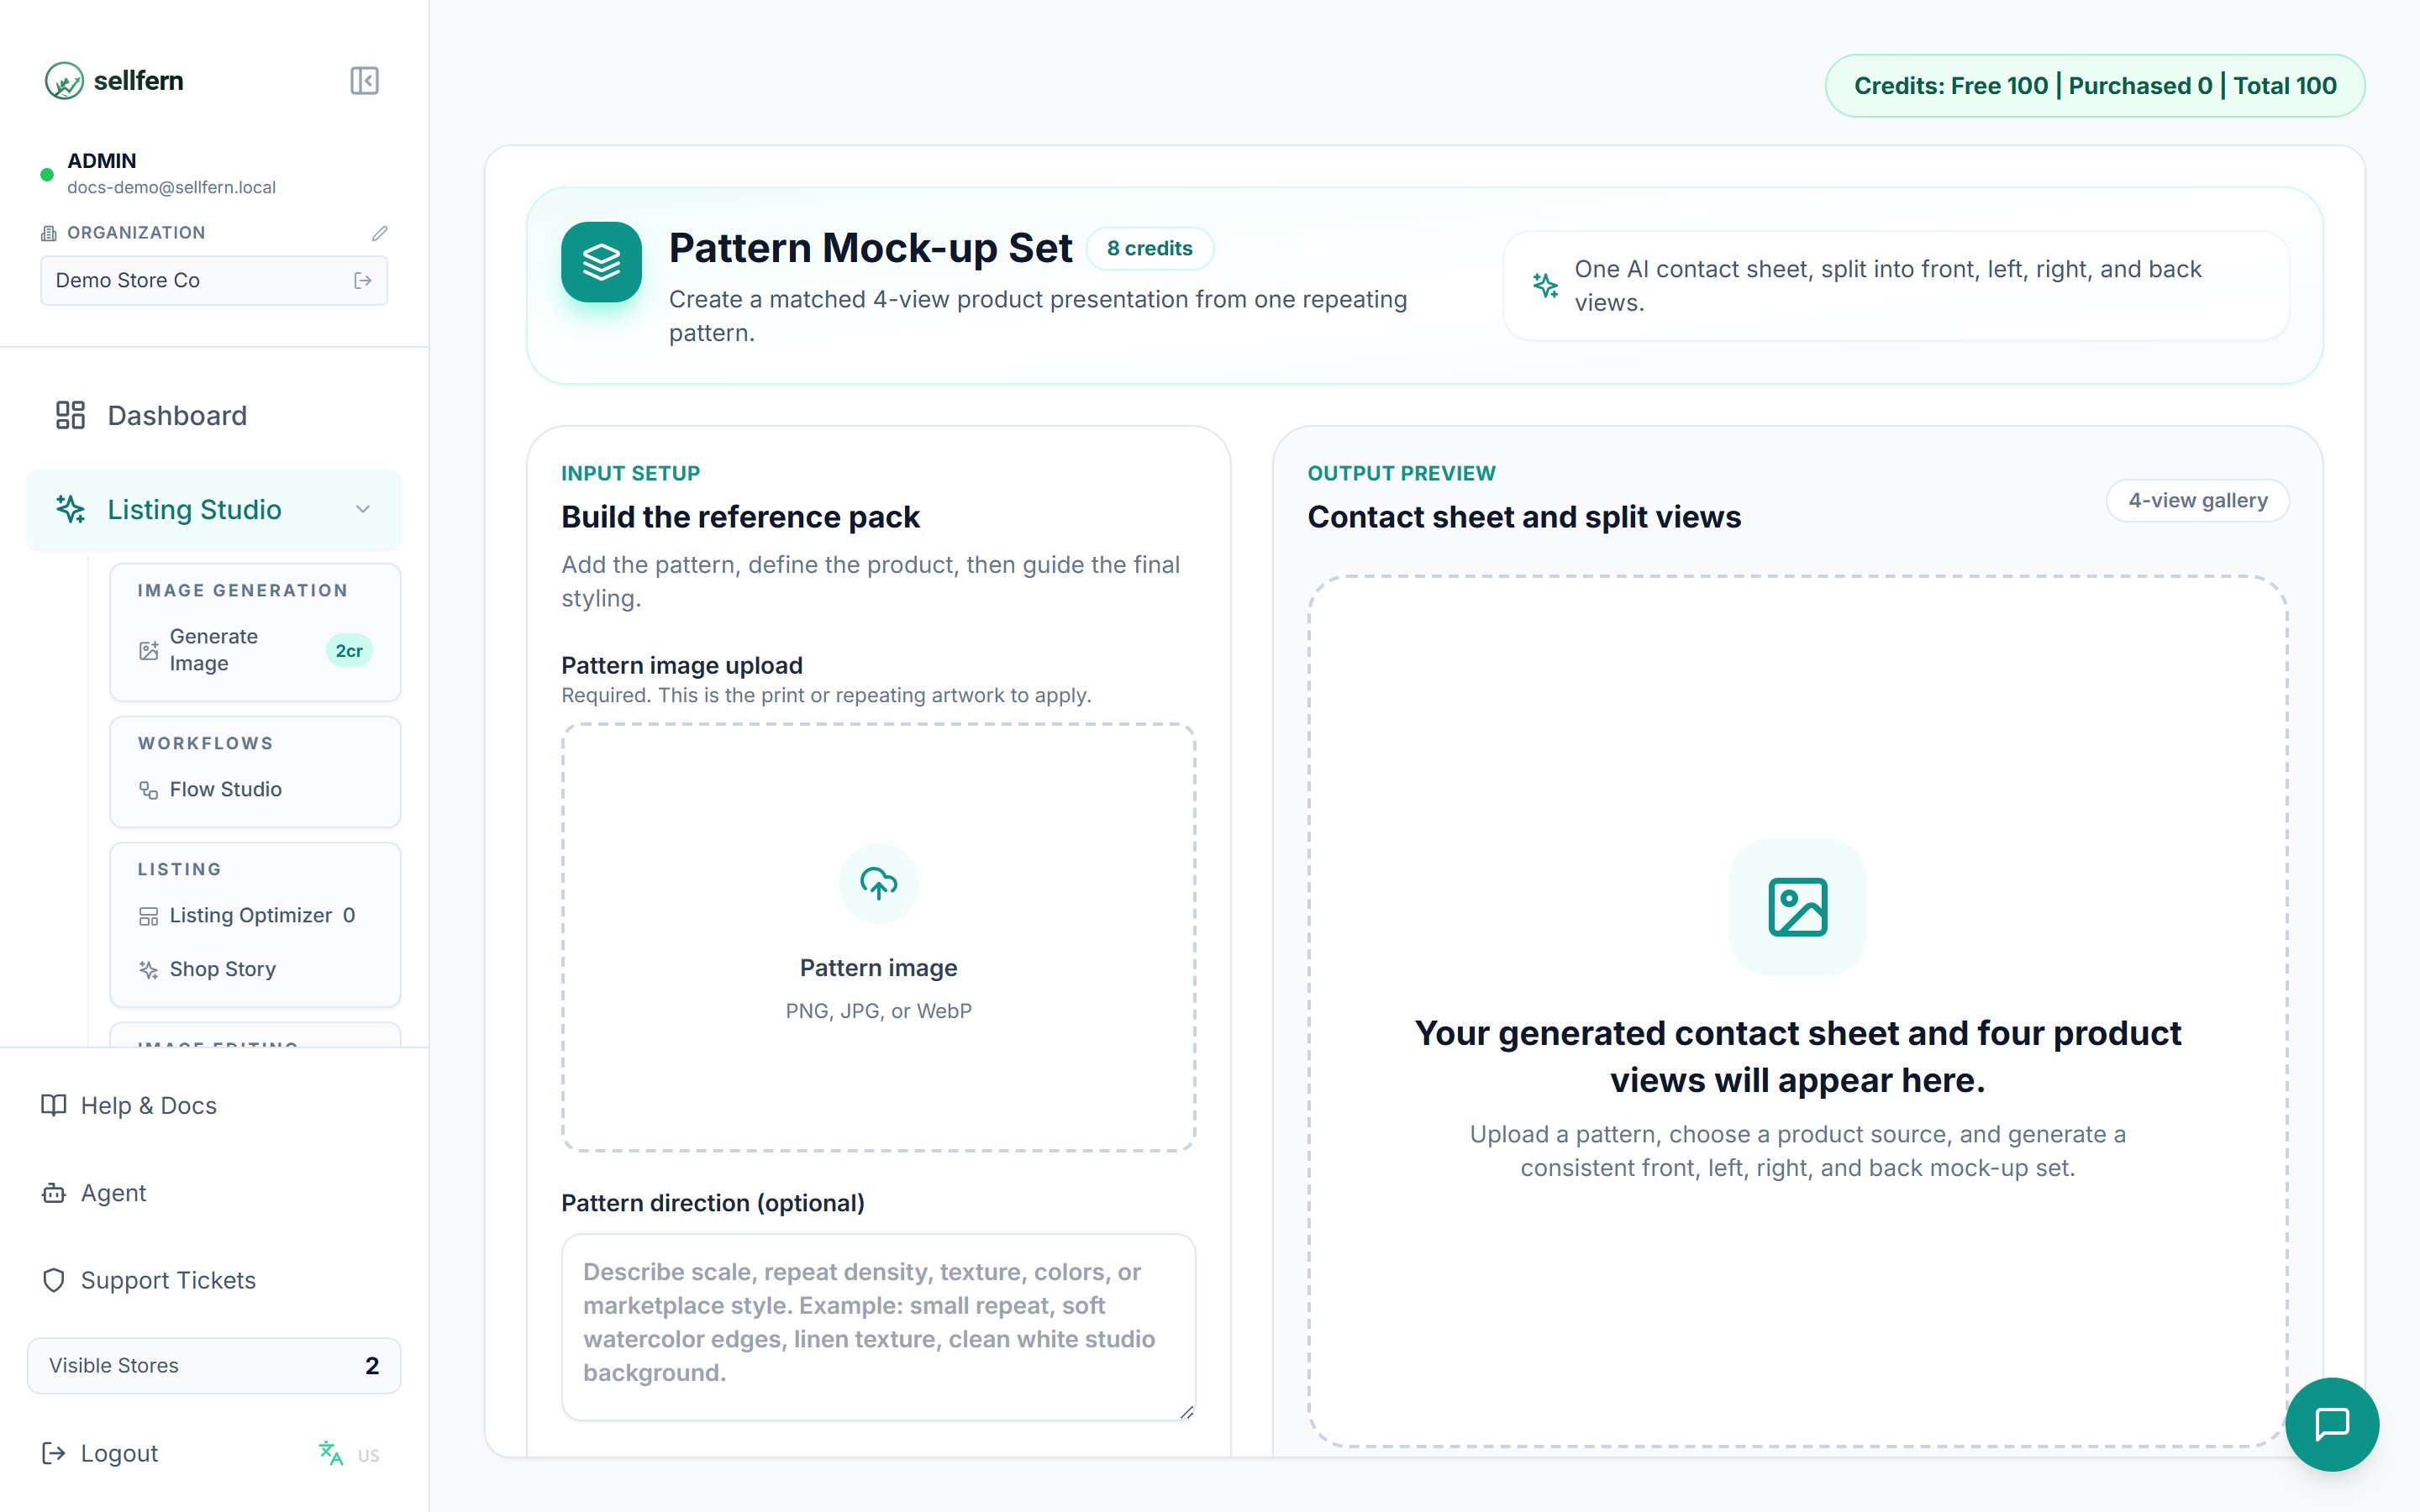 Upload the pattern image and (optionally) describe the **pattern direction** (e.g. "diagonal at 45 degrees").
Two modes: upload a **real product photo**, or **describe the product in text** (product type + details) and let the AI construct it.
Note the desired rendering style (lighting, setting...) and choose the AI model.
This is a heavy job that runs **asynchronously for several minutes** — keep the page open; the result appears automatically. The returned set includes Front / Left / Right / Back views.
### Product Enhancer — 2 credits
Turns raw product photos into **professional studio photography**:
Upload the pattern image and (optionally) describe the **pattern direction** (e.g. "diagonal at 45 degrees").
Two modes: upload a **real product photo**, or **describe the product in text** (product type + details) and let the AI construct it.
Note the desired rendering style (lighting, setting...) and choose the AI model.
This is a heavy job that runs **asynchronously for several minutes** — keep the page open; the result appears automatically. The returned set includes Front / Left / Right / Back views.
### Product Enhancer — 2 credits
Turns raw product photos into **professional studio photography**:
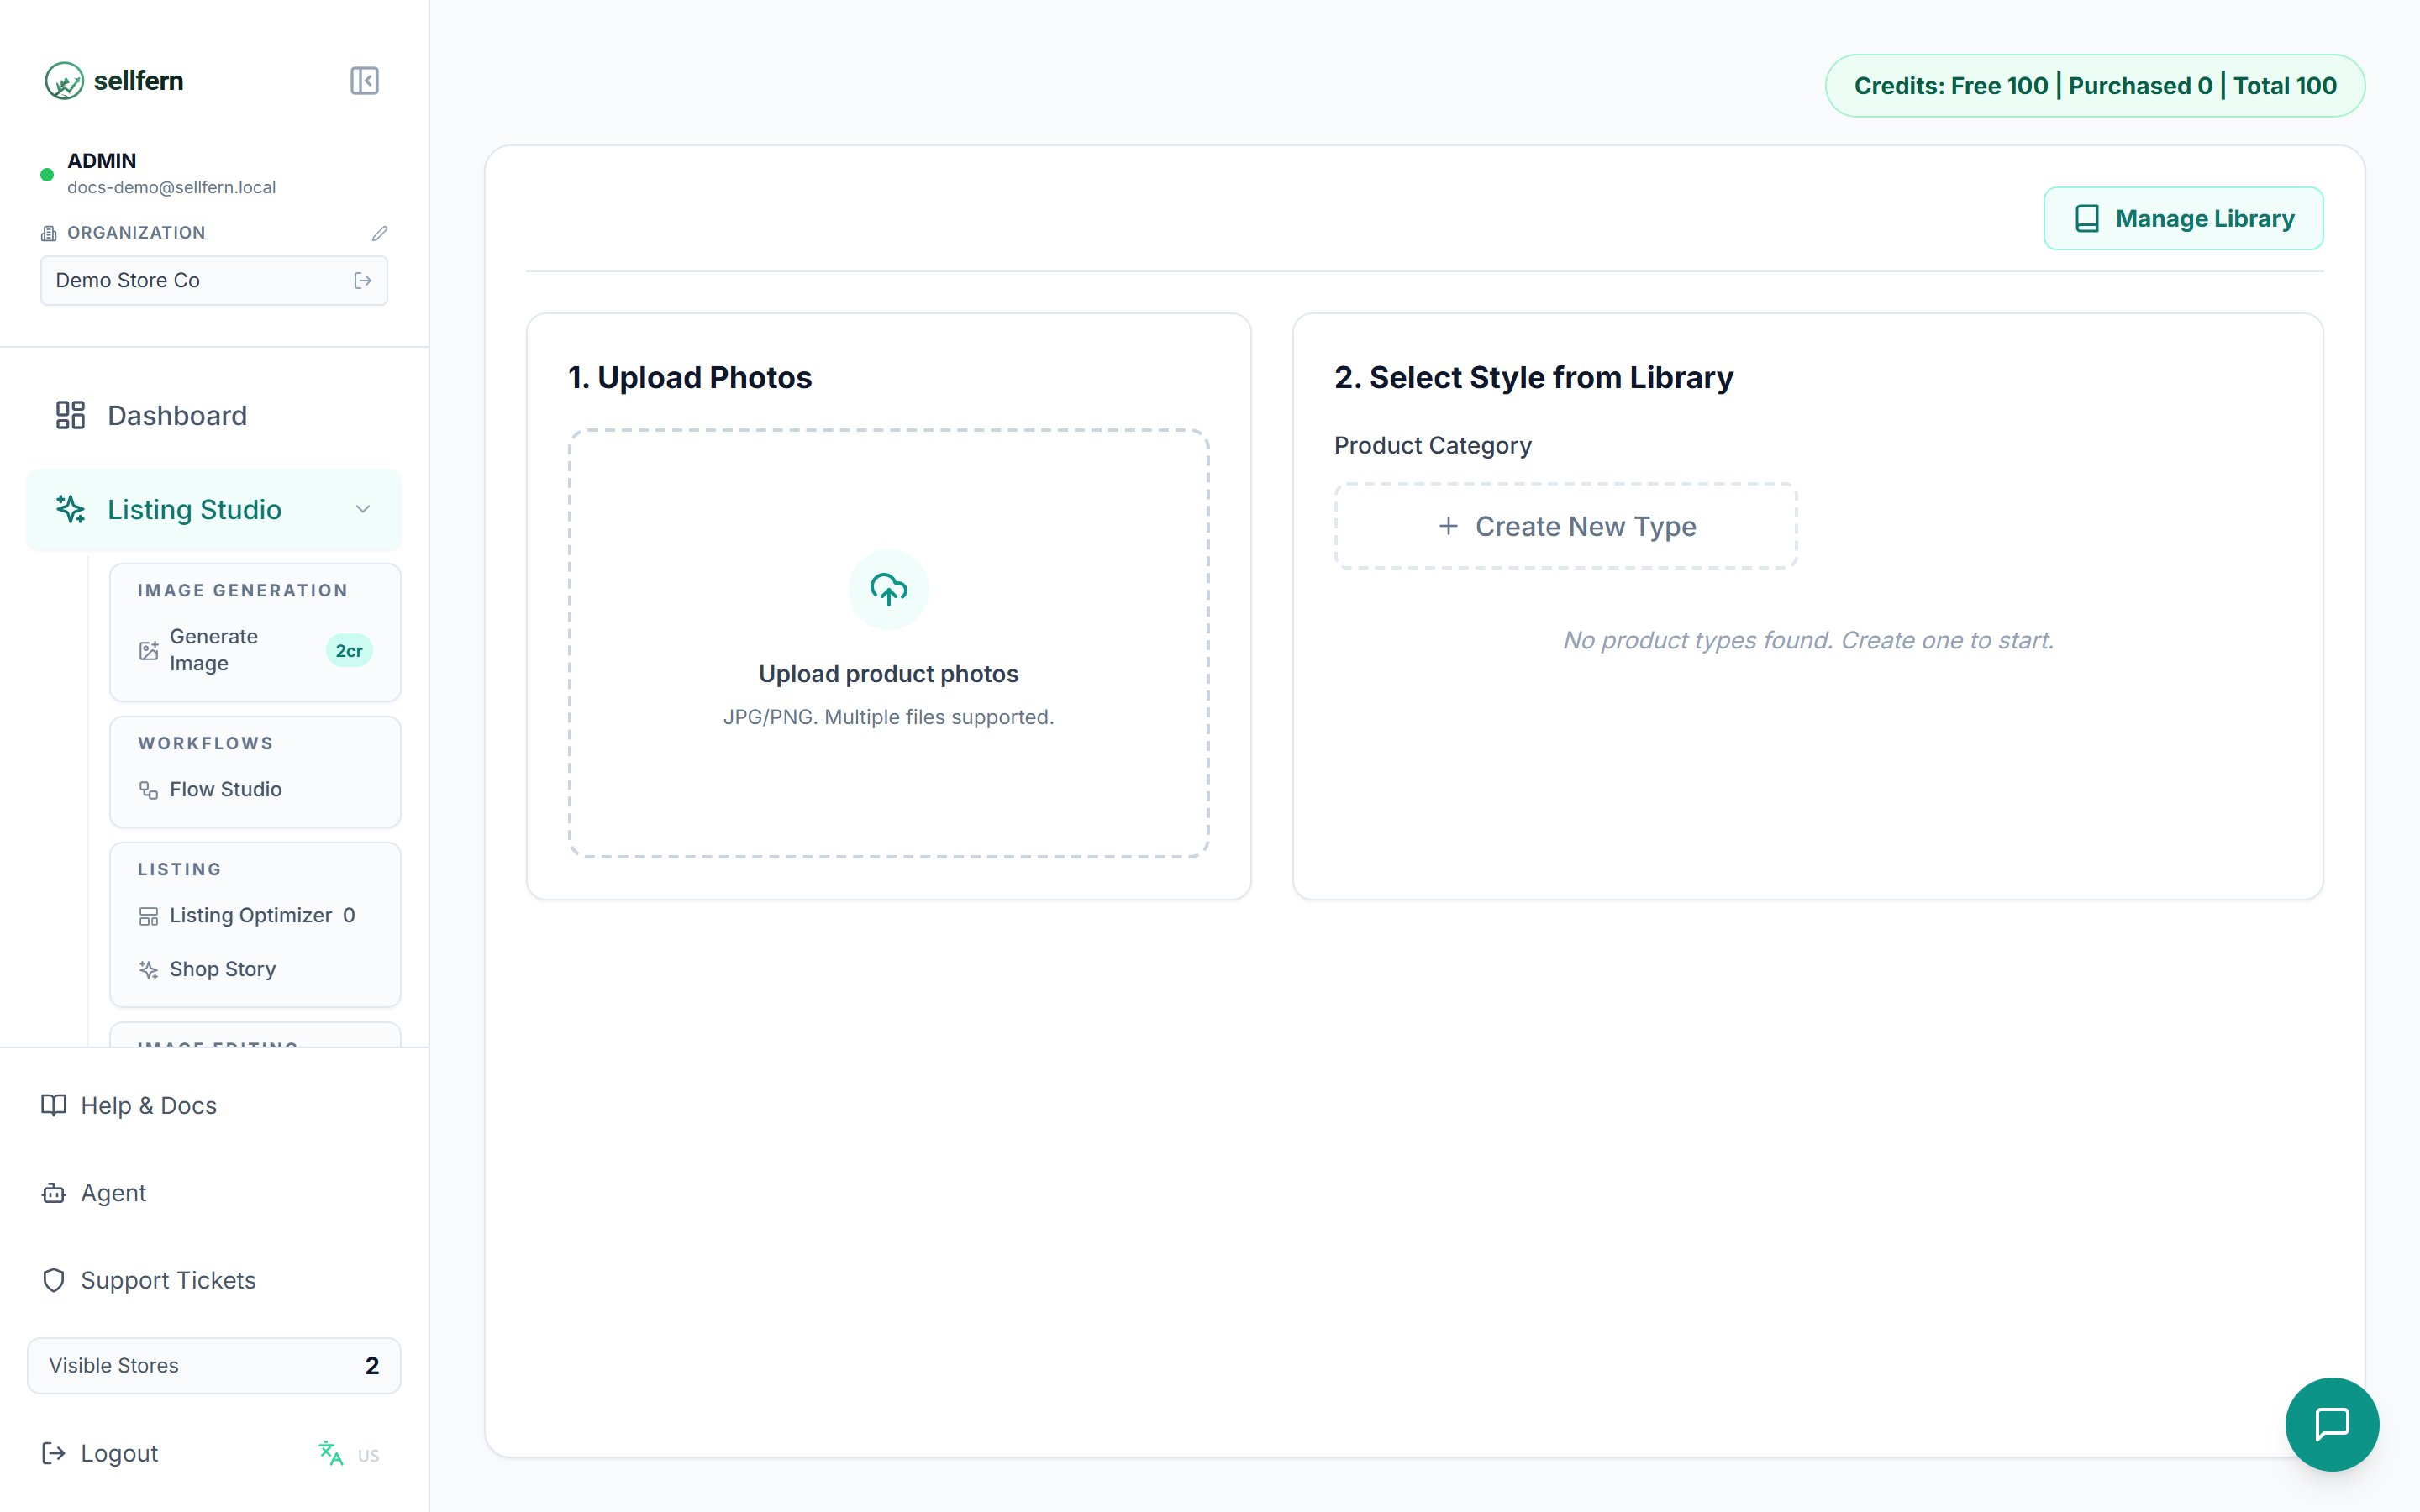 1. **Upload photos** — one or many raw images (JPG/PNG).
2. **Select a product category** — or create a new one.
3. **Choose or create a style** — use a saved style, or the **AI Style Generator**: describe the look you want ("marble background, warm lighting...") to create a new style. A **prompt library** covers common advanced looks.
4. **Enhance** — the AI processes each image in the selected style.
***
## Other
### History
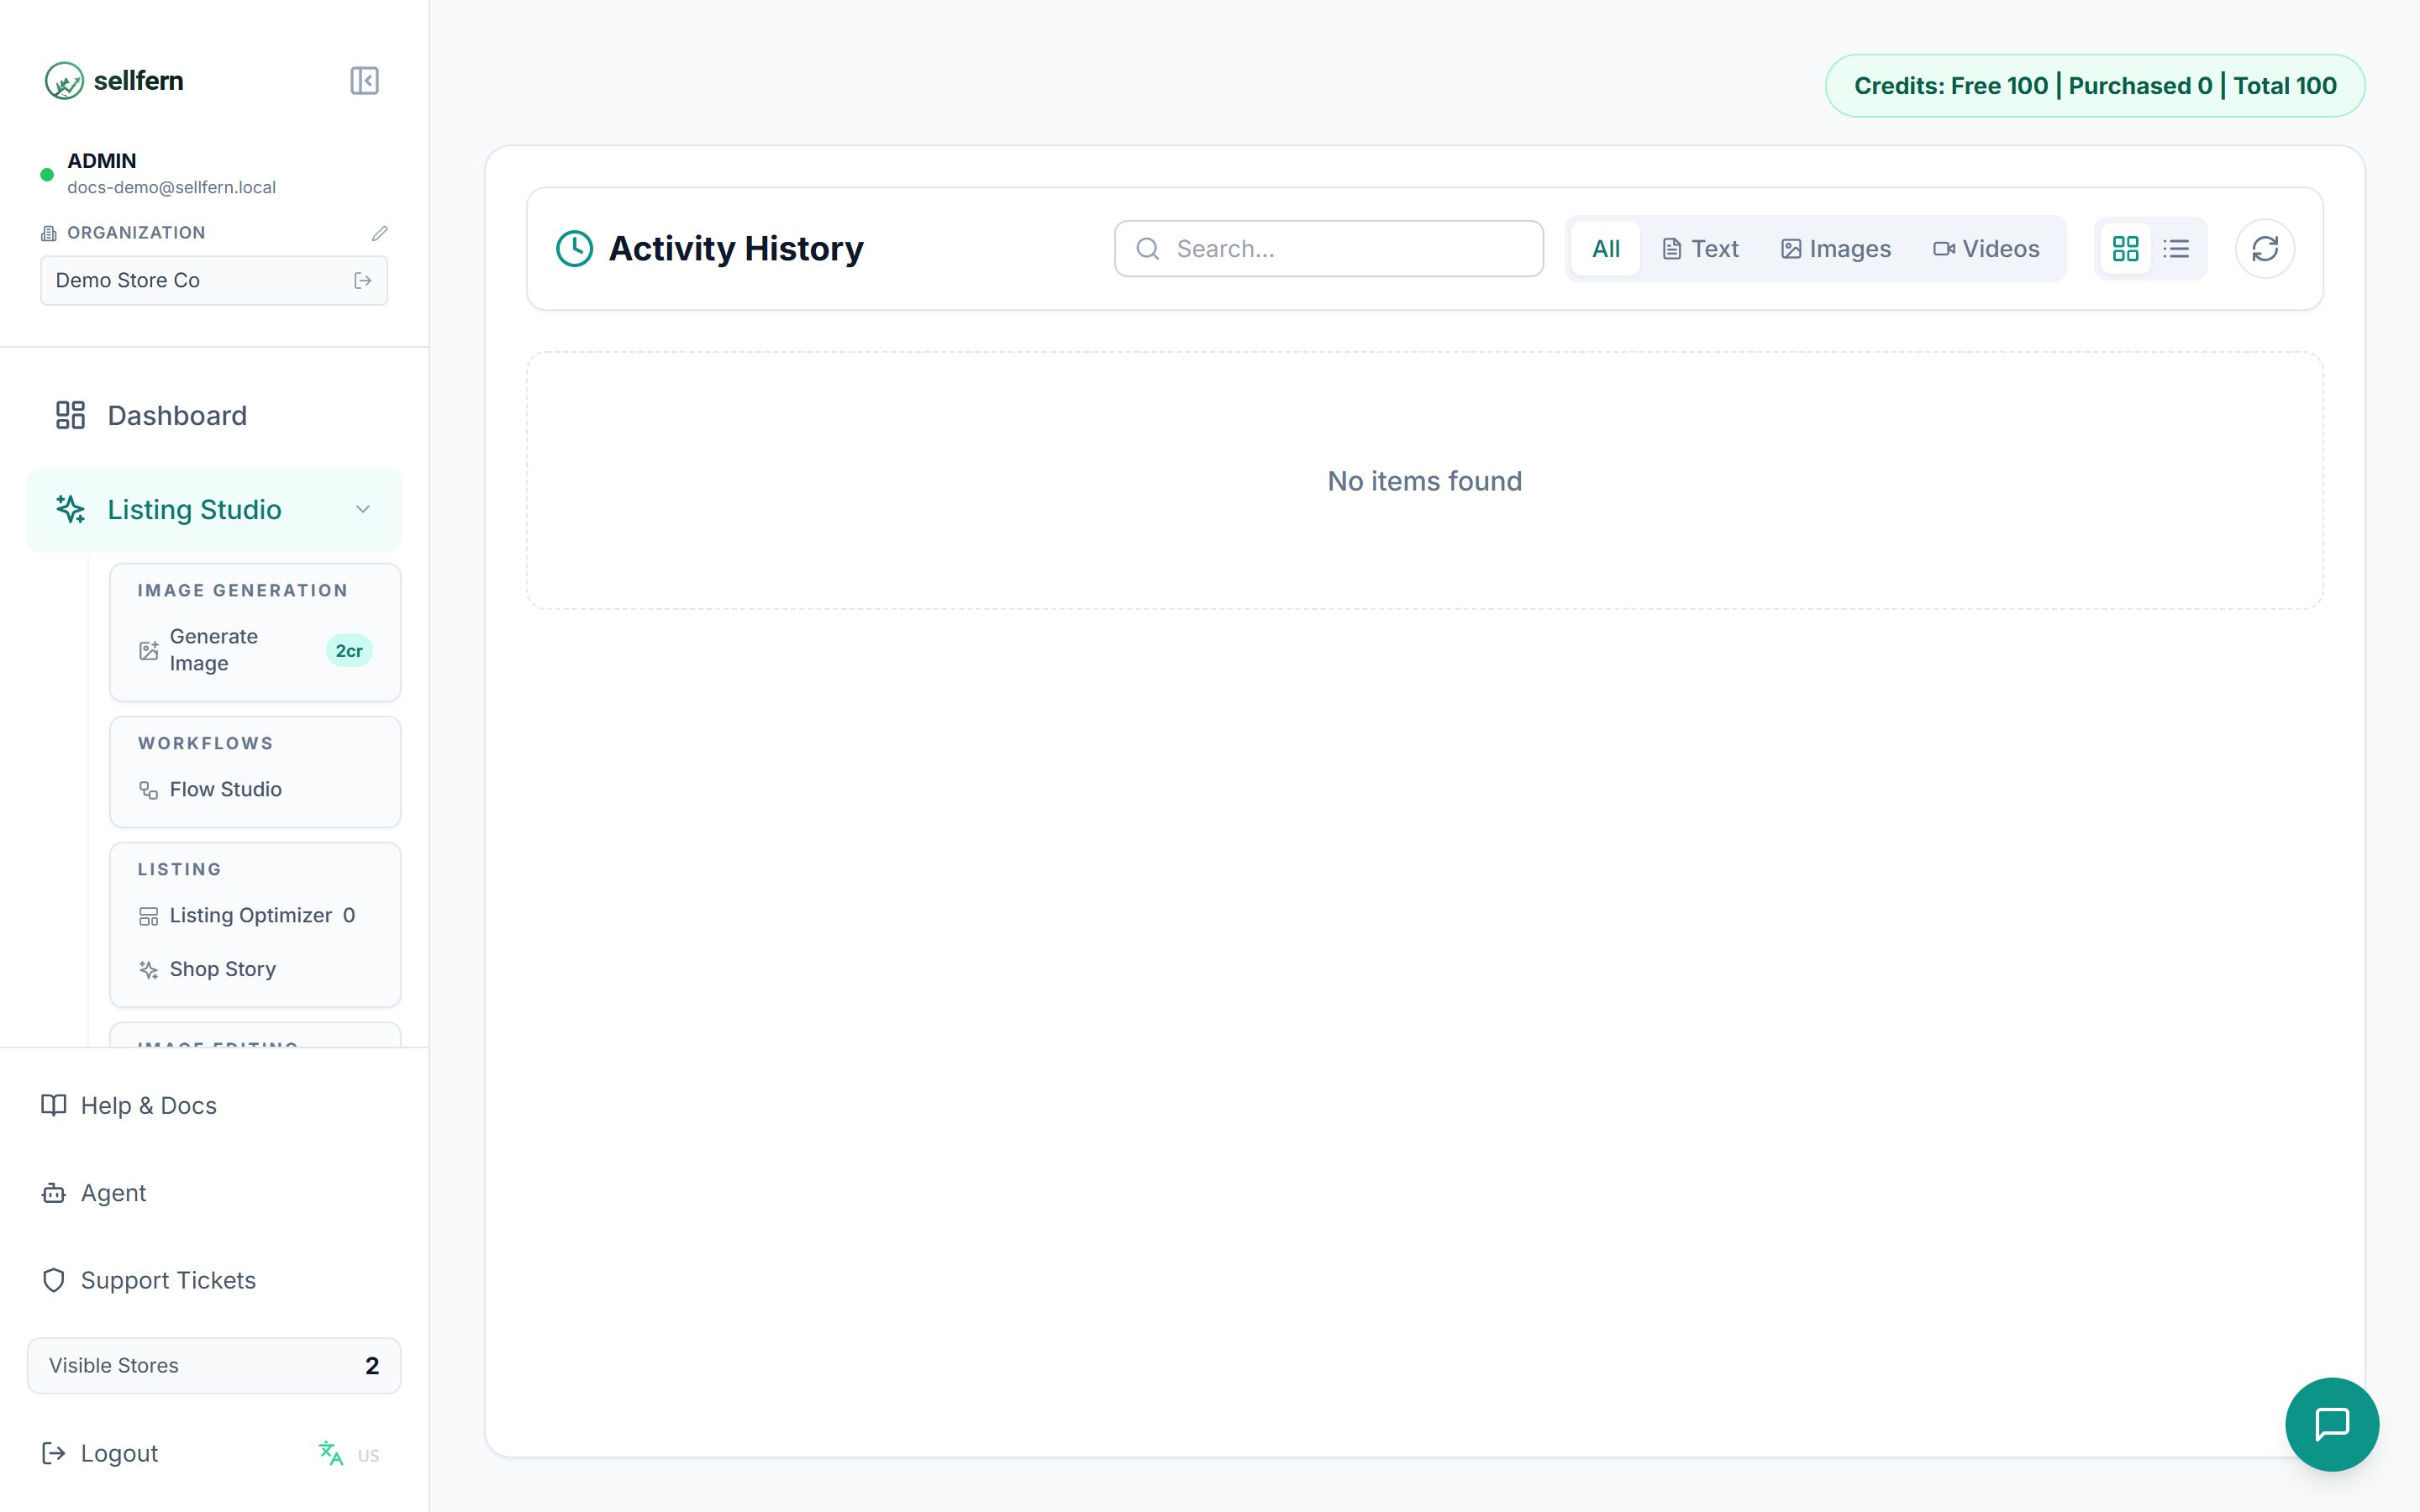
Review every past generation across all tools and download stored results. If you accidentally closed the page mid-generation, the output still lands here.
1. **Upload photos** — one or many raw images (JPG/PNG).
2. **Select a product category** — or create a new one.
3. **Choose or create a style** — use a saved style, or the **AI Style Generator**: describe the look you want ("marble background, warm lighting...") to create a new style. A **prompt library** covers common advanced looks.
4. **Enhance** — the AI processes each image in the selected style.
***
## Other
### History
Review every past generation across all tools and download stored results. If you accidentally closed the page mid-generation, the output still lands here.
 ### Buy Credits
Check your balance and purchase additional credit packages when you run out.
| Package | Price | Credits |
| -------- | ----- | ------- |
| Starter | \$10 | 1,000 |
| Pro | \$40 | 5,000 |
| Business | \$100 | 15,000 |
Credits never expire and are shared across every tool at its listed credit cost. Since most single-image tools (Generate Image, Background Remover, Mockup Generator...) cost 2 credits per run, that's roughly:
* **Starter** — \~500 images
* **Pro** — \~2,500 images
* **Business** — \~7,500 images
## Credits
* Each tool run deducts credits when generation **starts**.
* Video generation charges separately for the video step (3 credits) on top of the free text output.
* Your current balance is shown on the Listing Studio dashboard and next to each tool in the menu.
Credit-saving workflow: test your prompt on **one image** first; once you're happy, batch the rest through Flow Studio.
## Suggested end-to-end workflow
A complete listing from zero:
1. **Generate Image** (or Design Extractor from an old photo) → artwork.
2. **Background Remover** → clean PNG.
3. **Mockup Generator** / **Pattern Mock-up Set** → product photos.
4. **Listing Optimizer** → title, tags, description (+ video if needed).
5. Attach the results in [My Products](/features/products) and publish to Etsy.
Or let **Flow Studio** run steps 2–4 automatically for a whole batch.
## Automation and API guidance
Listing Studio uses productized in-app workflows. Public API access to Listing Studio generation operations is not documented as part of V1. For supported automation patterns, start with the [developer quickstart](/developers/quickstart) or [API Reference](/api-reference/order-items/list-order-items).
### Buy Credits
Check your balance and purchase additional credit packages when you run out.
| Package | Price | Credits |
| -------- | ----- | ------- |
| Starter | \$10 | 1,000 |
| Pro | \$40 | 5,000 |
| Business | \$100 | 15,000 |
Credits never expire and are shared across every tool at its listed credit cost. Since most single-image tools (Generate Image, Background Remover, Mockup Generator...) cost 2 credits per run, that's roughly:
* **Starter** — \~500 images
* **Pro** — \~2,500 images
* **Business** — \~7,500 images
## Credits
* Each tool run deducts credits when generation **starts**.
* Video generation charges separately for the video step (3 credits) on top of the free text output.
* Your current balance is shown on the Listing Studio dashboard and next to each tool in the menu.
Credit-saving workflow: test your prompt on **one image** first; once you're happy, batch the rest through Flow Studio.
## Suggested end-to-end workflow
A complete listing from zero:
1. **Generate Image** (or Design Extractor from an old photo) → artwork.
2. **Background Remover** → clean PNG.
3. **Mockup Generator** / **Pattern Mock-up Set** → product photos.
4. **Listing Optimizer** → title, tags, description (+ video if needed).
5. Attach the results in [My Products](/features/products) and publish to Etsy.
Or let **Flow Studio** run steps 2–4 automatically for a whole batch.
## Automation and API guidance
Listing Studio uses productized in-app workflows. Public API access to Listing Studio generation operations is not documented as part of V1. For supported automation patterns, start with the [developer quickstart](/developers/quickstart) or [API Reference](/api-reference/order-items/list-order-items).